Repairing fabric skinning of Kurki fuselage - more work than we thoughtKeskiviikko 25.5.2016 - Member of Tuesday Club Kurki fuselage had more damaged fabric skinning than expected. Well, that’s how it usually goes with museum airplanes which have been in storage for a long time. Hopes and reality do not always coincide. Backwards from cockpit, there were some 15 holes, tears and other damaged spots in fabric. Fuselage’s underside fabric had one severe tear, half a dozen holes and also rotten areas around metal brackets of landing gear. Plywood skinning of front fuselage had just a few damages.
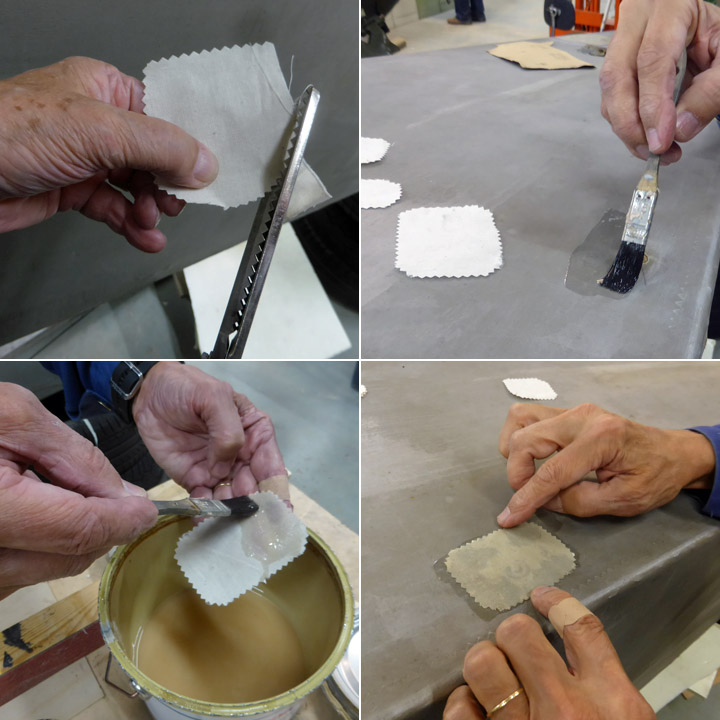
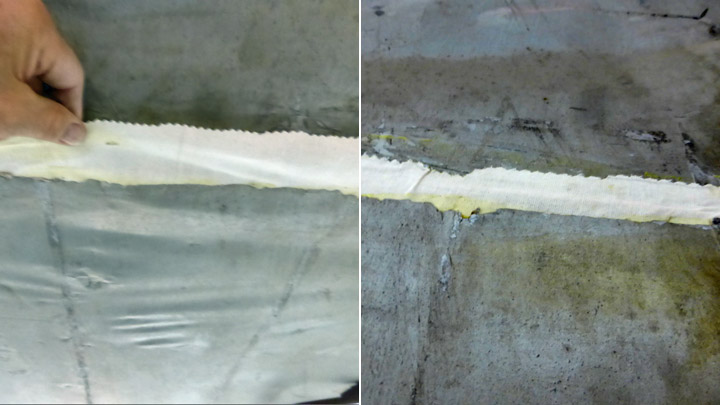
Small holes and damages were repaired with fabric patches. We cut suitable patches from aircraft grade linen with zig-zag scissors. Surroundings of holes were sanded as wide as corresponding patches were. Each fabric patch was glued over the hole with varnish, which was applied both on damaged fabric and the patch. We let the varnish to settle a while before the patch was pressed over the hole. More varnish was applied over the patch, while ensuring that serrated edges of the patch are glued into the fabric below. Varnish was let to dry before the area was sanded and re-varnished. This was repeated a few times until we had a tightened patch ready to be painted with aluminum dope.
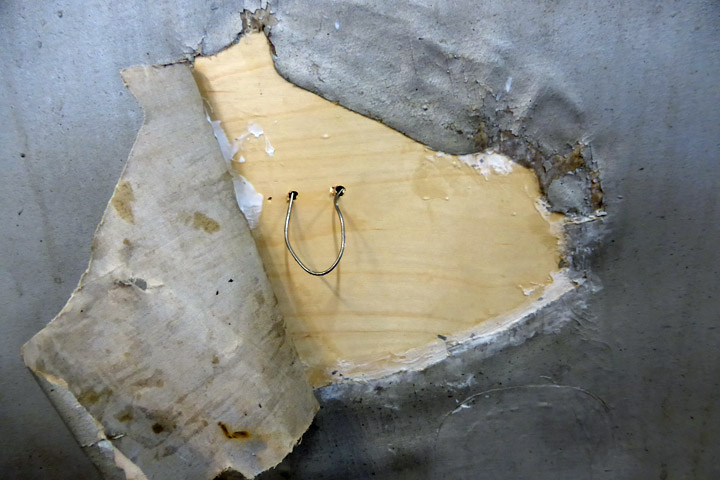
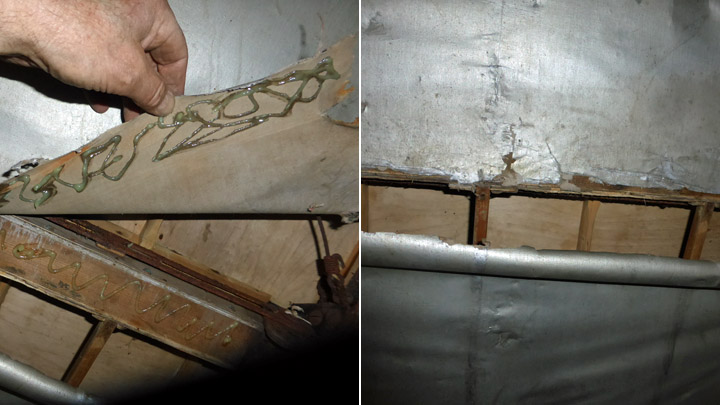
Larger damages, like teared fabric, demanded another procedure. In these cases we glued a supporting, 1 mm thick veneer inside of fabric skin. We used Eri Keeper Plus wood glue. While glueing, the edges of torn hole were stretched in along veneer. Then tears were glued into veneer with Casco contact adhesive. When glue was dry, the repaired area was sanded smooth and it was covered with a fabric patch like above.
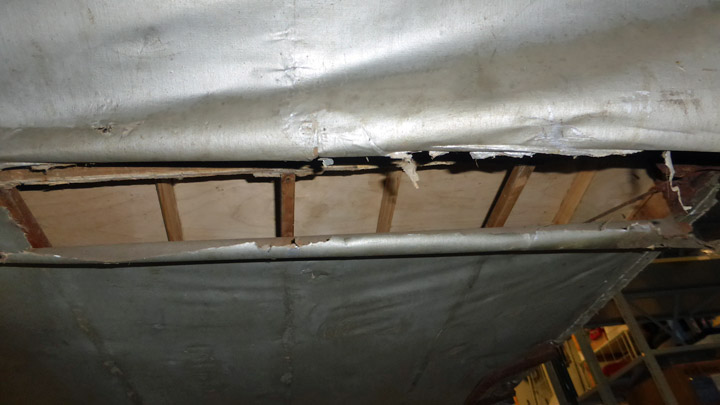
The whole length of fuselage underside has fabric skinning. Below cockpit there was a nasty transverse rupture. The whole width of fuselage was cut open. Also there were half a dozen holes.
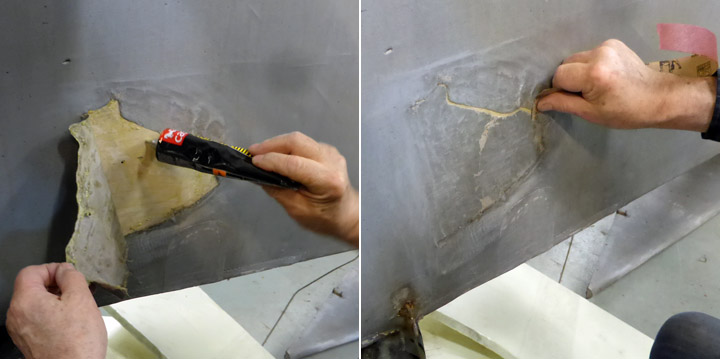
We decided to repair the rupture by gluing the edges of the hole into a fuselage frame which was nearly in the middle of the hole. A contact glue is necessary here because the fabric must be stretched and an immediate adhesion is needed.
One edge was easy to glue, but the opposite edge was too far from the frame. We glued a strip of fabric along this edge which made it possible cover the gap and thus stretch and glue the fabric into the frame. Finally, varnish applied over the joint to stretch the fabric.
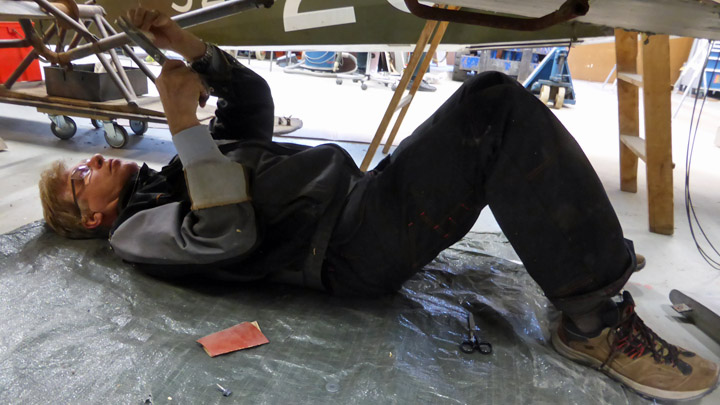
Remaining holes were covered with patches like above. I felt like an old-time car mechanic when I was lying on my back under the fuselage repairing those holes. |
|
Avainsanat: aviation history, restoring, old aircraft, VL Kurki |
Ilmailumuseot.fi - Aviationmuseums.fi