The repairs of the Caravelle radome are almost finishedLauantai 4.2.2023 - Tuesday Club member The repairs of the damaged parts of the Caravelle III (SE-DAF), which was brought to Finland from Sweden, have been continued at the Aviation Museum Society Finland’s Tuesday Club. The repairs of the radome, the bulkhead rim under the radome, the wing tips and the tip of the starboard side horizontal stabilizer are all under way.
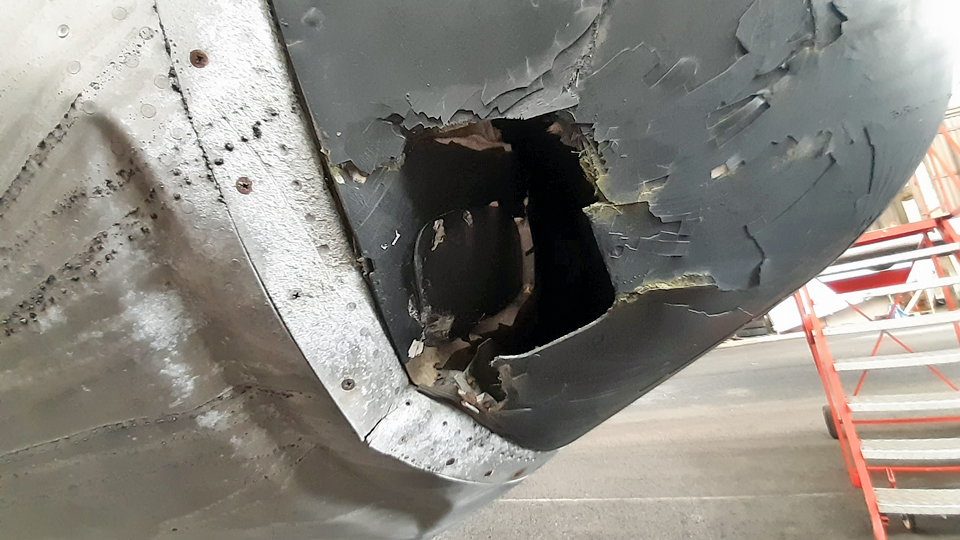
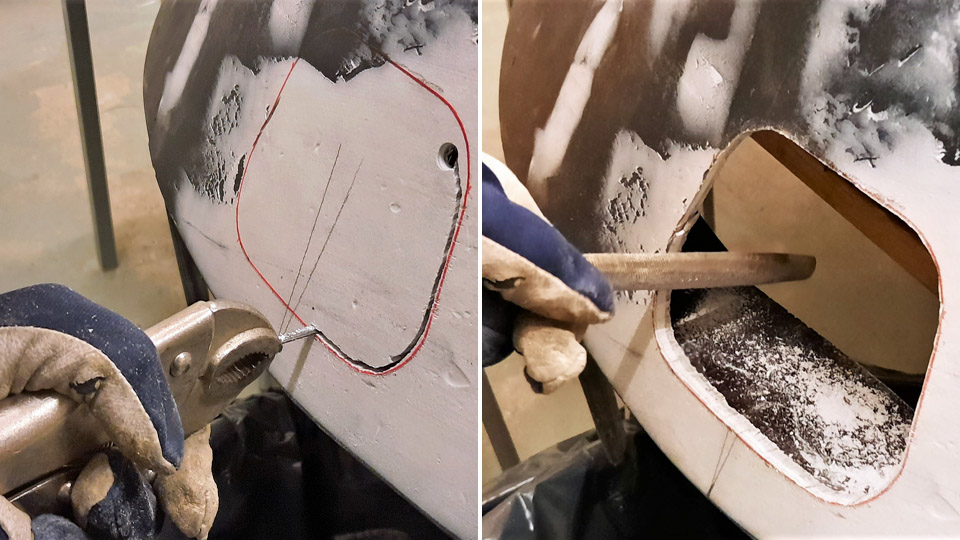
Photos by Reijo Siirtola The collision damage, which made a hole in the radome, has been repaired. There was a hole of about 30 x 20 cm on the edge of the radome and this was covered with laminated fibreglass. The collision has occurred right at one of the radome’s three fastening bolts and the hatch above it. In the collision the bolt and its cover frame have been damaged beyond repair, but we managed to straighten the badly bent bolt hatch and it can be reused. The radome is fastened on the outer rim of the nose bulkhead with three bolts.
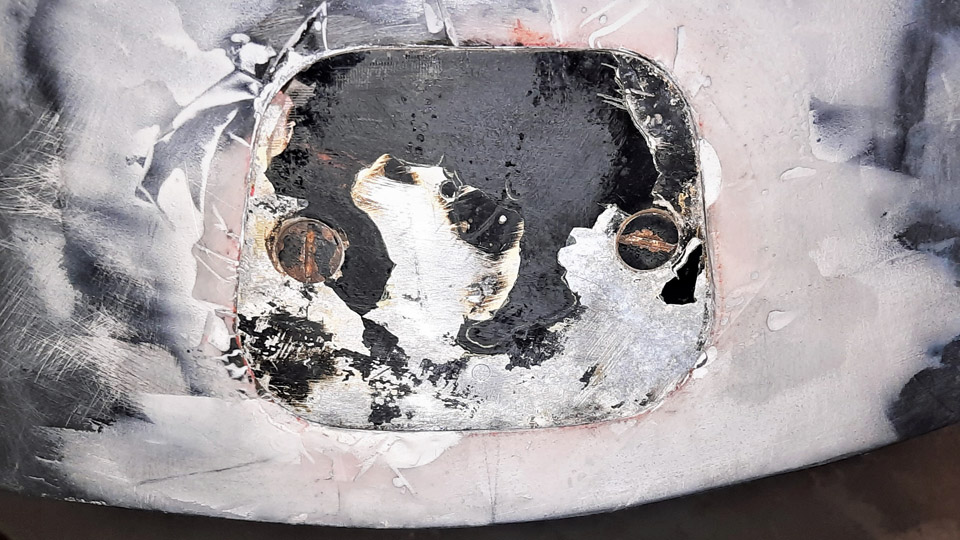
When the hole on the radome had been laminated and the radome’s crackled surface had been repaired, a base layer of black spray paint was applied. The surface was spackled and sanded to smooth the uneven areas. A final layer of paint will be added when the reparation of the damaged area has been completed.
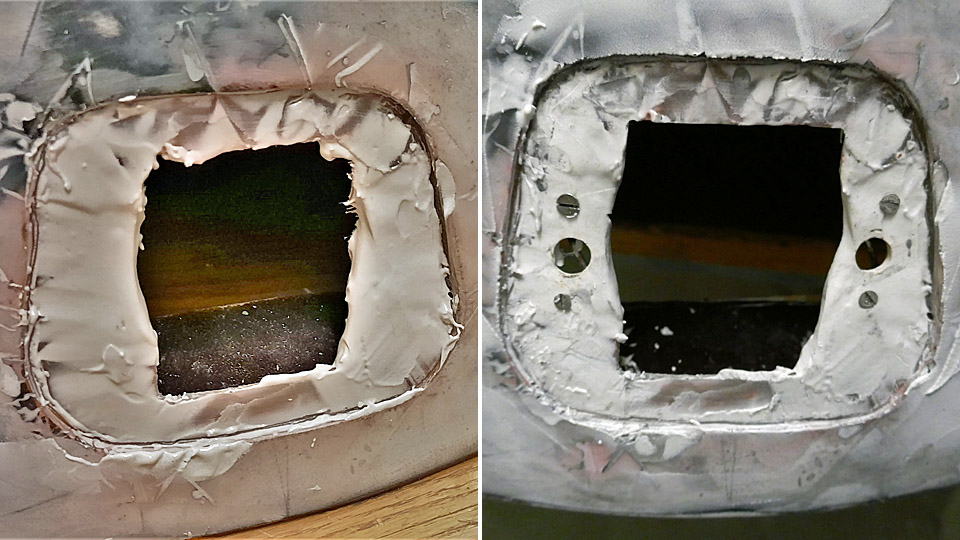
Photos by Reijo Siirtola Now it was time to make an opening on the radome for the fastening bolt’s hatch. The shape of the opening was drawn on the radome surface, using the original hatch as stencil. Then the opening was sawn along the drawn line, using a compass saw. The edges of the sawing line were ground smooth with a file. The opening edge needs also a collar against which the hatch is pressed, and which will have holes for the two quick-lock screws on the hatch. The locking springs of the two locking screws will be fastened inside the collar under the screw holes.
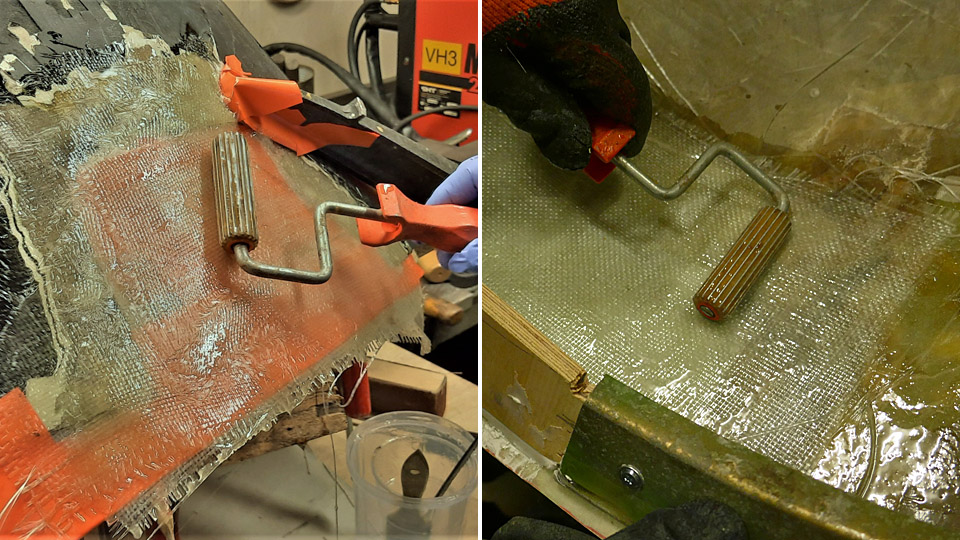
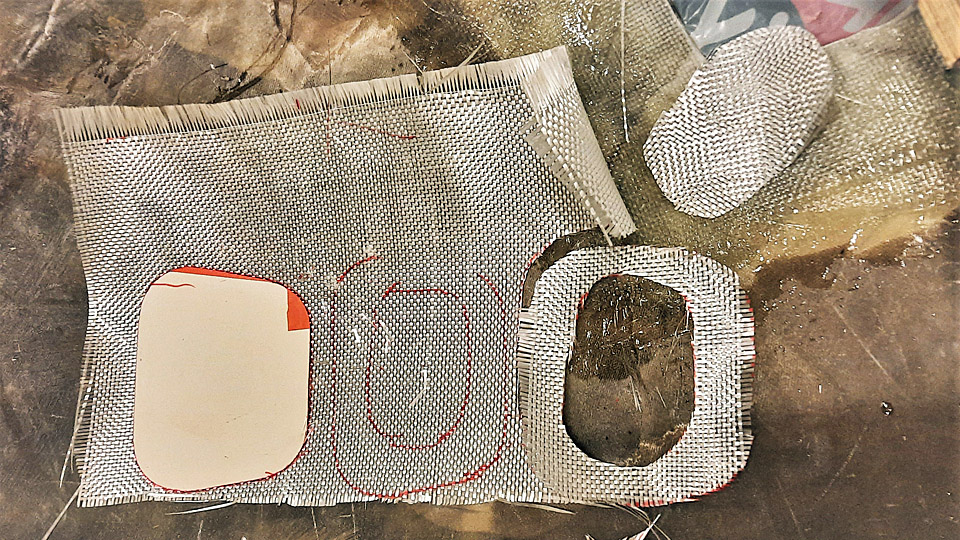
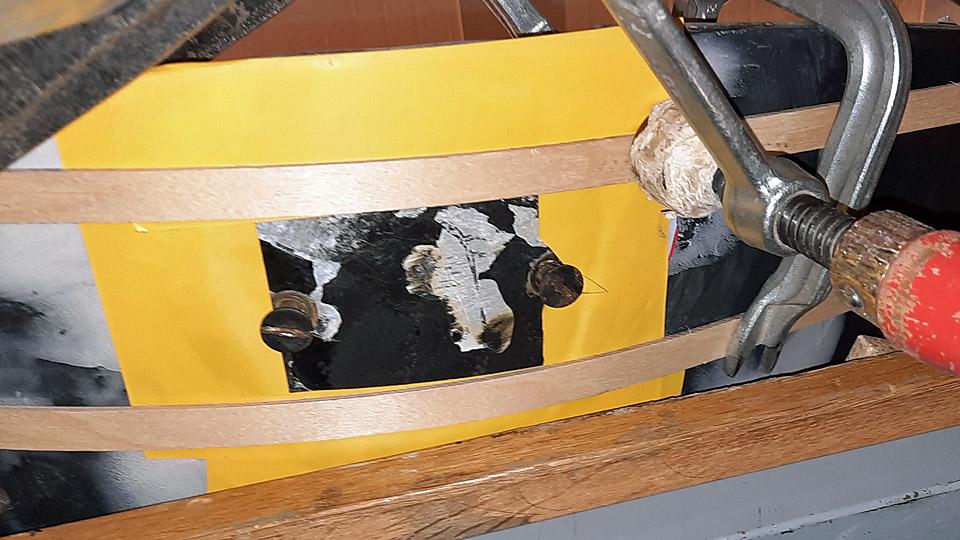
Photos by Reijo Siirtola The collar for the opening was made by laminating. Pieces of fibreglass mat were cut for the collar, with a hole in the middle. Then the bolt hatch was taped onto the edges of the opening and supported on it with two strips of plywood. The inner surface of the hatch was protected with plastic foil so that the hatch doesn’t get glued on the layers of fibreglass which are laminated under it. This way the hatch worked as a supporting wall for the laminating work. The fibreglass pieces were soaked in epoxy, and they were laminated with a roller, layer by layer, to cover the hatch opening.
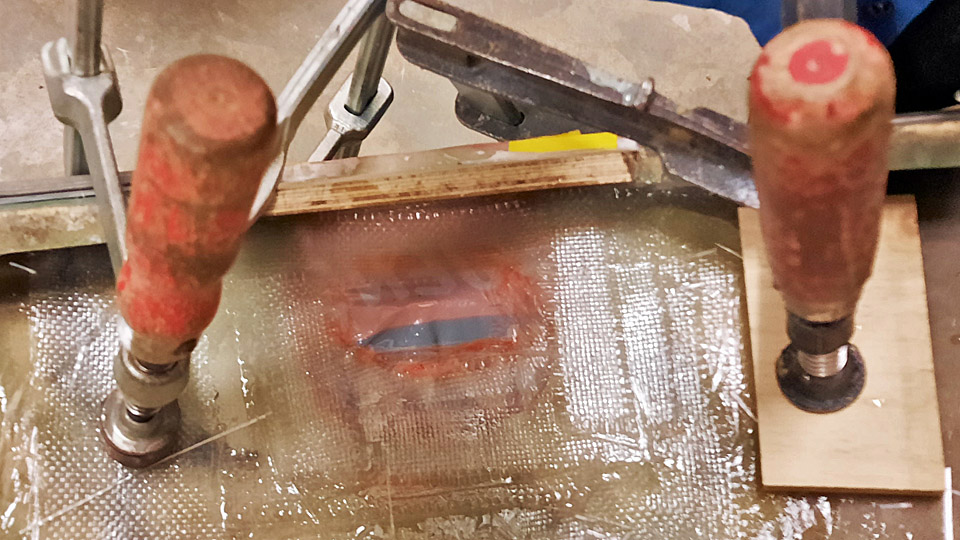
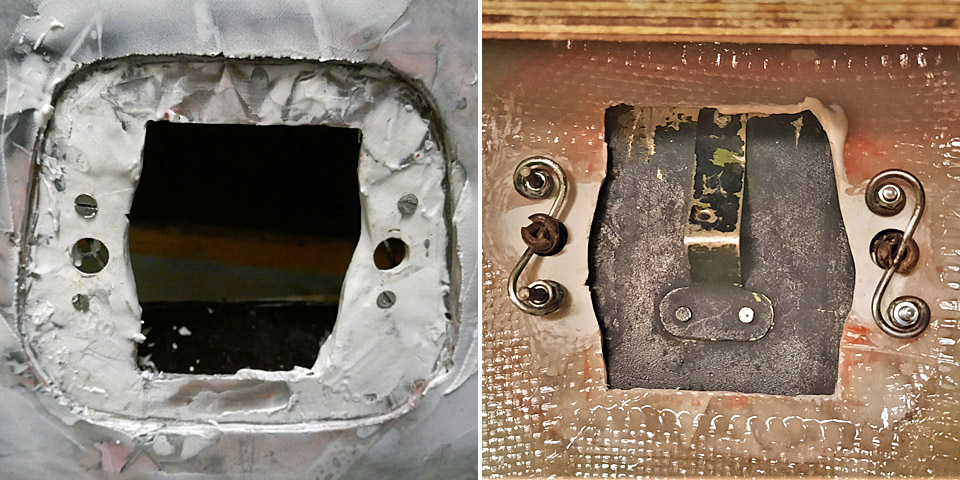
Photo by Reijo Siirtola When the laminated area had dried, the hatch was unfastened and the opening with its collar could be seen. The edges of the collar opening were smoothed. Then the holes were drilled on the collar for the two fastener screws of the hatch. The original locking springs of the screws were fastened on the lower edge of the collar, under the holes.
Left photo by Reijo Siirtola The functioning of the hatch was tested by pressing the hatch against the collar so that the lock screws were pushed into their holes. Then the hatch was locked by pressing the screws inwards and simultaneously turning them 90 degrees. The nick at the end of the screw locked on the spring under the collar. This functioned well so we had managed to assemble the hatch of the fastening bolt on the repaired radome.
Photos by Reijo Siirtola The following task will be to build a new bolt fastening into the damaged area so that the edge of the radome can be fastened on the rim of the Caravelle’s nose bulkhead below. The original bolt fastening was destroyed in the collision which hit the radome. Photos by Lassi Karivalo except if otherwise separately mentioned. Translation by Erja Reinikainen. |
|
Avainsanat: aviation history, restoration, Caravelle, SE-DAF |
Ilmailumuseot.fi - Aviationmuseums.fi