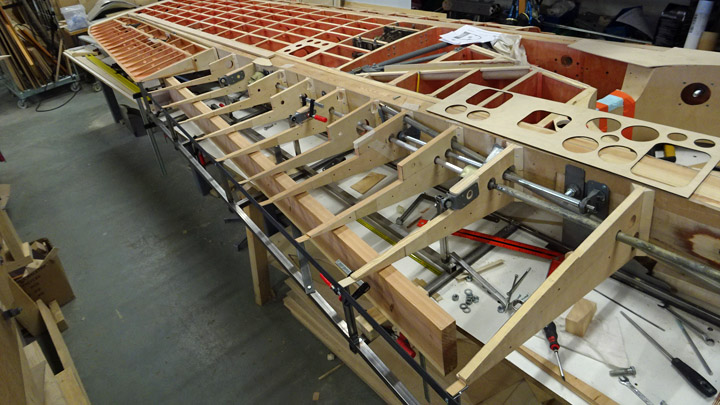
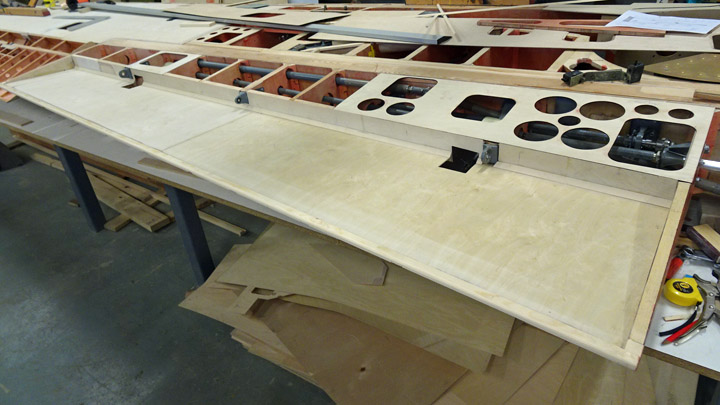
Flap niche on Myrsky's starboard wingSunnuntai 23.6.2019 - Member of Tuesday Club The assembly of Myrsky’s starboard wing has been going on for a couple of months. The ribs of the trailing edge have been installed up to the trailing edge strip. Also the operating mechanisms for the aileron, flap and landing gear have been installed through the holes in the ribs. At this point the Tuesday Club team could start covering the flap niche with plywood. When the flap is up / closed, it is pressed into this niche in the wing’s trailing edge. There is a notch in the trailing edge ribs, forming the perimeter of the niche.
The rest of Myrsky’s wing is a wooden structure but the flaps are split flap type plate flaps, made of duraluminium. When the flaps are up / closed and pressed into the niche under the wing, the flap is a part of the wing’s lower surface. When the flap is down / open, it turns down pushed by operation bars and angle gearboxes. The flap doesn’t move down and back as the flaps on modern passenger airplanes do.
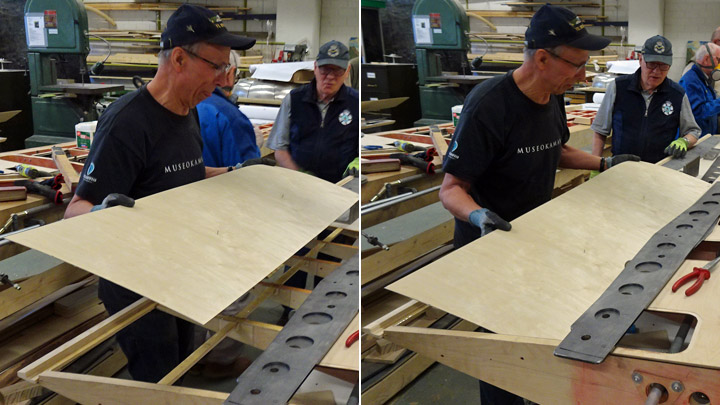
The starboard wing’s flap cavity work was started by covering the front wall, 70 mm high, with 1.2 mm thick plywood. The next phase was the upper side of the niche which is as wide as the flap. Fortunately the starboard wing lay upside down, i.e. the lower side up. Fastening the plywood against the trailing edge ribs was much easier than it would have been if the wing were the right way up.
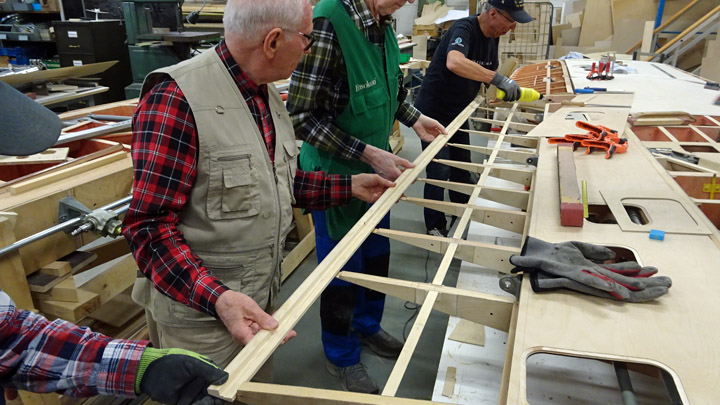
The flap niche will be covered with two sheets of plywood, connected in a lap joint. Two pieces of plywood were cut from 1,2 mm thick sheet of plywood, matching the dimensions of the niche. The joining edges of the sheets were beveled for the lap joint. The sheets were placed on the ribs, making sure that they settle properly against the ribs and the sides and can be glued into place.
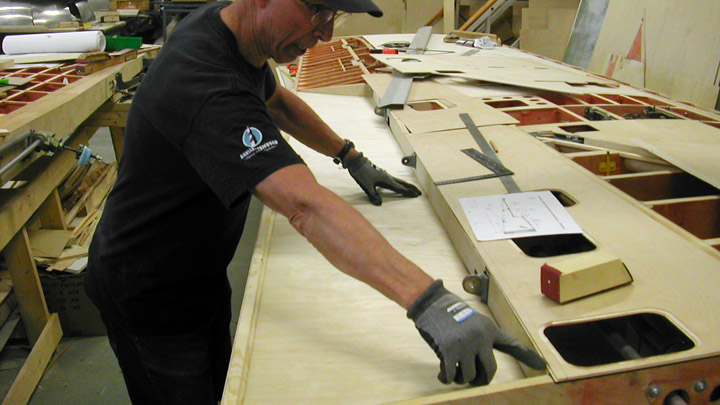
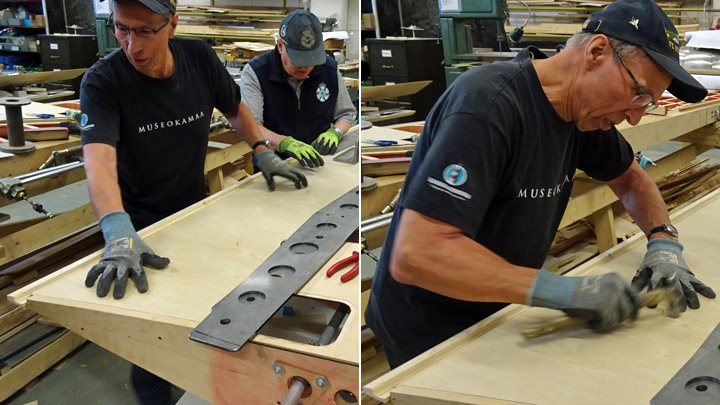
When everything was ready, the plywood sheet towards the wingtip was glued first and then the sheet towards the wing root. Two-component epoxy glue with cellulose fibre was used. The glue was spread with a brush on the ribs, on the battens between the ribs, trailing edge batten and the front and end battens of the flap niche.
When the glue had been spread, the plywood sheets were pressed against the ribs and locked into place with aa couple of nails. Then heavy weights were placed on top of the sheets to press the glued surfaces together.
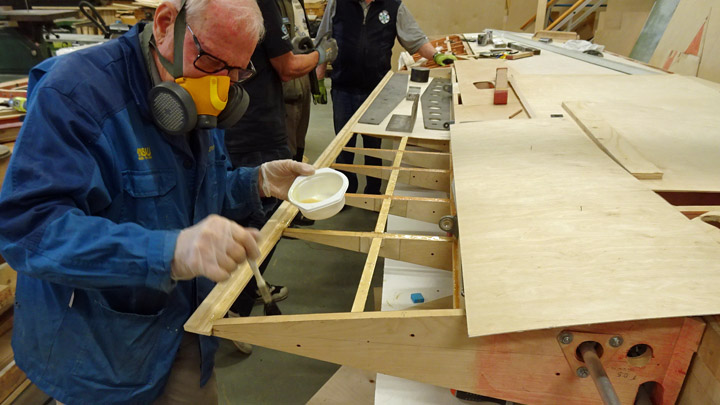
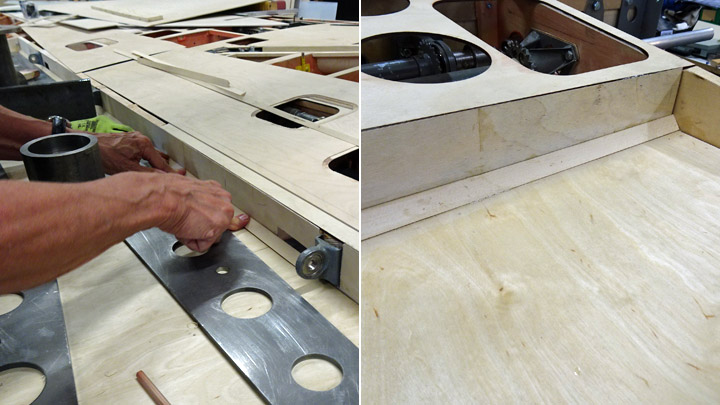
When the glue had dreid a triangular wooden batten was added to support the seam of the front wall and the roof plywood sheets.
Now the niche of the starboard flap had been covered. Photos: Lassi Karivalo. Translation from Finnish to English: Erja Reinikainen. |
|
Avainsanat: aviation history, restoring, old aircraft, VL Myrsky II, MY-14 |
Ilmailumuseot.fi - Aviationmuseums.fi