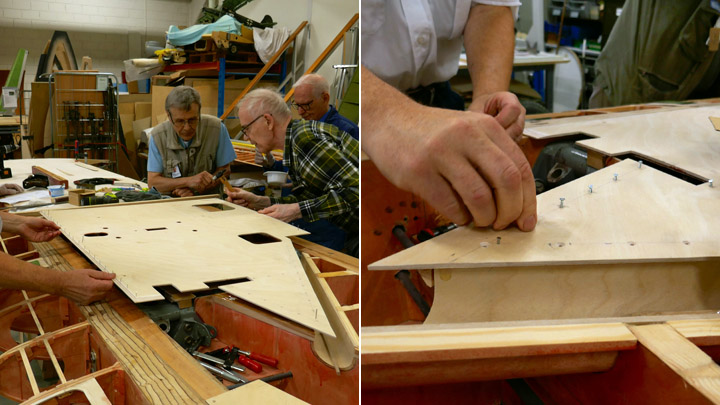
Plywood covering on the lower surface of Myrsky's port wing is readyTorstai 19.9.2019 - Member of Tuesday Club The covering of the lower surface of Myrsky’s (VL Myrsky, MY-14) port wing has been finished in the area between the wing spars. Three sheets of plywood have been installed, starting from the wingtip, and the area around the landing gear is ready as well. As the upper surface has earlier been covered with plywood, the following work phase will be the construction of the flap space on the trailing edge. Also, the leading edge in front of the front spar will be covered.
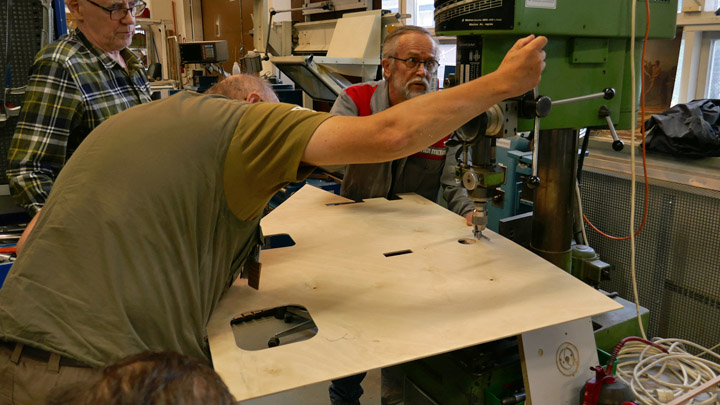
Pieces from 3 mm thick plywood sheet were cut diagonally to cover the remaining area of the wing. Several holes, large and small, were drilled into the plywood sheet which covers the area around the auxiliary fuel tank / bomb rack. The holes are needed for the equipment on the rack and as operation hatches. The small plywood sheets were shaped to match the shapes of the landing gear and wheel wells.
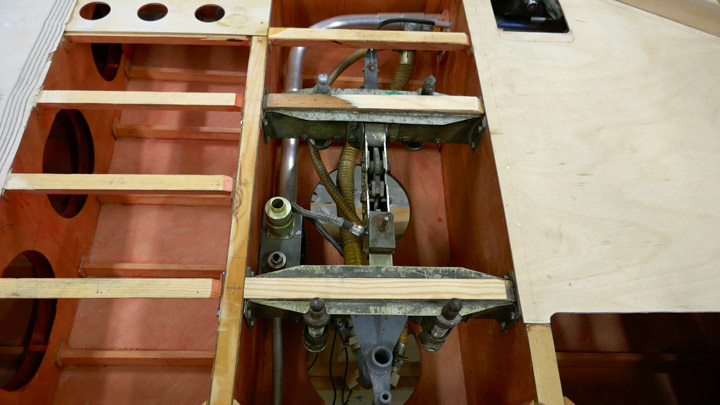
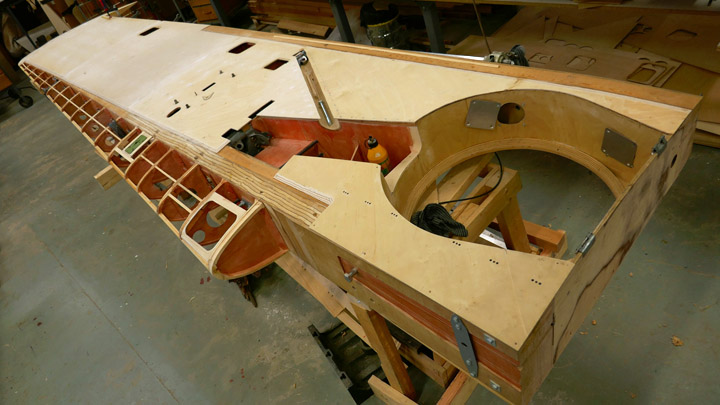
When the lower surface of the wing will be covered, as it was on the original Myrsky, the plywood will cover the structures of the wing and the equipment inside the wing (such as the auxiliary fuel tank / bomb rack and the operation mechanisms for the ailerons and landing gear). In a way it is a pity that the complicated wing structure and the interesting mechanisms will disappear from sight and the future museum visitors won’t be able to see them. Fortunately, the Myrsky’s test wing (a 2,5m long piece of the wing) has been built during the project and will be partly covered with transparent plexiglass. On the test wing the structures inside the wing, the landing gear, bomb rack and other equipment can be seen.
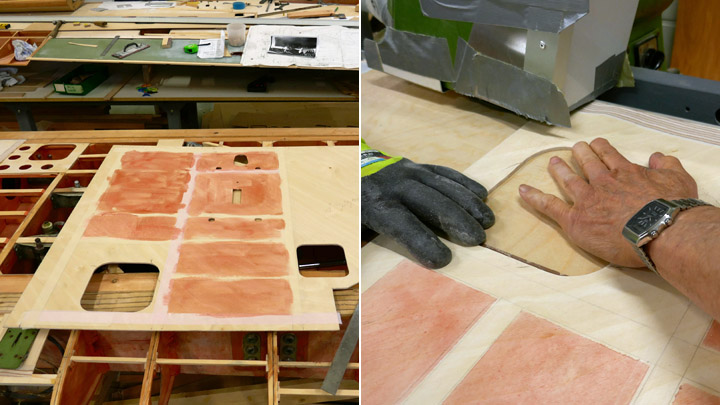
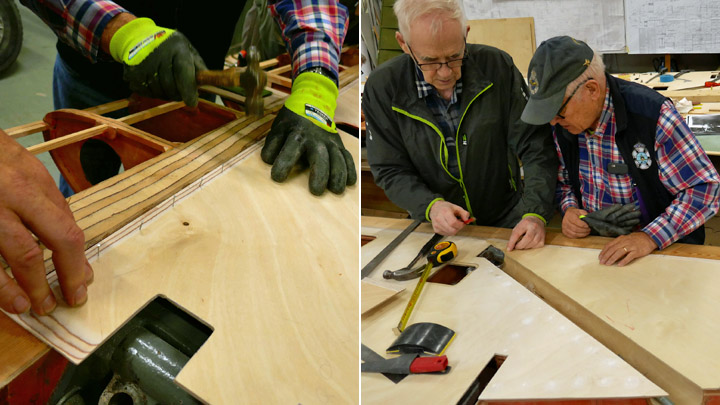
When the last sheets of plywood had been cut into shape and tested in place, the inner surfaces were painted using polyurethane lacquer tinted red. Then the edges of the plywood sheets were beveled for the lap joints.
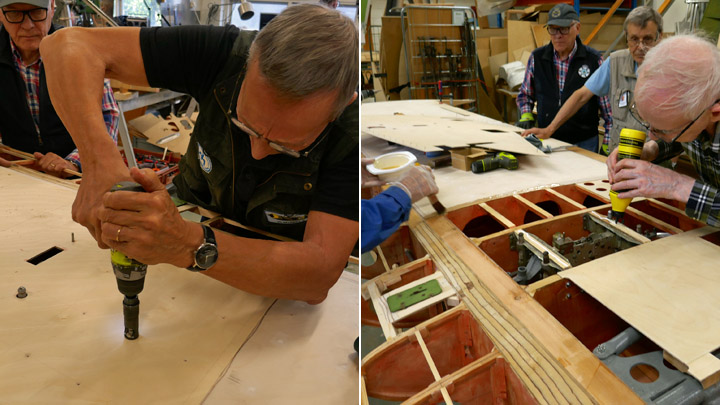
The plywood sheet in the bomb rack area was fastened first. Before gluing, the holes for the screws were drilled on the plywood sheets. Screws will be used to secure the glue joints. Flathead screws are used and the matching beveling was drilled on the plywood sheets. Then the glue was spread.
Epoxy glue was used when gluing the plywood sheets on the wing spars. Erikeeper Plus wood glue was used on the battens between the ribs. The sheet of plywood was pressed against the glued surfaces. The plywood sheet was secured in the right position, using a nail at each corner of the sheet.
When the screws had been fastened on the joints, the gluing on the front and rear spars was secured using 10 mm nails. Finally, a thick strip of plywood was placed on top of the lap joint of the plywood sheets.
When this sheet of plywood had been fastened, a couple of smaller plywood pieces were glued into place in the landing gear area. Now the lower surface of Myrsky’s port wing had been covered in the area between the spars. The wing looks like a wing now! Photos: Lassi Karivalo Translation: Erja Reinikainen |
|
Avainsanat: aviation history, restoring, old aircraft, VL Myrsky II, MY-14 |
Ilmailumuseot.fi - Aviationmuseums.fi