Painting shed was built behind Finnish Aviation MuseumPerjantai 11.10.2019 - Member of Tuesday Club Painting work in the restoration space in the Finnish Aviation Museum is not desirable or healthy because of the paint and lacquer fumes. Painting work is necessary in the restoration work and shrinking dope is used when finishing the fabric covers on the wings. At the moment e.g. the repaired rotor blades of the SM-1/MI-1 (HK-1) helicopter are waiting to be lacquered and painted. Soon also the tail parts of Caudron C.59 (CA-50) will need paint and lacquer. For these purposes a light painting shed was planned next to the storage container on the museum yard. The shed has walls, but it is not meant to be used in winter. However, with recirculation heaters painting work in the shed will be possible until late autumn. The shed was designed to be 10 meters long, 1,8 m wide and 2,1 m high. The length was determined by the long SM-1 helicopter rotor blades, which will be painted in the shed. The shed was designed so that the storage container forms one wall for the shed and the other long wall has a wooden frame made of 50x100mm timber. This frame is covered with non-woven fabric and tarpaulin. The roof is built of plywood sheets, placed on wooden roof beams and covered with a tarpaulin as a rain cover. All joints are made using screw plates. One of the principles for the shed was that it should be built, as far as possible, using material which can be found on the museum yard and storage. This is how the construction costs would be low.
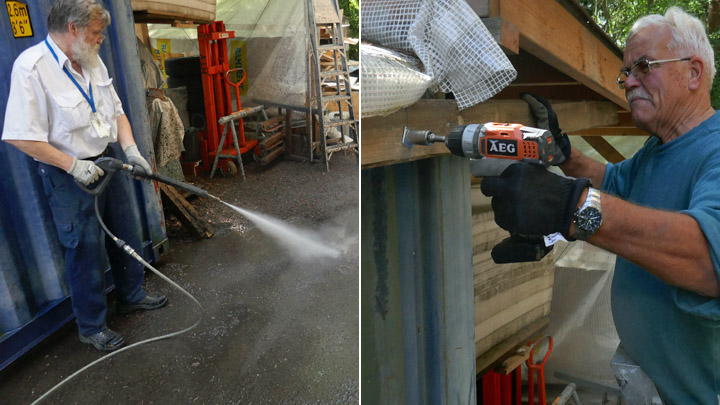
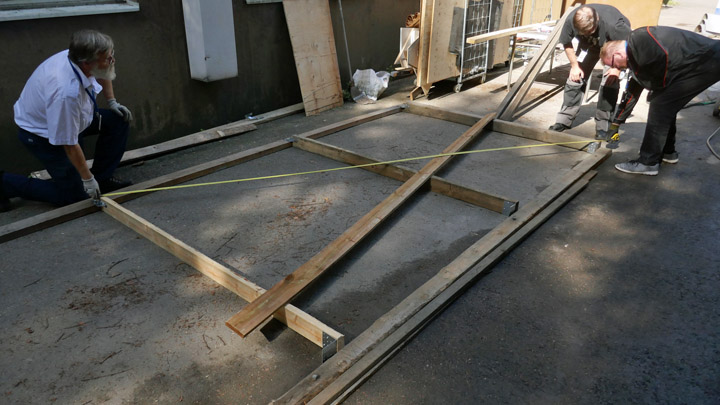
The work was started by cleaning the asphalt yard with a pressure washer where the shed will be built. Then a 50x100 mm wooden beam was fastened on the upper edge of the storage container’s wall. This beam will carry the weight of the roof structure. Then horizontal wooden beams were fastened on the asphalt, at a distance of 180 cm from the container wall, covering the length of the container. This will be the bottom of the wooden wall frame. The wall height is 210 cm from the top of the base beam.
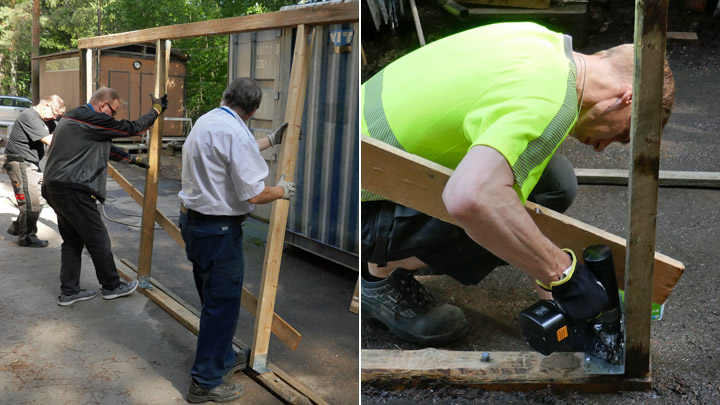
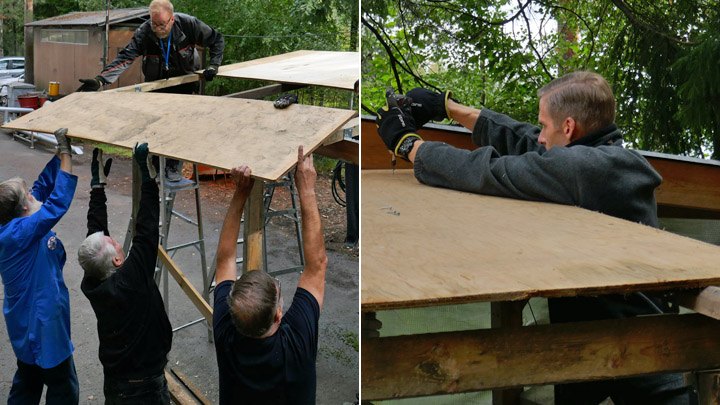
The wall frame was built in two parts. Both parts were assembled on the ground and then lifted upright and placed on top of the base beam. Wooden battens were used to support the upper edge of frame from the beam on the container wall. Then the frame was anchored in place on the base beam using angle irons.
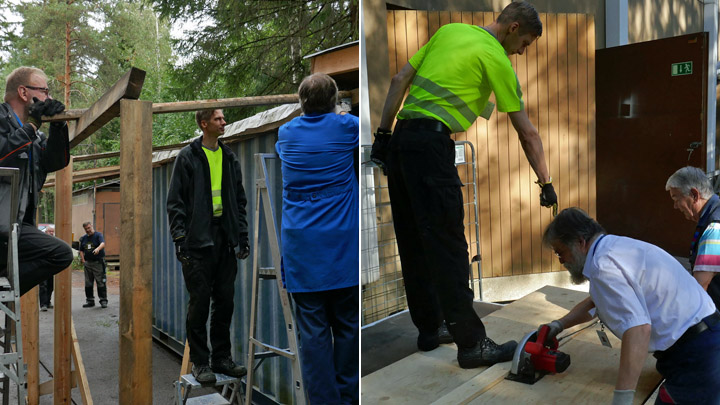
When the wall frame was standing firmly, the wooden roof framework was built from 50x100 mm beams which were fastened on the wall framework and the beam on the container. As the roof is 180 cm wide, two plywood sheets were needed to cover the width, one full sheet (120 cm) and a half sheet (60 cm). Suitable 20 mm thick and 120 cm wide plywood sheets were found at the museum. A part of the sheets was cut in half (60 cm wide). The plywood sheet pairs (full and half) were placed on the roof structure and fastened on the beams and onto the upper edge of the wall structure.
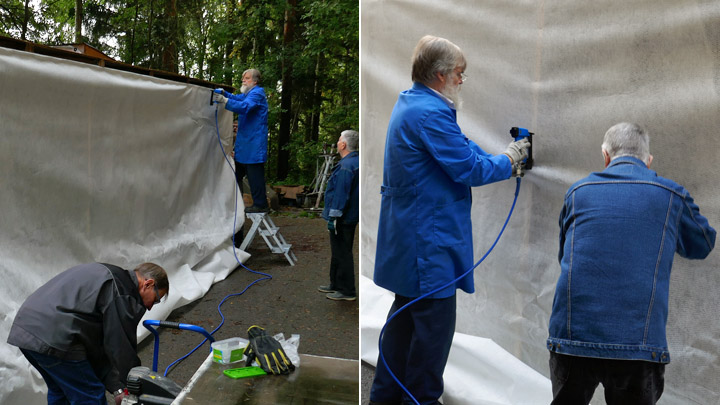
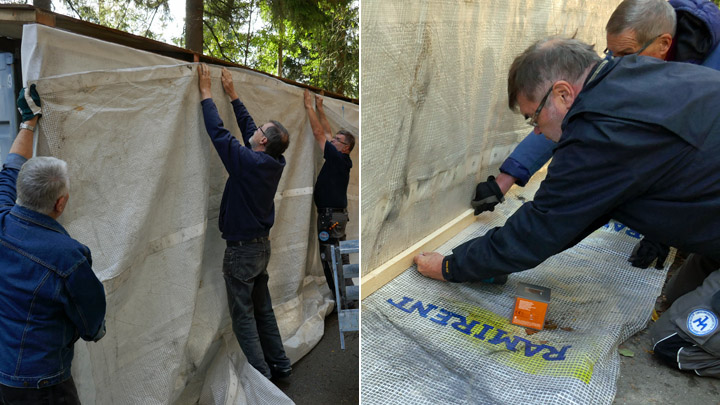
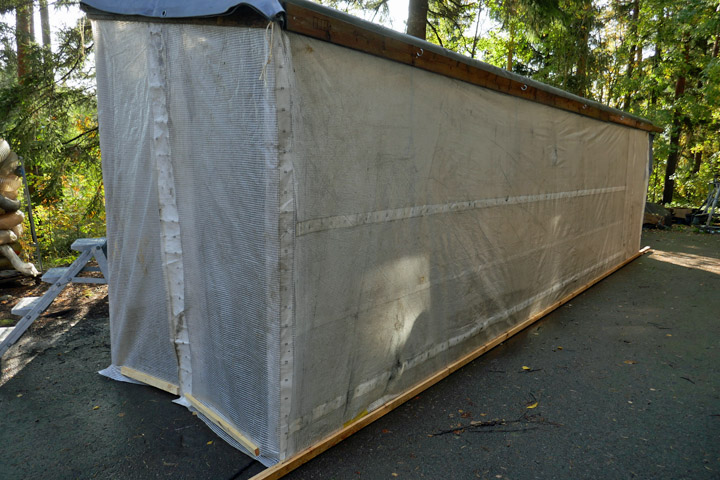
Then the wall frame was covered. A non-woven fabric, which will allow air to flow through, was stapled on the frame. Non-woven fabric was chosen because it is essential to have good ventilation in the painting shed.
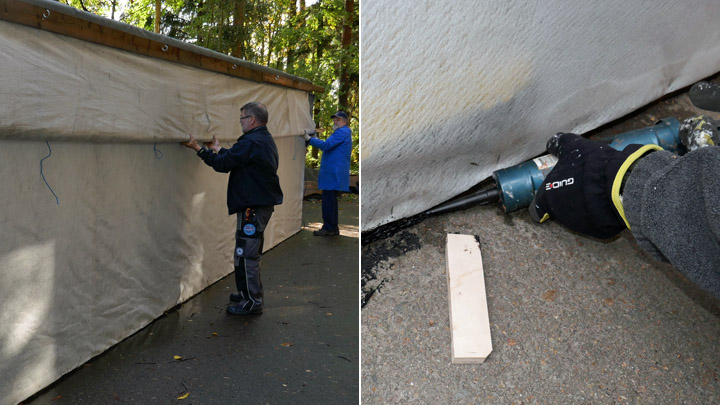
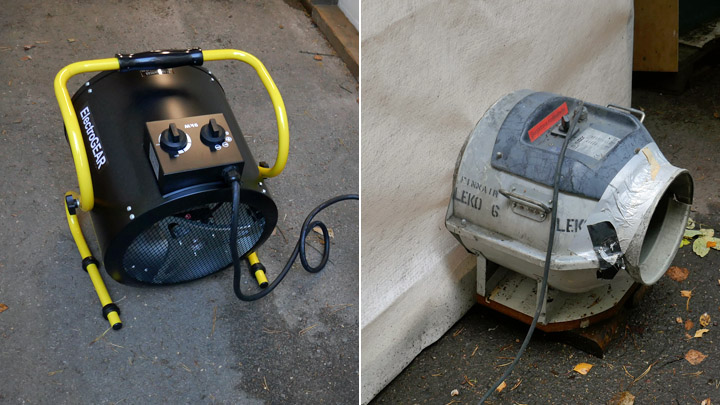
The ventilation will be boosted using fans. A tarpaulin was installed on the outside to protect the inner fabric from rain. The tarpaulin was fastened by its upper edge on the upper edge of the wall, otherwise it hangs freely. The tarpaulin can be rolled up and fastened on the upper corner of the wall when the shed is in use. A wooden batten was attached on the lower edge of the tarpaulin to keep it hanging straight and against the non-woven fabric on the inside. The seam between the base beam and asphalt was sealed using Sikaflex so that rain water running along the asphalt will not flow under the beam and into the shed.
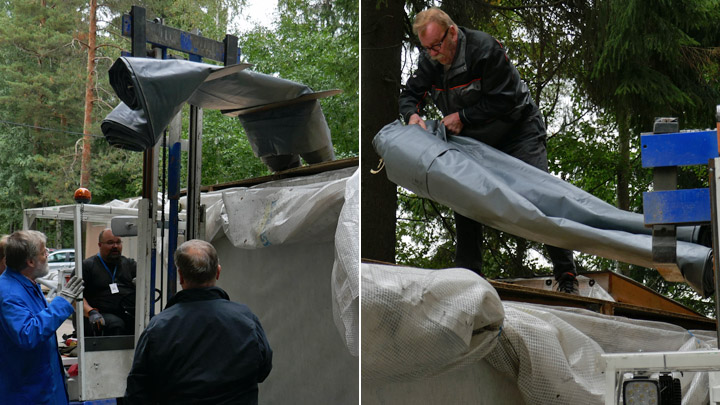
A heavy tarpaulin was assembled on top of the plywood roof to keep out the rain. The tarpaulin was lifted to the roof with a fork lift. The back end of the shed was covered with non-woven fabric and a tarpaulin was placed on the outside.
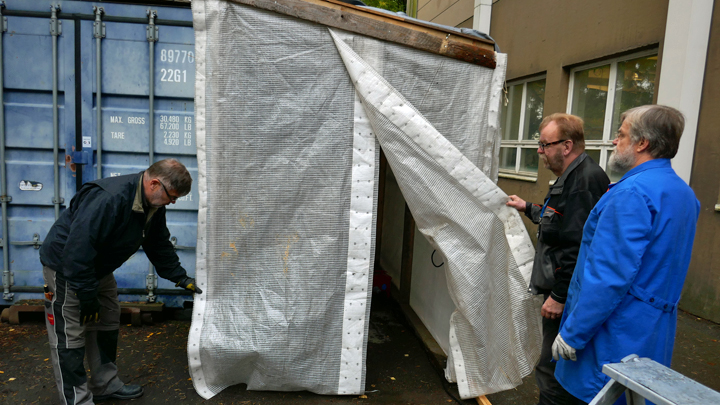
The last phase was to build a door to the front end of the shed. The door was built from two overlapping pieces of tarpaulin. The tarpaulins were fastened on a plank by their upper edge. The plank can be easily unfastened from the upper edge of the doorway when large painting items are brought into the shed and an unblocked doorway is needed.
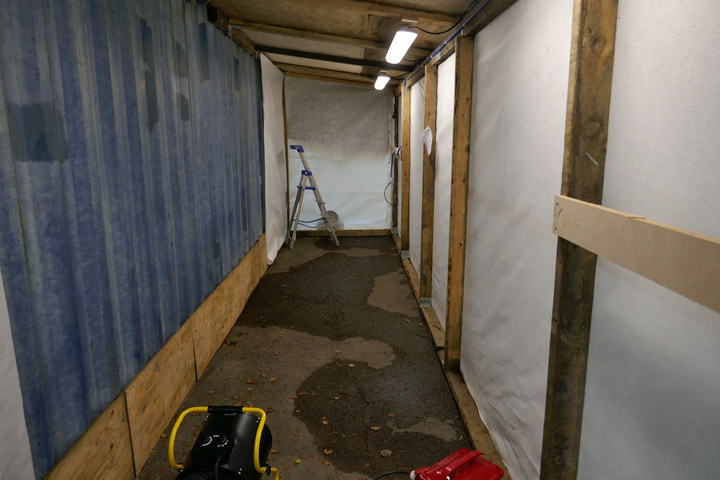
The museum bought led lights (which were fastened on the upper corner of the wall) and an effective recirculation heater. When the heater was tested a temperature above 20 degrees was reached and the humidity in the shed decreased into readings which are required when painting or lacquering work is done.
The painting shed is now ready for use. Photos: Lassi Karivalo Translation: Erja Reinikainen. |
|
Avainsanat: aviation history, restoring, old aircraft, Tuesday Club |
Ilmailumuseot.fi - Aviationmuseums.fi