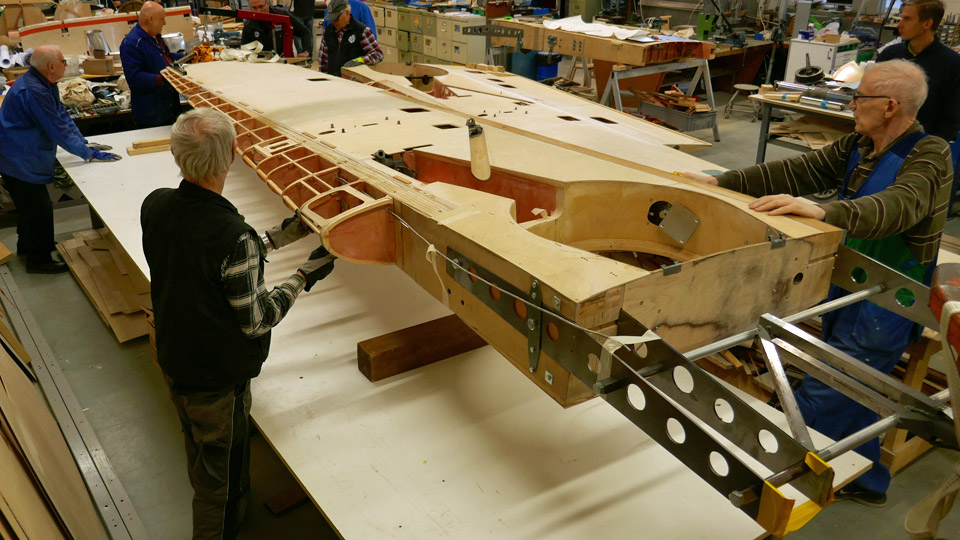
Experimenting dry plywood covering for leading edge on Myrsky's starboard wingTiistai 10.12.2019 - Member of Tuesday Club The restoration work of VL Myrsky II (MY-14) has progressed well during the autumn and the plywood covering on the starboard wing has been completed, excluding the leading edge. The plywood work on the leading edge has had to wait that the work on the port wing, which is being built alongside, reaches the point where the trailing edge is under construction. This is when the two wings under construction in the restoration space of the Finnish Aviation Museum change places. The wings will be moved from their first work platform on to the other platform. This is necessary in order to have enough working space around the wing to complete the port wing’s trailing edge and the starboard wing’s leading edge.
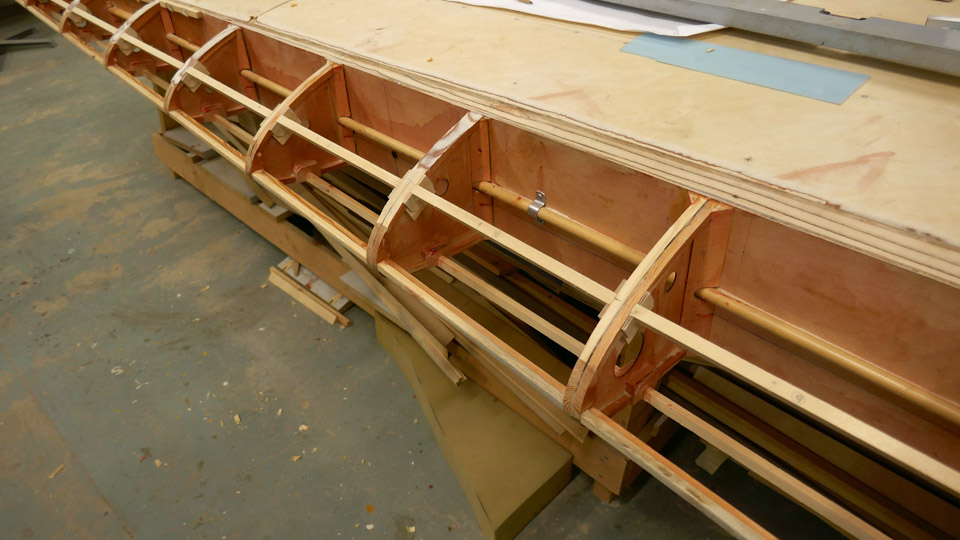
The leading edge of Myrsky’s wing consists of plywood ribs and supporting battens between the ribs. The leading edge is covered with 1,5 mm thick plywood. One sheet of plywood covers the surface of four rib-gaps. Four joining plywood sheets are needed to cover the whole leading edge, which is about five meters long. The plywood sheets are joined on a rib, using a scarf joint.
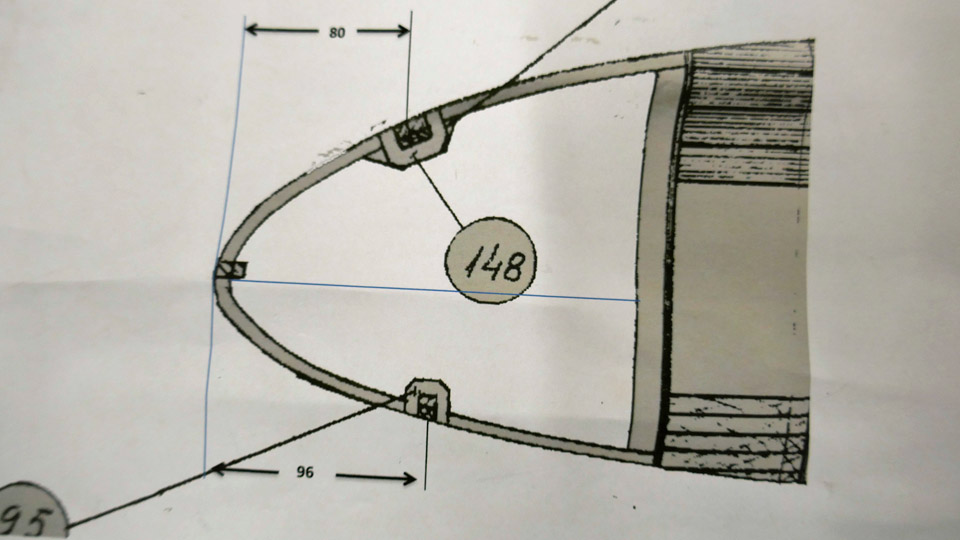
The challenge in the plywood covering of the leading edge is to bend the plywood sheet around the tapering leading edge. If the profile of the leading edge is very pointed, bending the dry plywood sheet around the edge will cause tears and cracks on the outer surface of the plywood. To prevent the plywood from cracking, the sheet is usually moistened or sometimes the wet plywood is fastened on a last, which models the leading edge. The plywood sheet will dry on the last and form a trough, which can be installed on the leading edge.
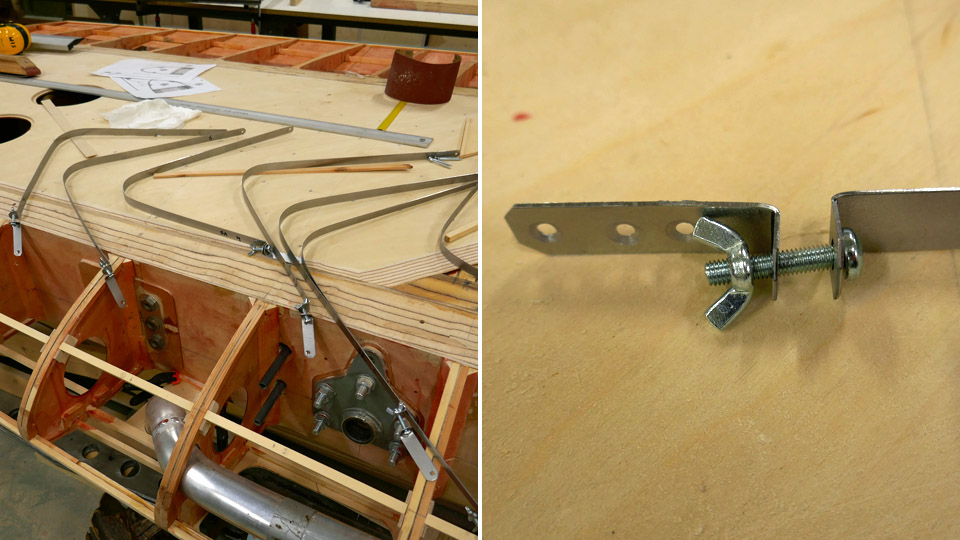
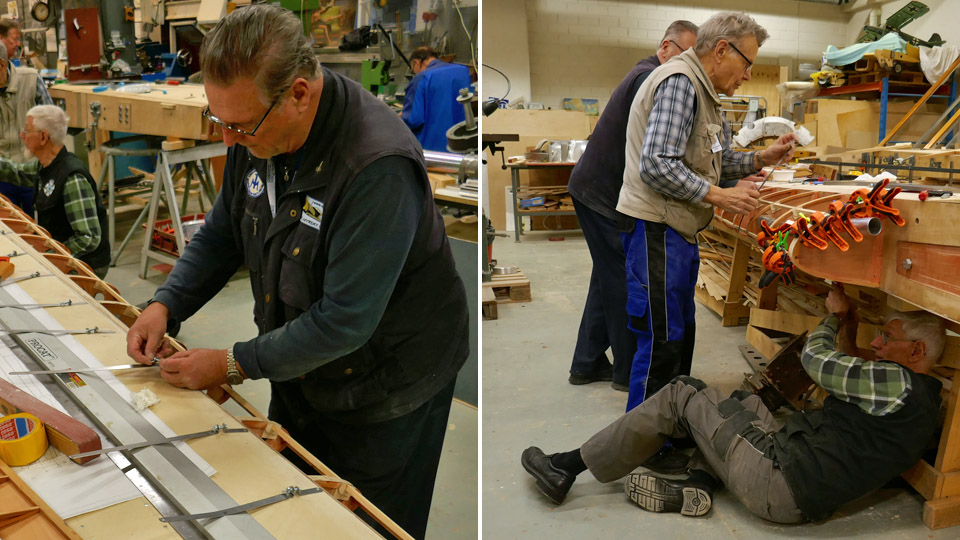
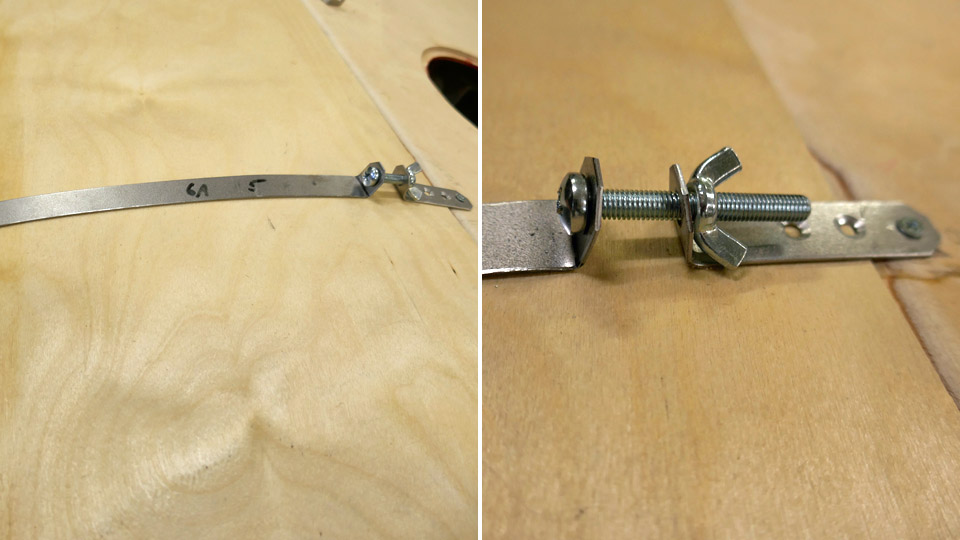
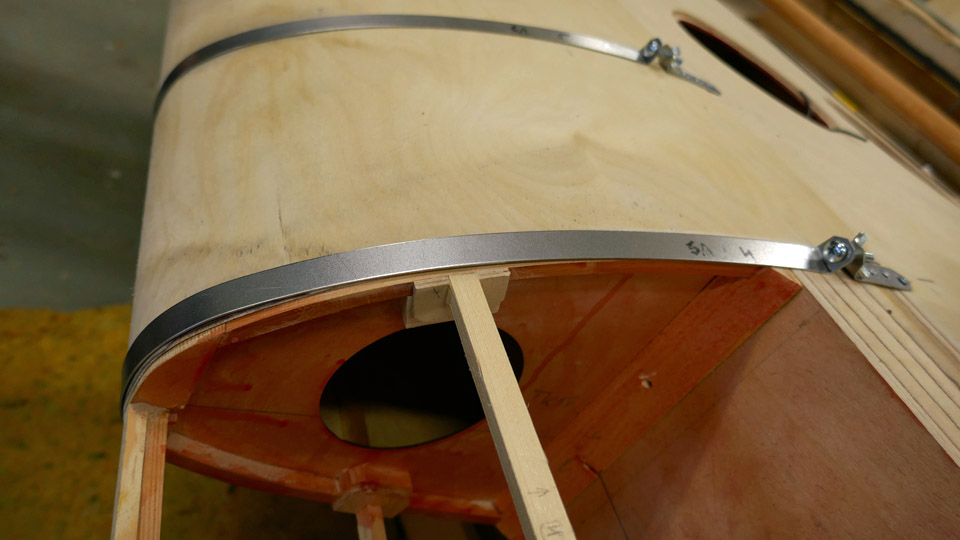
The Tuesday Club team wanted, however, to make an experiment and bend the dry thin 1.5 mm plywood sheet on the leading edge. The leading edge profile on Myrsky’s wing is not very pointed. For the experiment steel bands were made from 1 mm thick steel plate, they were cut 10 mm wide. The bands are used for pressing the plywood sheet evenly against the leading edge ribs. A steel band was made for each rib on the leading edge, corresponding the length of the leading edge profile. The bands were placed on each rib.
A tightening clamp was made at the upper end of each band, with a wing nut for tightening the band against the plywood. At the tightening clamp the ends of the band are bent to an angle of 90 degrees for the wing nut joint. The lower end of the band is fastened with a screw on the front spar on the lower side of the wing. The upper end of the band (with the tightening clamp) is fastened on the upper side of the wing on the wing spar.
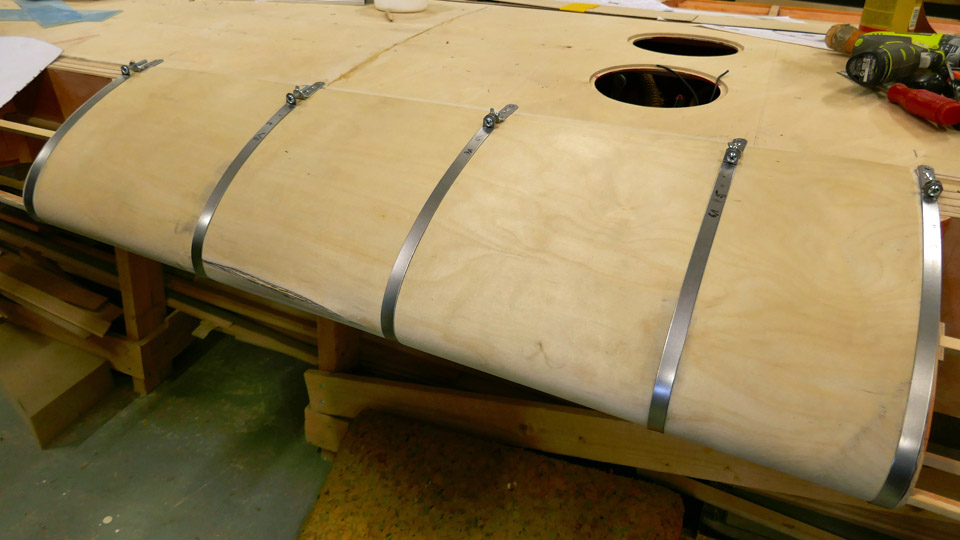
The dry bending of the plywood covering was experimented without any gluing along the distance of four rib-gaps. The bands were fastened on their places on the five ribs, with the tightening clamps still open. A piece of plywood was cut from the 1.5 mm thick plywood sheet, matching the area of the four rib-gaps. The edges of the plywood sheet were bevelled so that the adjacent sheet can be joined with a scarf joint.
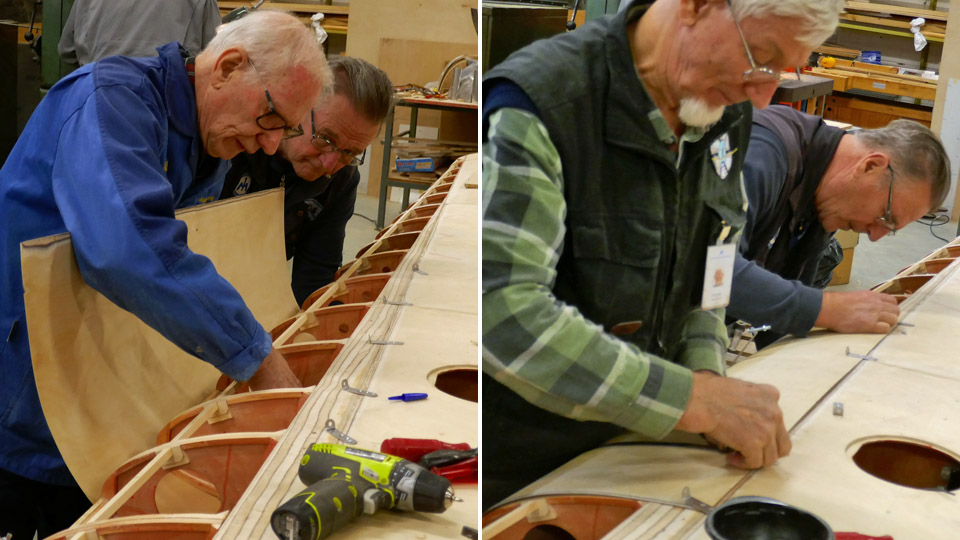
When the preparations for the experiment had been made, the plywood sheet was fitted, lower edge first, between the leading edge ribs and the tightening bands so that it reached the front spar on the lower side of the wing. Then the plywood sheet was pressed against the ribs, using the bands. When the sheet was in place, the clamps were tightened with the wing nuts. Now the plywood sheet was tightly pressed against the ribs.
The Tuesday Club team was annoyed when a crack in the plywood veneer sheet was noticed at the tip of the leading edge. This means that the experiment failed: dry plywood can’t be used when covering the leading edge on Myrsky’s wing. The 1,5 mm thick plywood sheet has to be moistened on its outer surface before it is pressed and tightened with clamps against the leading edge ribs. Photos: Lassi Karivalo Translation: Erja Reinikainen. |
|
Avainsanat: aviation history, restoring, old aircraft, VL Myrsky II, MY-14 |
Ilmailumuseot.fi - Aviationmuseums.fi