Undercoat painting of Myrsky?s wing is well under wayMaanantai 14.12.2020 - Tuesday Club member Due to the corona virus pandemic only a handful of Tuesday Club members can continue the restoration of VL Myrsky II fighter (MY-14), but some results have been achieved, nevertheless. The undercoat painting of the wing halves is under way at the moment. Before that the edges of the compartments of the wing were covered with protective linen fabric strips. This phase has been described in the previous blog.
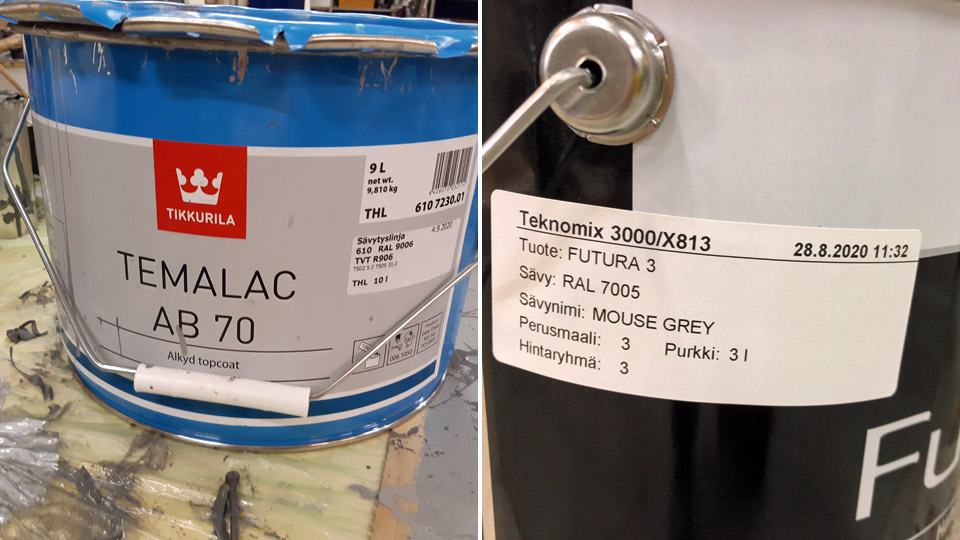
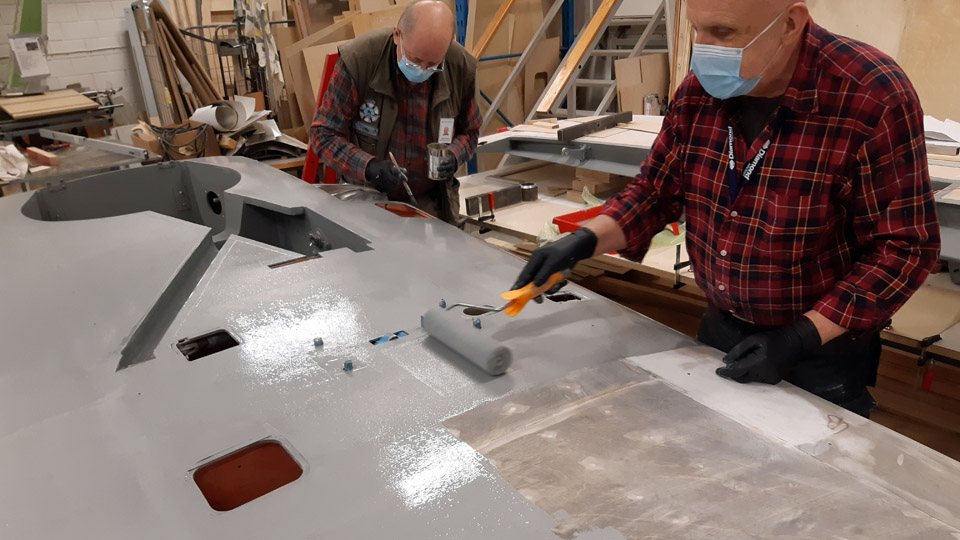
The undercoat painting of the Myrsky’s wings will be done in two phases and with two different kinds of undercoat paint. First the cleaned and ground plywood surface is painted with alkyd paint which contains aluminium flakes. The undercoat paint used in this phase is TEMALAC AB 70 alkyd paint which contains aluminium flakes, and the shade of the paint is RAL 90006, white aluminium. This paint is used to fill the grain structure on the plywood surfaces and to make the plywood surface very smooth. The flake paint is applied on the plywood surfaces twice and after both rounds the surface is honed with sandpaper. The aluminium flake alkyd paint is covered with a layer of slightly darker grey paint, Teknos Oy’s adhesion primer Futura 3, with the shade RAL 7005 Mouse Grey. After this the surfaces of the wing are ready for the final camouflage painting.
Left photo: Heikki Kaakinen.
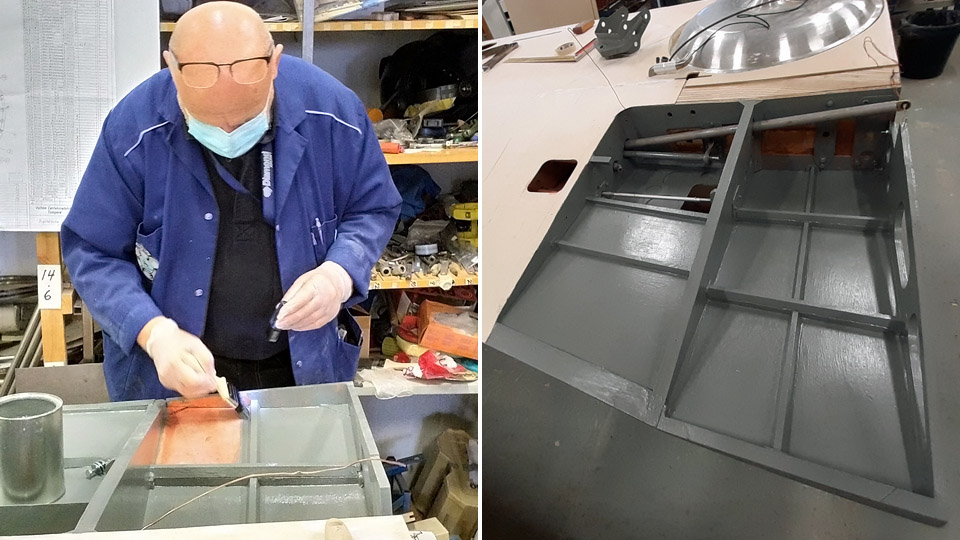
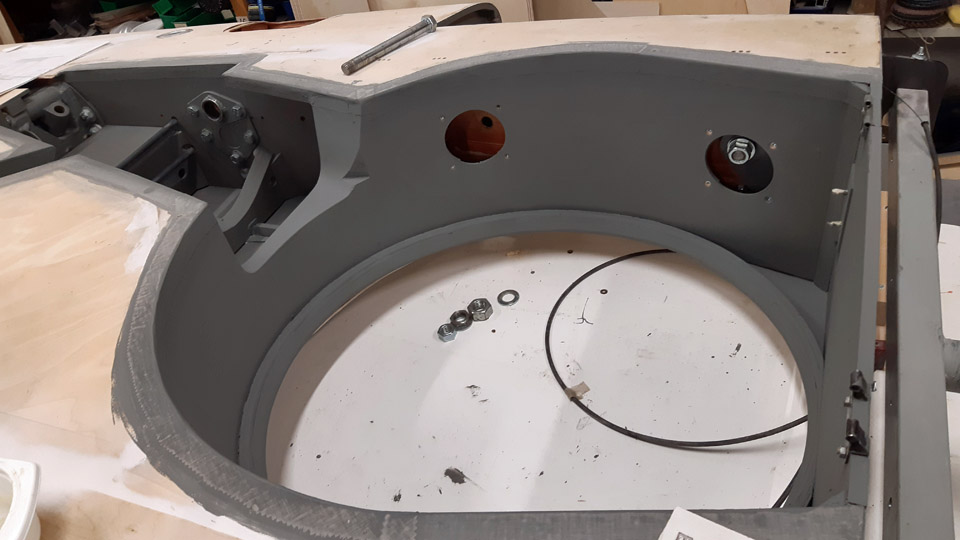
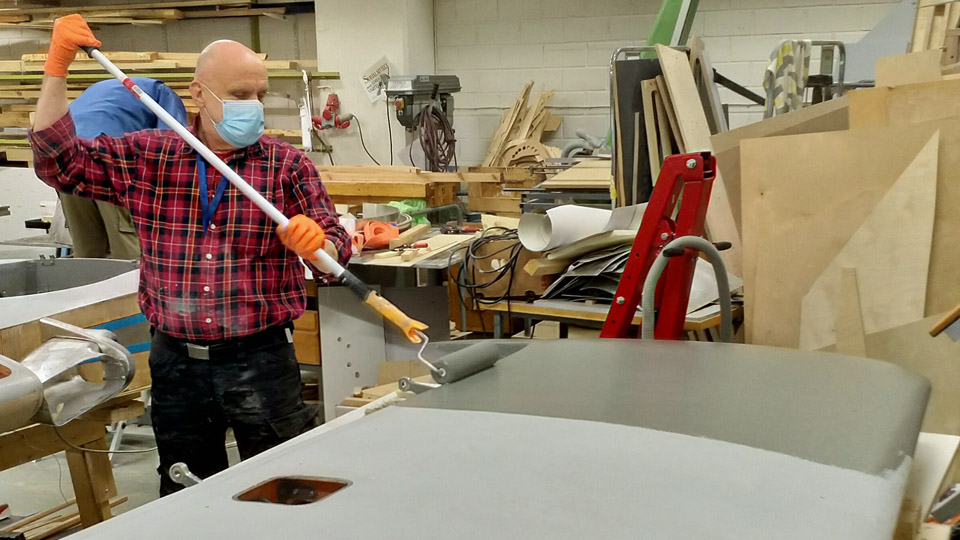
The undercoat painting of the wings was started by painting the compartments for the landing gear, the flap and the aileron. They were painted with the Teknos Oy paint Futura 3. The work was mainly done with a small roller, but the tight spots were painted with a brush. When the compartments had been painted, the lower surfaces of both wings were painted with the Tikkurila Oy TEMALAC AB 70 aluminium flake alkyd paint. The alkyd paint was spread with a dense foam rubber roller. The areas where precision was required were painted with a brush. The possible drippings were wiped with a cloth.
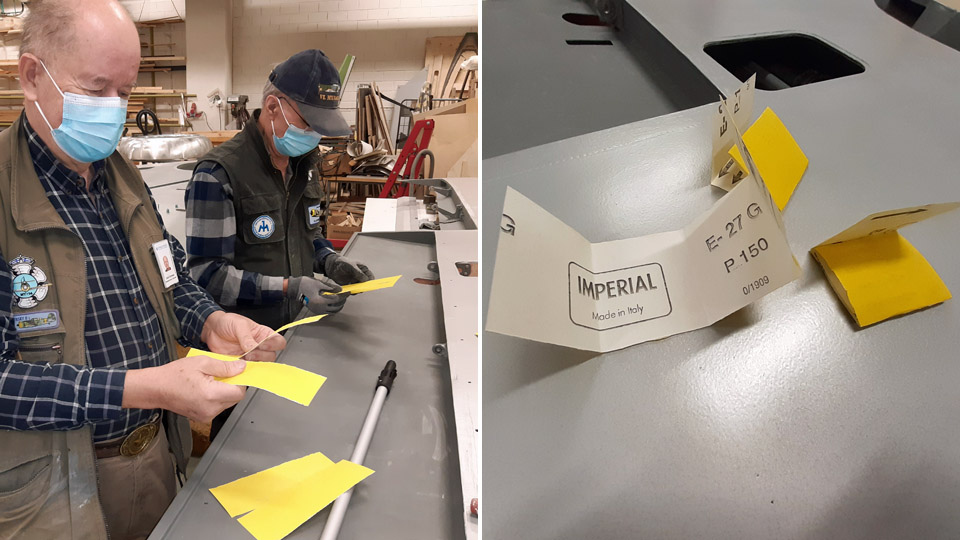
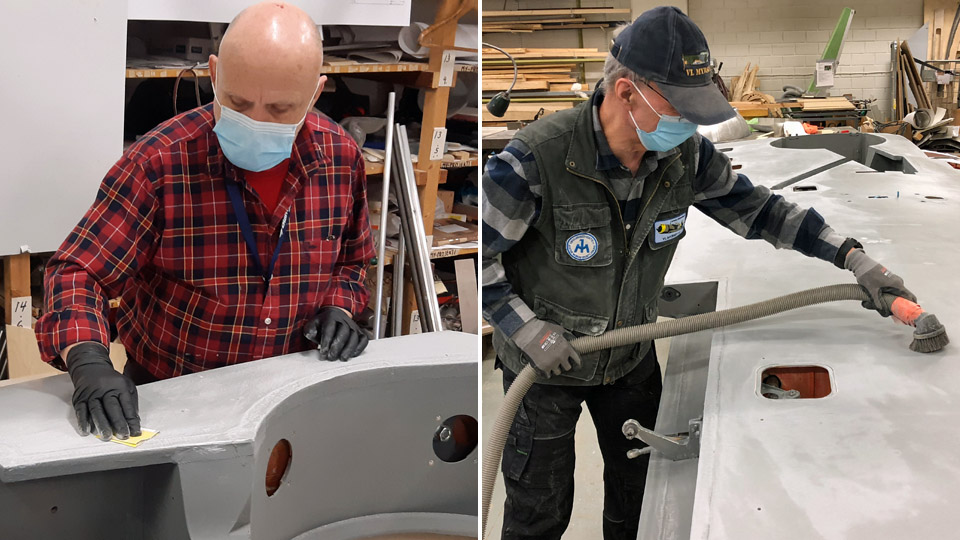
When the flake paint had dried, the surfaces were honed with Imperial P 150 sandpaper, pressing only with fingertips. This means that a piece of cork or wood was not used with the sandpaper. Fingertips are flexible and a good tool when honing painted surfaces. Before the honing work the sandpaper was torn into four strips and each strip was folded into a pack of four layers. Now the sandpaper was a square with four layers. The honing was done by moving the sandpaper with fingertips in circles on the painted plywood surface. When one of the layers of the sandpaper pack got blocked with honing dust, the next layer was taken into use. When the honing work was ready, the dust was removed from the plywood surface with a vacuum cleaner and by wiping the surface with a damp cloth.
Right photo: Jouni Ripatti.
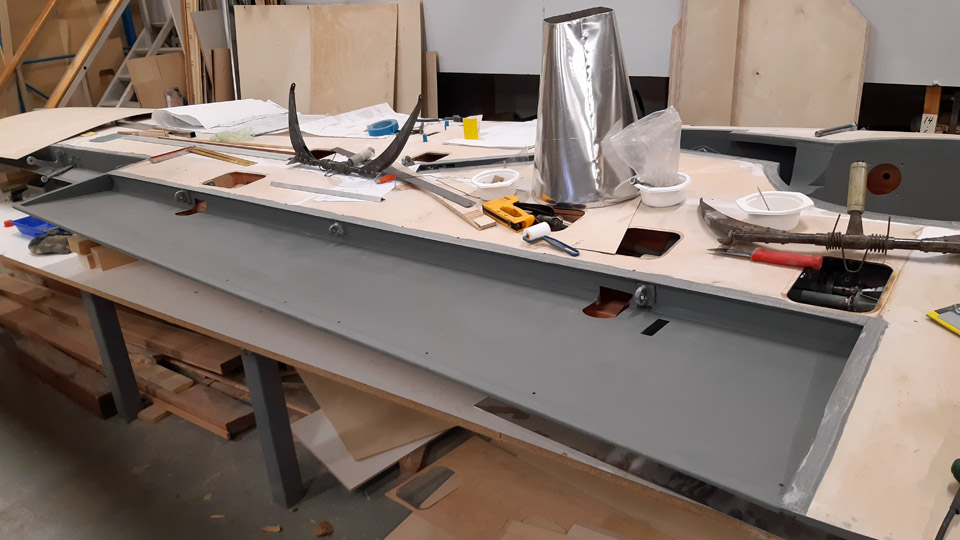
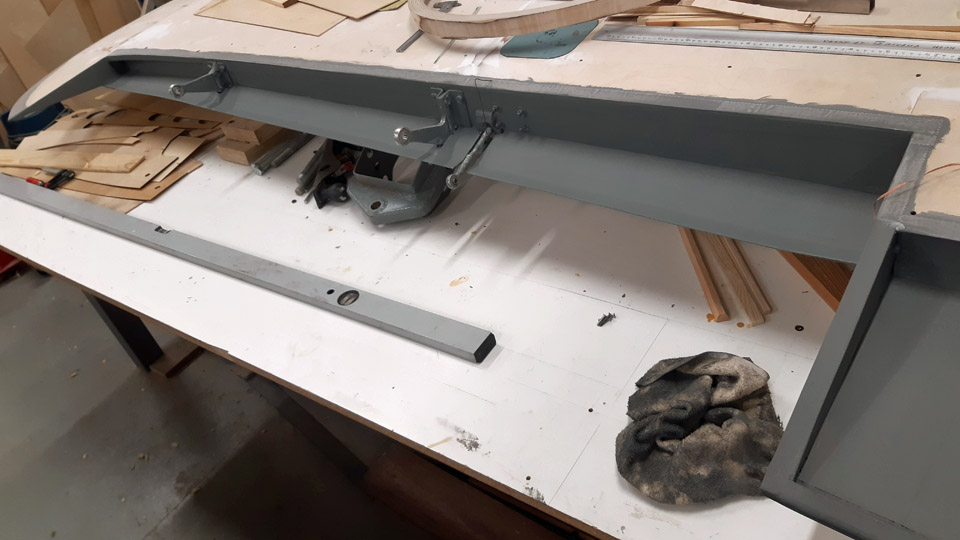
Photo: Heikki Kaakinen. When the lower sides of the wings had been painted twice with the aluminium flake alkyd paint, the painting work on the upper sides of the wings was started. The flake paint was spread with a roller. When both sides of the wing have been painted with the flake paint, they will be ready to be painted with the TEKNOS Oy Futura adhesion primer. On top of this the Myrsky’s green-black camouflage painting will eventually be added. Photos: Lassi Karivalo, except othervise mentioned. Translation: Erja Reinikainen. |
|
Avainsanat: aviation history, restoration, VL Myrsky, MY-14 |
Ilmailumuseot.fi - Aviationmuseums.fi