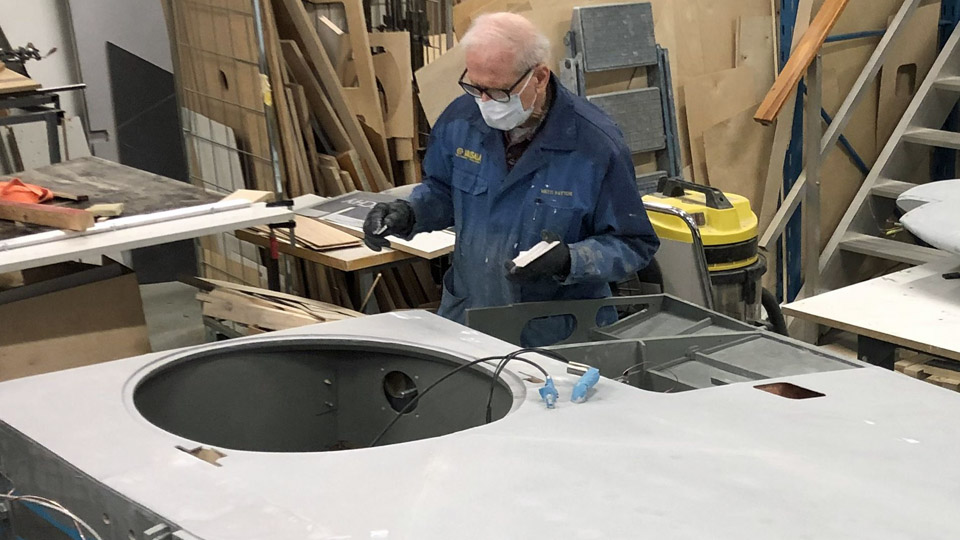
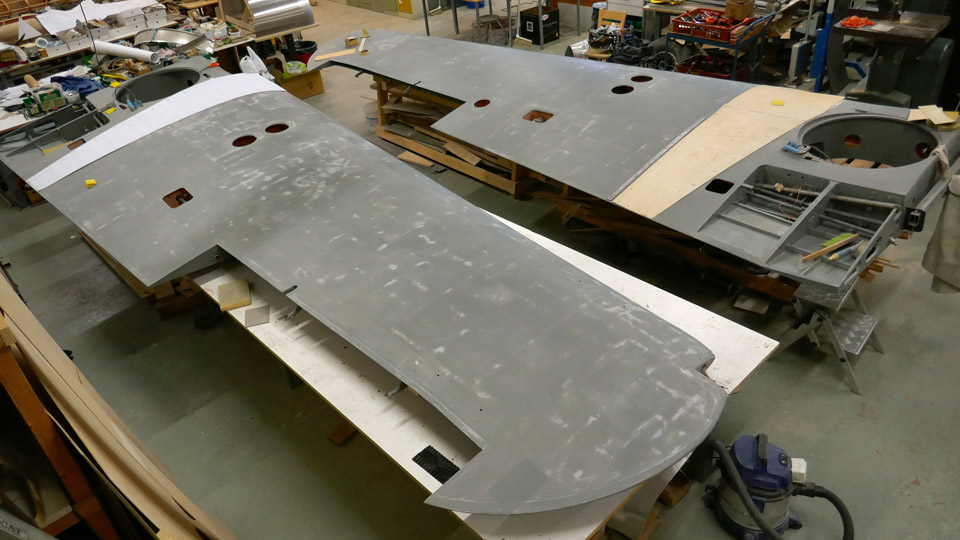
Undercoat painting of Myrsky?s wings was finishedLauantai 27.2.2021 - Tuesday Club member The undercoat painting of the upper sides of Myrsky’s (VL Myrsky II, MY-14) wing halves took about two months. Now the work is ready. The undercoat painting procedure of the upper sides followed the undercoat painting of the lower sides of the wings. First the plywood surfaces are painted with pale grey TEMALAC AB 70 alkyd paint which contains aluminium flakes, and it is covered with a couple of layers of dark grey Teknos Oy adhesion primer Futura 3.
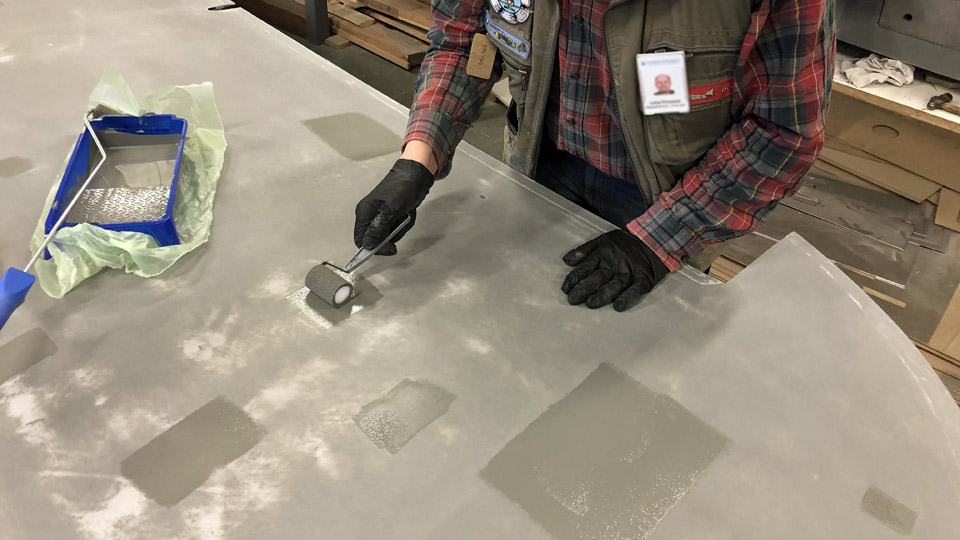
Photo: Jouni Ripatti. The painting of the upper surfaces of the wing halves with aluminium flake undercoat paint was described in the previous blog. Before the dark grey adhesion primer could be applied on the aluminium flake undercoat paint, the painted surface was ground smooth and some uneven spots on the plywood surface had to be spackled.
Photo: Jukka Köresaar.
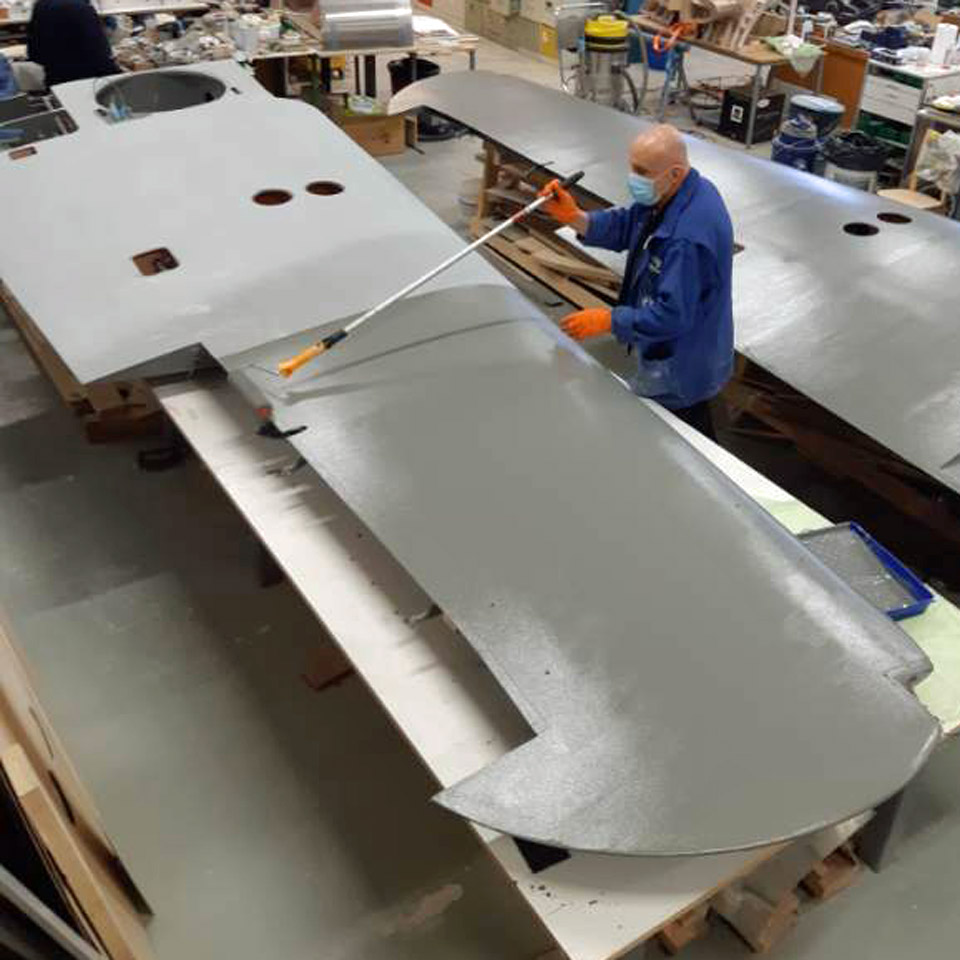
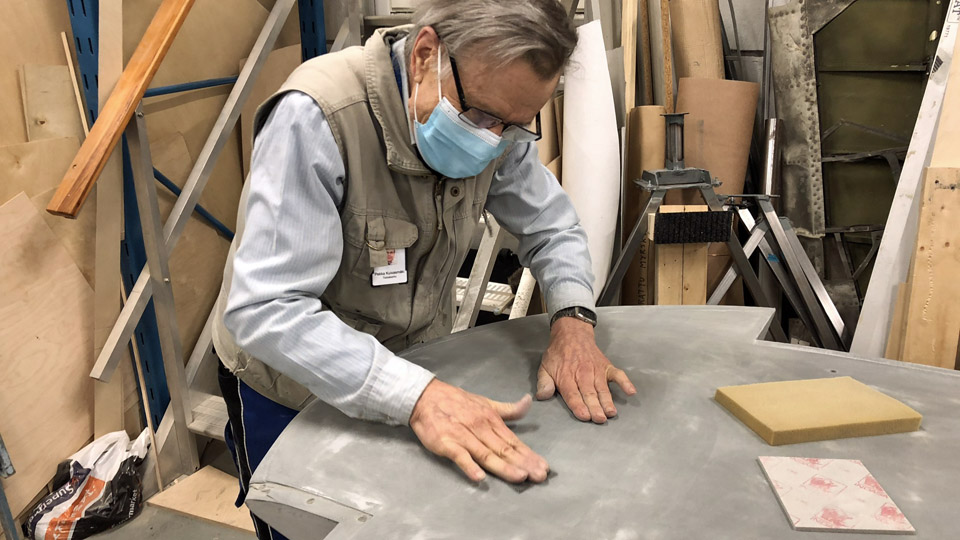
The Teknos Oy's Futura 3 RAL 7005 adhesion primer was spread with a mohair roller. When the paint had dried, it was noticed that the painted surface wasn’t as smooth as it should have been. Some uneven “orange peel surface” was detected. The painted surface was therefore ground smooth manually and with a disk grinder, using 180 sandpaper grit.
Photos: Jouni Ripatti. The paint dust was removed and a new layer of Futura 3 paint was applied. This time the paint was thinned with white spirit to a solution of 80%. The soft mohair roller was changed into a harder foam rubber roller. This time the result was satisfactory, but in some places some uneven paint surface could still be seen. However, after grinding the Futura 3 undercoat paint surface was very smooth.
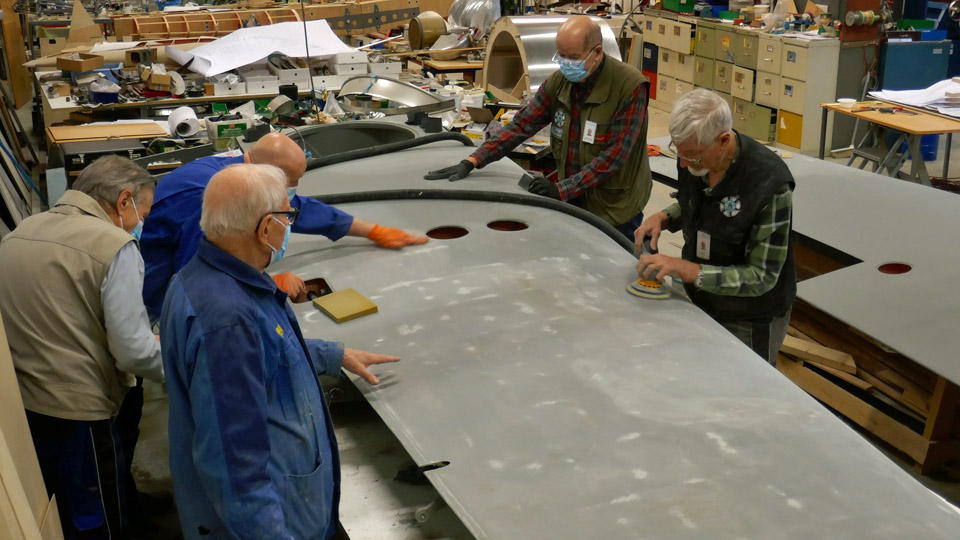
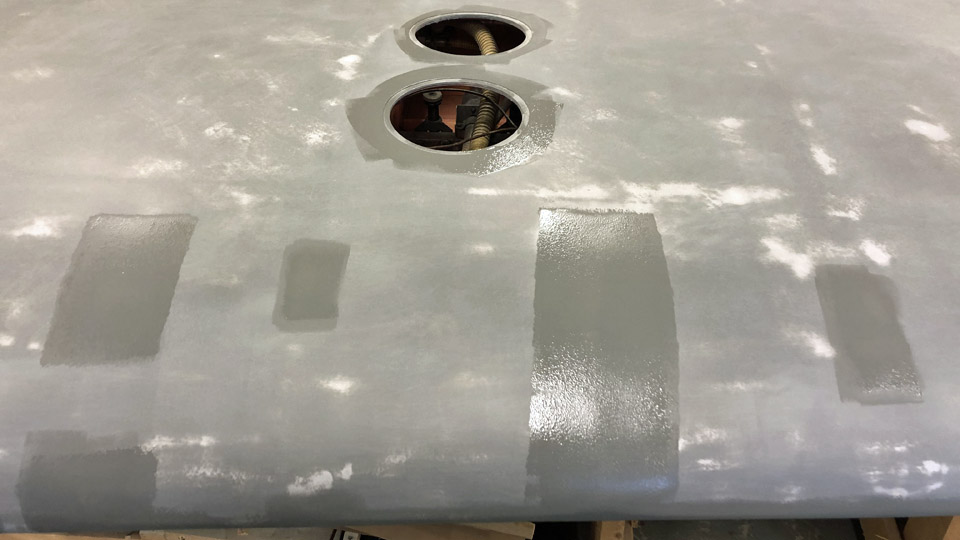
Photo: Jouni Ripatti. When the small uneven areas were ground, the paler grey aluminium flake paint was revealed from under the darker adhesion primer and the surface looked patchy. It is important, that the two undercoat paints have different shades. Because of this it can be seen when the lighter grey layer of alkyd paint becomes visible when the top layer of the adhesion primer surface is ground.
When using the disk grinder to grind the Futura 3 surface, the bare plywood surface appeared in some places. This was not the purpose. These places were patched with a layer of adhesion primer. When the patched spots had dried they were ground manually, using first a rougher (150) INDASA Fine sanding pad and then a finer (240) INDASA Super Fine sanding pads.
Now the upper and lower sides of the MY-14 wing halves have been painted with undercoat paint and they are waiting for the paint finishing. The upper surface will be dark green with black camouflage and the lower side will be DN-blue. The paint finishing will not be done at the Tuesday Club, it will be bought from outside. The main reason for this is that the restoration space of the Finnish Aviation Museum is not sufficiently dustless or suitable for the large-scale spray painting of the wing surfaces.
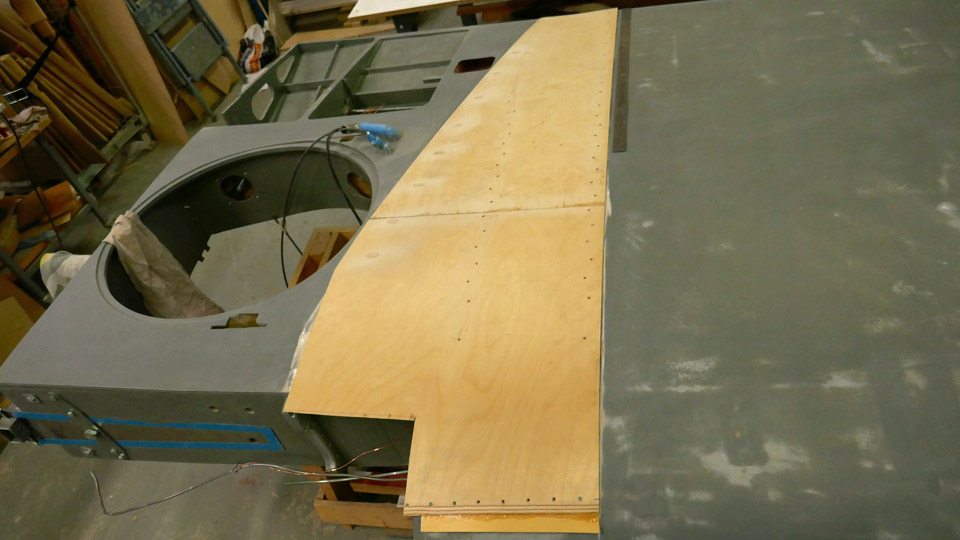
The Tuesday Club team can now continue with the other remaining work in the construction of the Myrsky’s wing. The installation of the step plates on the upper surface of the wing root has been started. The step plates have been cut from 2 mm thick plywood and they haven’t been painted yet. The aluminium wing root fairings, which protect the seam of the fuselage and the wing, are fastened on the inner edge of the step plates. Photos: Lassi Karivalo except if otherwise separately mentioned. Translation: Erja Reinikainen |
|
Avainsanat: aviation history, restoration, VL Myrsky, MY-14 |
Ilmailumuseot.fi - Aviationmuseums.fi