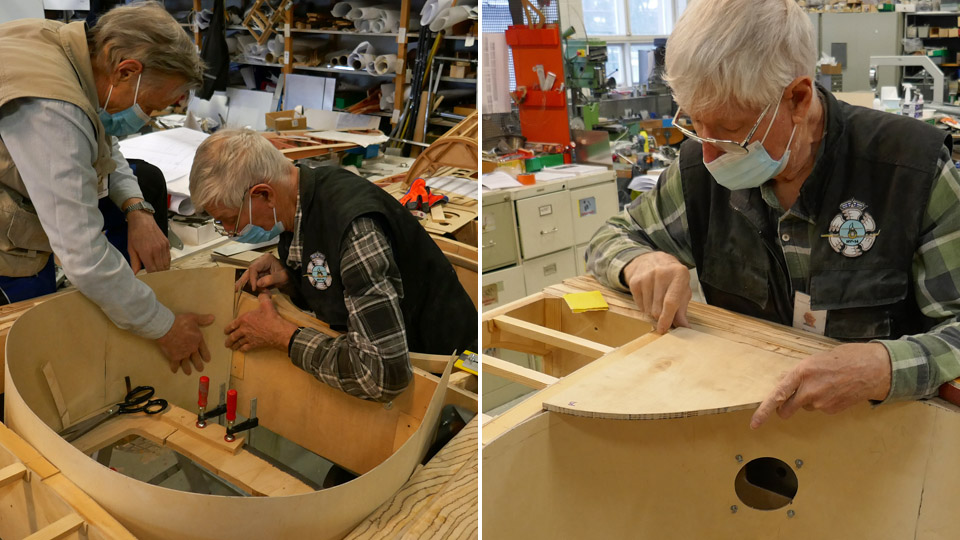
Wheel well and aileron inspection hatches on Myrsky?s test wingSunnuntai 21.3.2021 - Tuesday Club member When the undercoat painting of VL Myrsky II’s (MY-14) wings and tail part surfaces had been completed, the activity of the six Tuesday Club members working on the Myrsky project could be targeted to other things. The new work item is the test wing and the construction of its wheel well and the installation of the ailerons’ inspection hatch covers.
The wheel well of the test wing is in the square space bordered by the front and rear spars and the wing ribs. The wall of the wheel well is made of 2 mm thick plywood. The wall billet had been cut earlier, now it was fitted into place by bending the plywood into a circle, in the space bordered by the spars and ribs. At the fitting stage the plywood wall was too tall for its space. When the wall had settled into place as desired, the excessive height was cut away and the plywood wall was fastened. The next phase was to make from plywood the corner pieces to cover the empty spaces in the corners of the wheel well.
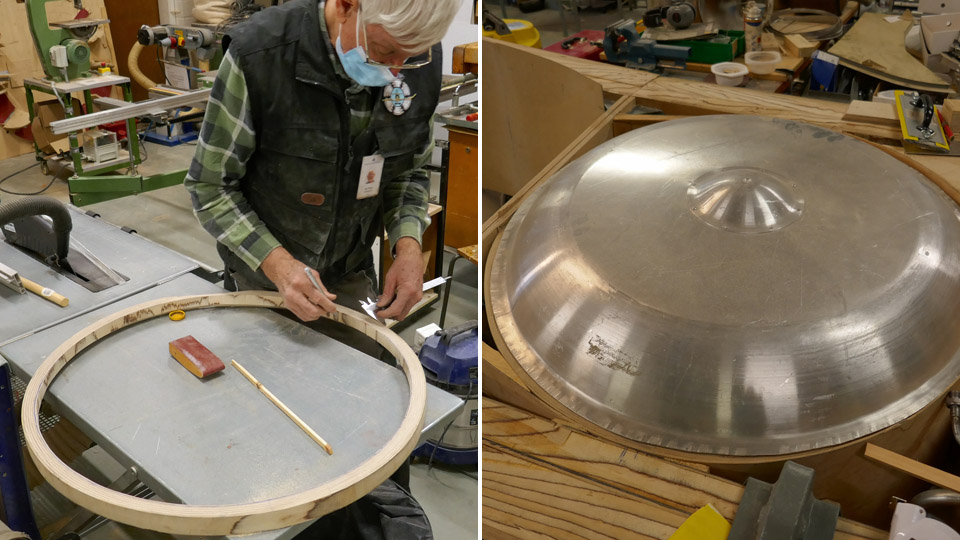
A supporting curb will be built on the upper edge of the plywood wall of the wheel well. The pressure lathed aluminium cover will be fastened on the curb to shield the wheel well. The covers have already been lathed for both wheel wells of the test wing. The supporting curb and the cover on the starboard wing half are already in place. The wheel wells and their covers will be hidden under the aluminium wing root fairings, which cover the seam of the Myrsky’s fuselage and wing.
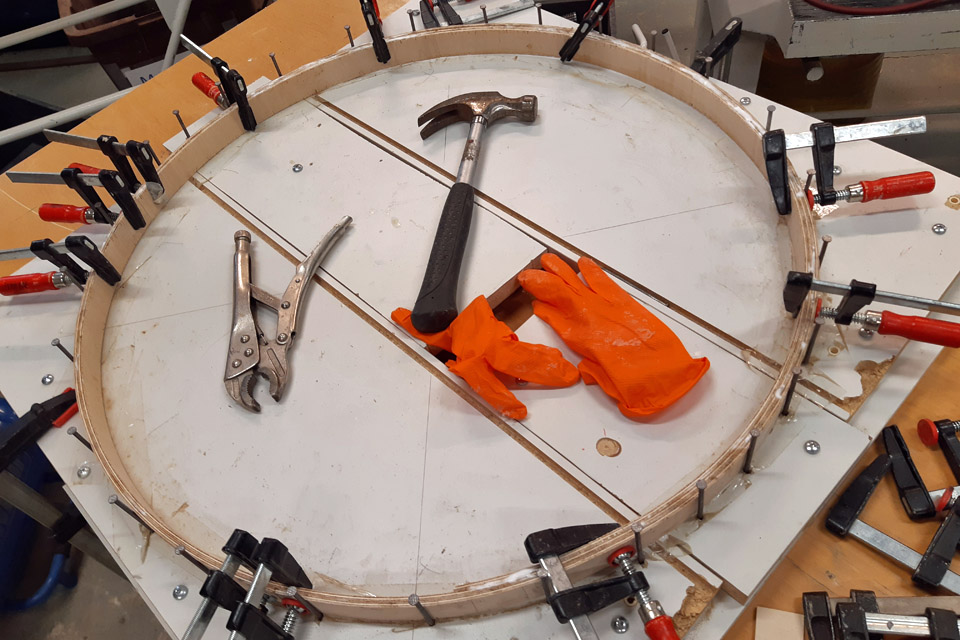
The supporting curb for the wheel well’s upper edge on the port side wing half was made from plywood strips which were glued together and forced into a mould. When the glue had dried, the supporting curb was unfastened from the mould and modified into measure and is now waiting to be installed.
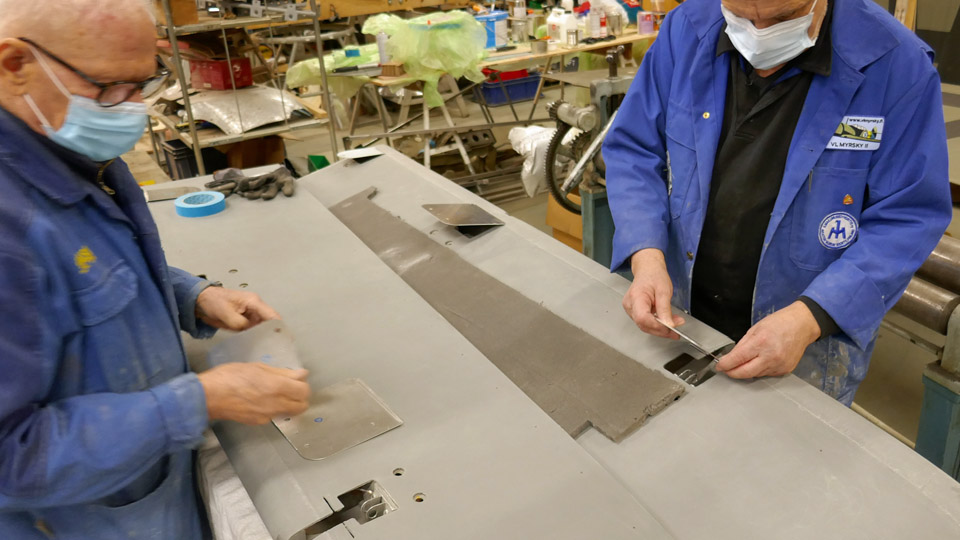
Simultaneously with the building of the wheel well, the fitting of the half-finished aileron inspection hatch covers was started. This task has been waiting while the ailerons were being painted with undercoat paint.
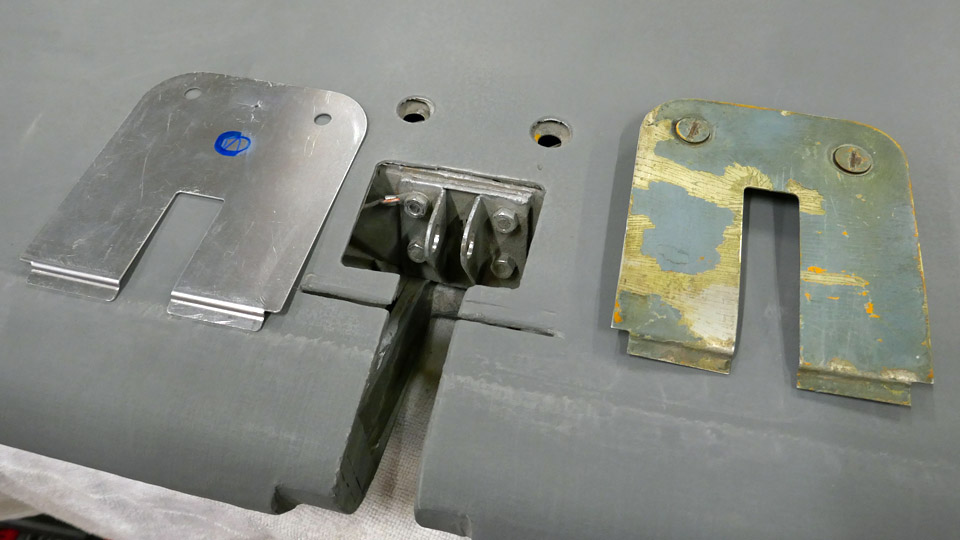
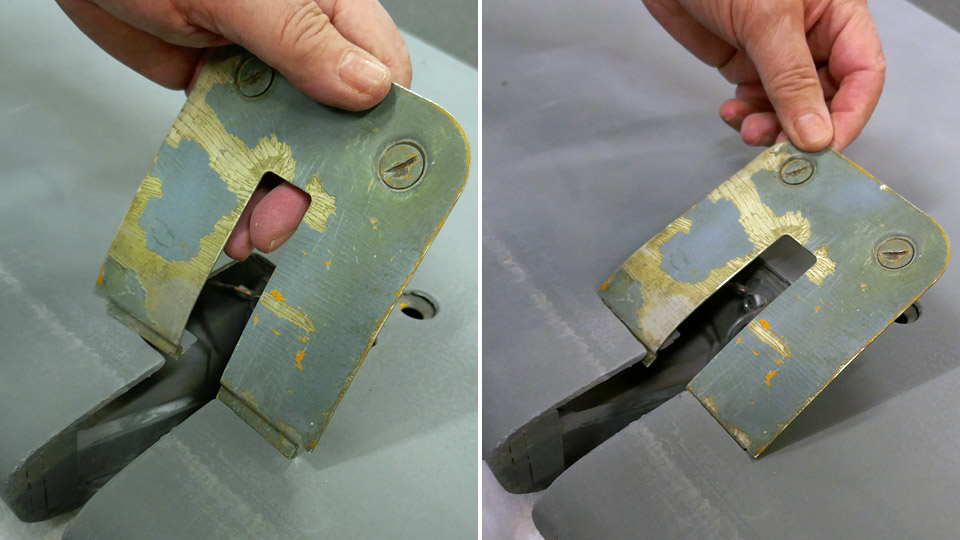
The aileron is fastened on the wing with three hinges. The hinge knuckles inside the aileron’s leading edge are fastened on the journaled hinge arms on the wing with bolts. On the lower side of the aileron’s leading edge there is an inspection hatch for each hinge. The opening of the inspection hatch has a cover made of 1 mm thick aluminium plate. The Tuesday Club team has one original hinge hatch cover as a model. The cover is for the hinge hatch in the middle of the aileron. However, the team made new covers for all aileron inspection hatches. On the front side of each inspection hatch opening there is a slot on the aileron’s surface for fastening the cover.
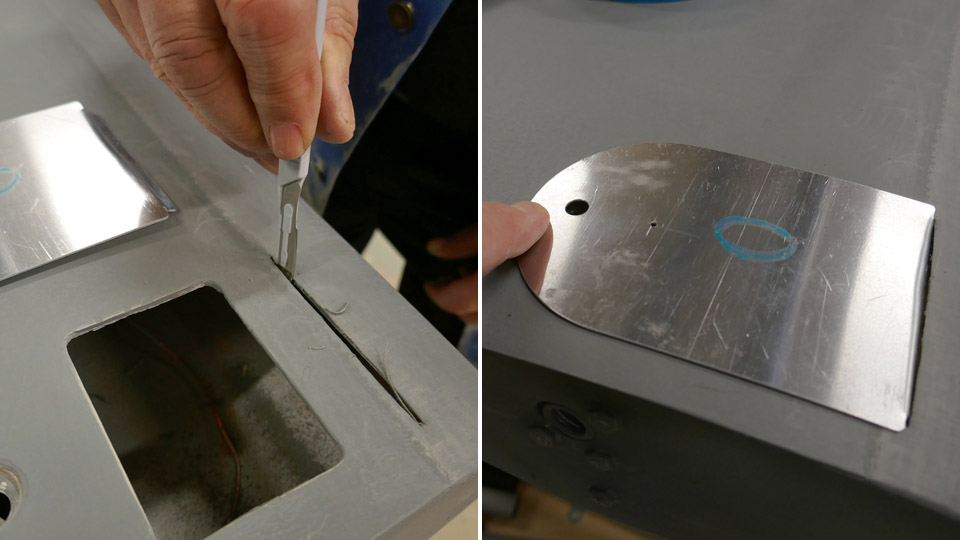
These slots for fastening the inspection hatch covers had been covered during the undercoat painting of the aileron, when a strip of linen fabric was fastened to reinforce the leading edge. The covered slots were cut open with a sharp knife, then the inspection hatch covers were fitted into place, one by one. When the hatch is closed, the front edge of the cover is slipped into the slot in the aileron, then the cover is pressed against the aileron surface to cover the opening. The cover is locked into place with one or two screws, located on the rear edge of the cover. The screws are pressed and locked into the locking holes with springs. The new aluminium hatches don’t have the locking screws yet. Photos: Lassi Karivalo Translation: Erja Reinikainen |
|
Avainsanat: aviation history, restoration, VL Myrsky, MY-14 |
Ilmailumuseot.fi - Aviationmuseums.fi