Wheel well cover of Myrsky?s test wing installedSunnuntai 4.11.2018 - Member of Tuesday Club The wheel well covers for VL Myrsky II (MY-14) wings have been under construction since spring. Three covers will be made: two for the actual Myrsky and one for the test wing.
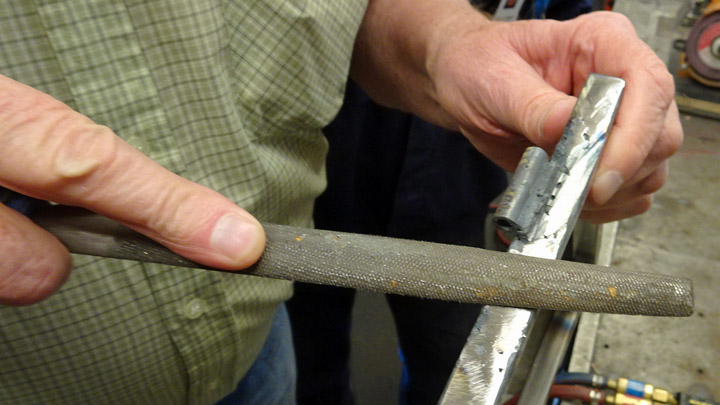
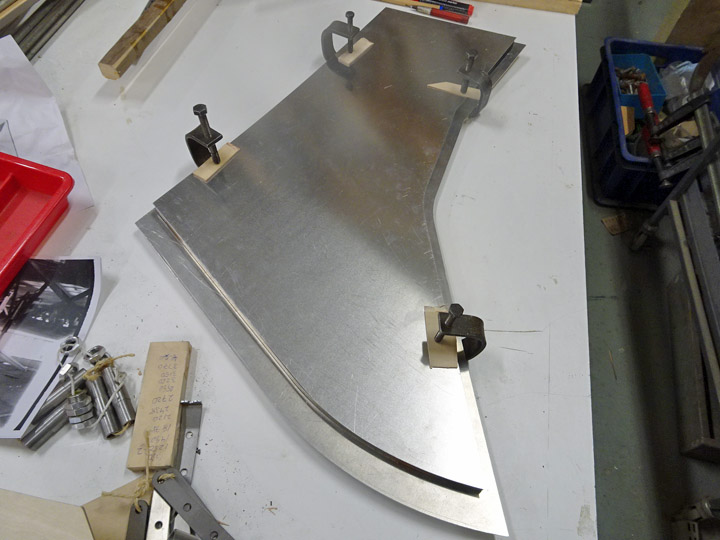
The wheel well cover consists of two sheets of aluminium and a supporting frame in between, made of 15mm steel tubes. The aluminium sheet on the inside is slightly smaller than the outer sheet. Rivets are used to attach the aluminium sheets to the supporting structure so that the cover forms a box construction. The wheel well cover is attached to the edge of the wheel well with two hinges. The hinges are fastened on the edge of the steel tube structure of the cover.
During this autumn the wheel well cover for the test wing has been under construction. The assembly of the wheel well cover, and the function of the hinges will be tested on the test wing before making the covers for the actual Myrsky wings.
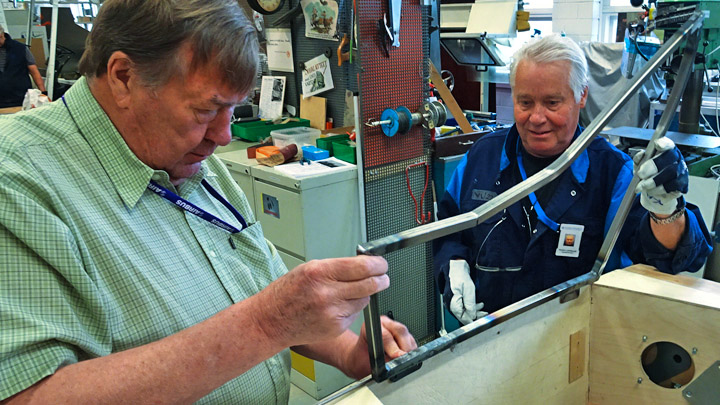
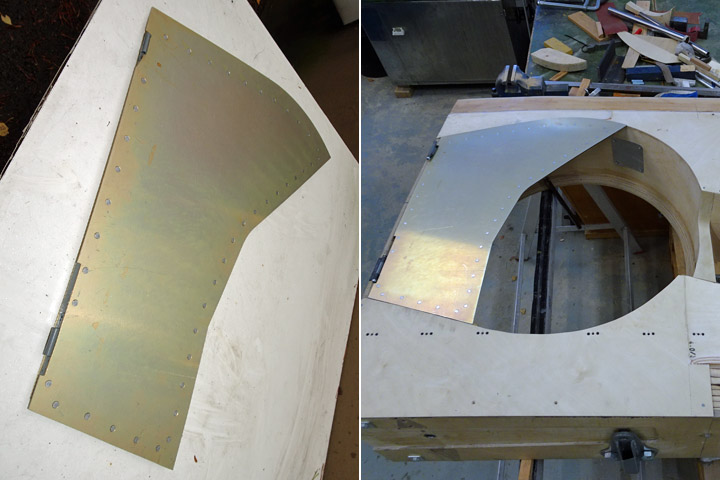
The steel tube structure was made first, then the hinges were welded on the frame and then the cover structure was assembled into the wheel well hole. The hinges were fastened to the edge of the wheel well to see how the cover fits and functions. Several modifications were needed, and the position of the hinges had to be changed before the assembly team was happy with the result. When the correct position of the hinges on the tube frame had been found, the aluminium plates could be riveted on the frame.
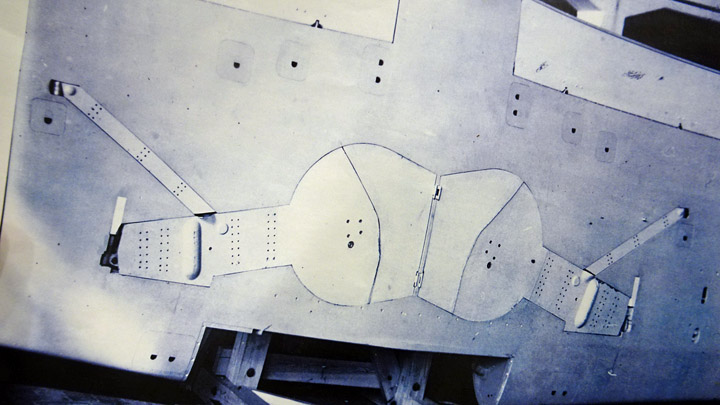
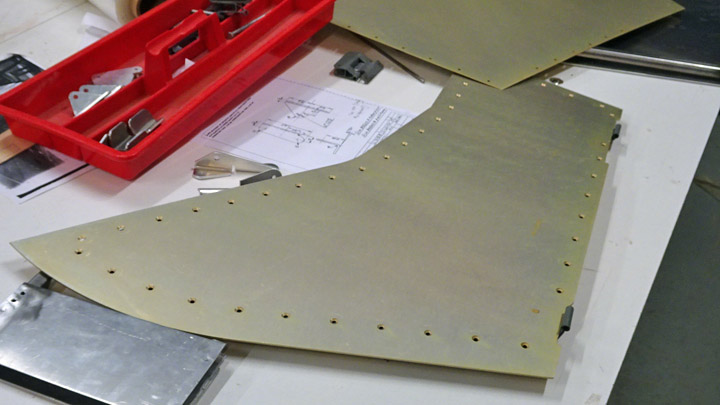
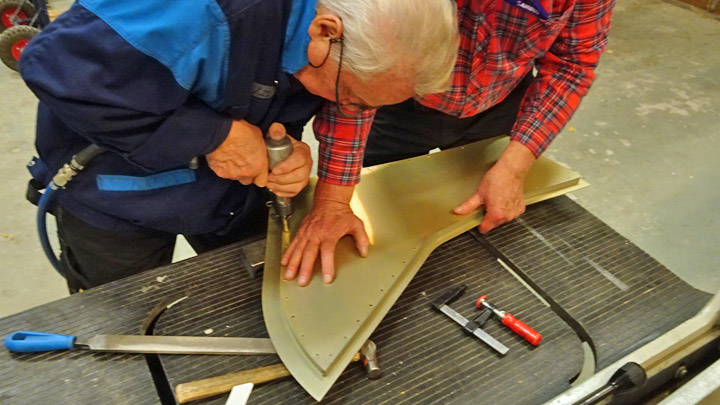
The aluminium plates and the tube structure were clamped together, into a tight package. Holes for the flush rivets were drilled along the edges of the cover so that the drill penetrated both aluminium sheets and the tube construction between them. The holes are about 4cm apart and their edges were bevelled with a drill so that the rivet tops will be at the same level as the aluminium sheet top.
Before riveting the aluminium sheets were sent to be chromed. Chroming forms a thin organic layer on the surface of the aluminium and protects it from oxidation. The chromed surface is an excellent foundation for painting work. The chroming was not done by the Tuesday Club.
When the chroming had been done, riveting could be started. 20mm long flush rivets were used. A pneumatic riveting hammer was used when placing the rivets one by one into the holes on the wheel well cover. No problems occurred during the riveting work and the aluminium sheets and the steel tube frame soon formed a box construction. The cover could be fastened on the edge of the wheel well by installing the hinges. When the cover was closed, it fitted tightly into the wheel well opening.
The next step in the restoration work will be to assemble a spring mechanism into the wheel well under the cover. This mechanism will push the cover open when the landing gear is taken out. A lever will be installed on the inside of the cover to close the cover. When the landing gear is pulled in, the wheel of the gear will push the lever and the wheel well cover closes. |
|
Avainsanat: aviation history, restoring, old aircraft, VL Myrsky II, MY-14 |
Ilmailumuseot.fi - Aviationmuseums.fi