DO-5 cockpit seatsTorstai 20.10.2022 - Tuesday Club member Suomeksi Restoring the fuselage of the DC-3/C-47 (DO-5) into at least tolerable condition before display requires all kinds of work. The main emphasis is on the cockpit area.
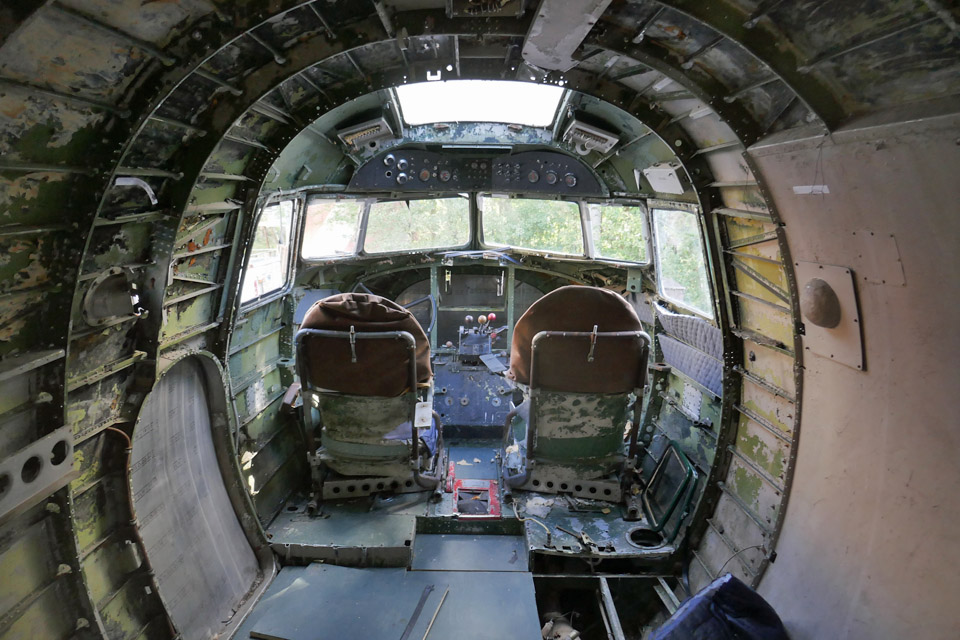
When the tail sections of the DO-5 and other clobber had been moved from the fuselage into the storage container next to the aircraft and when the cockpit windows had been sealed to prevent rainwater from entering the aircraft, we could concentrate on the cockpit. The starting point was a complete disaster area: the instruments and most of the cockpit equipment were missing, the seats were tattered, the walls bare without interior panels, and there was rubbish everywhere.
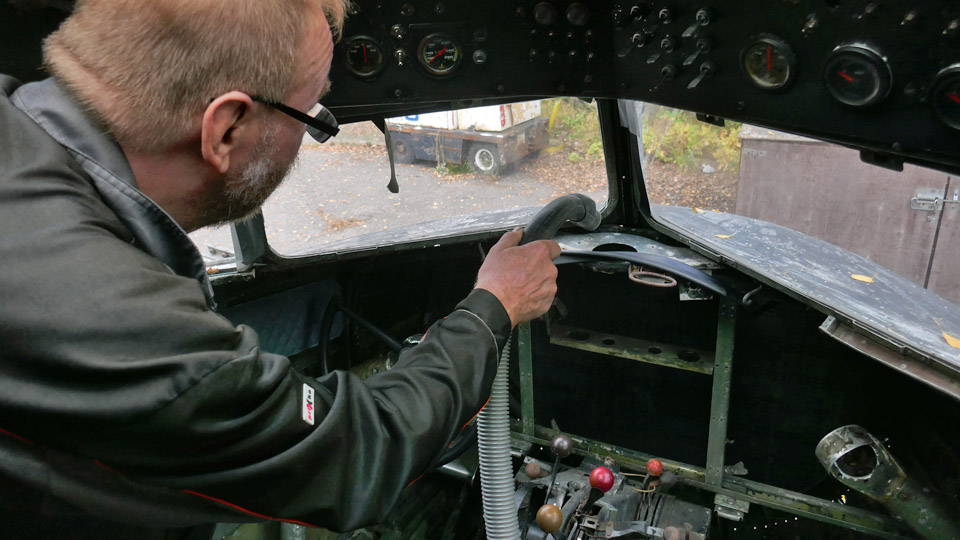
Our first step was to clear the cockpit of the clobber and rubbish, which had filled it during the years. Eventually we were even able to use a vacuum cleaner for cleaning the surfaces in the cockpit. The first aim is to make the cockpit look tidy. Thinking further, it would be nice to install some of the missing instruments and equipment back into the cockpit, but now this seems to be very far away.
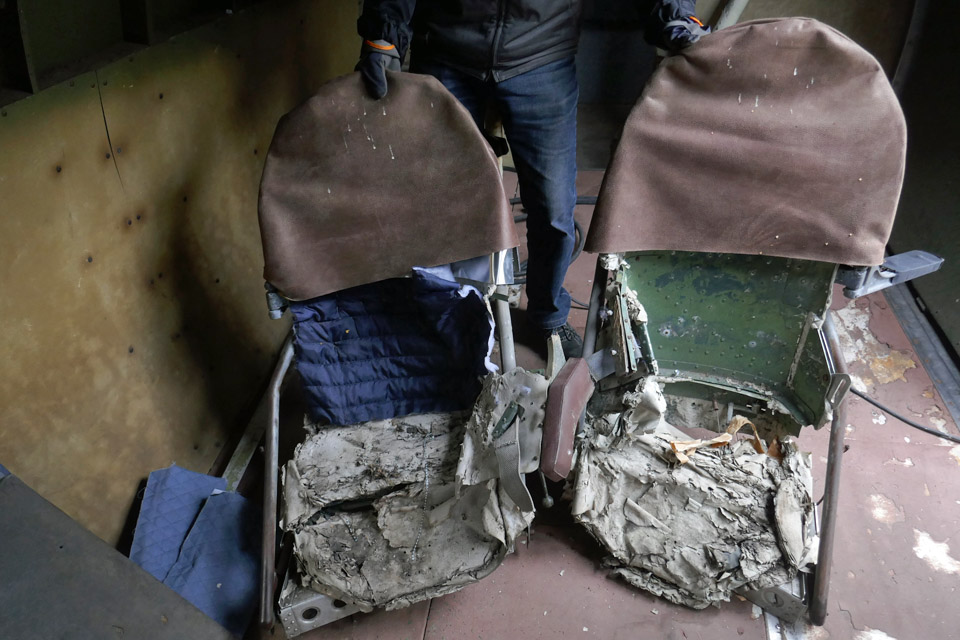
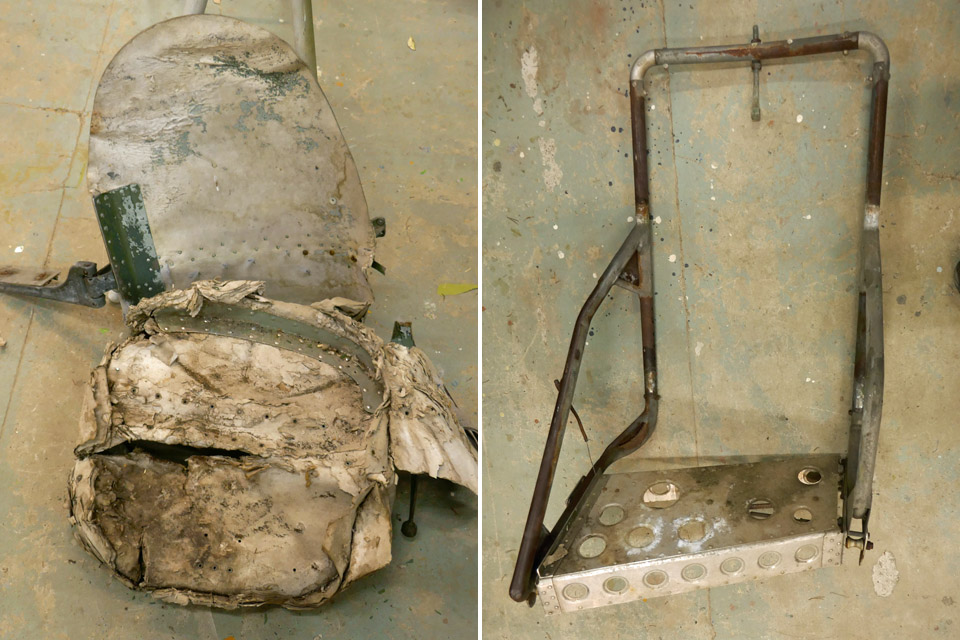
After cleaning our following targets were the pilots’ seats. The seat consists of the actual seat and its tube frame, on which the seat is fastened. Our aim is to restore the seats although the seat parts are badly damaged. The tube frames are still in good condition, although covered with rust.
The reason for the damage is that the whole seat part is made of multi-layer cardboard; pressed and stiffened into the shape of a seat. Due to the rainwater and humidity which has got into the cockpit, the pressed cardboard has become soggy, and the cardboard layers have disintegrated into pulp. However, the seat backs are still in reasonable condition.
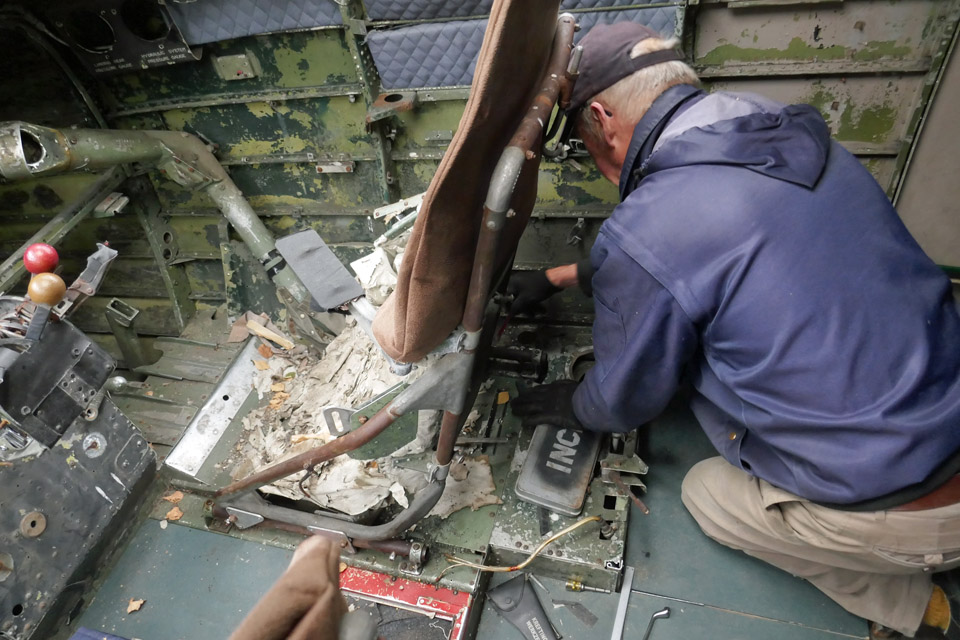
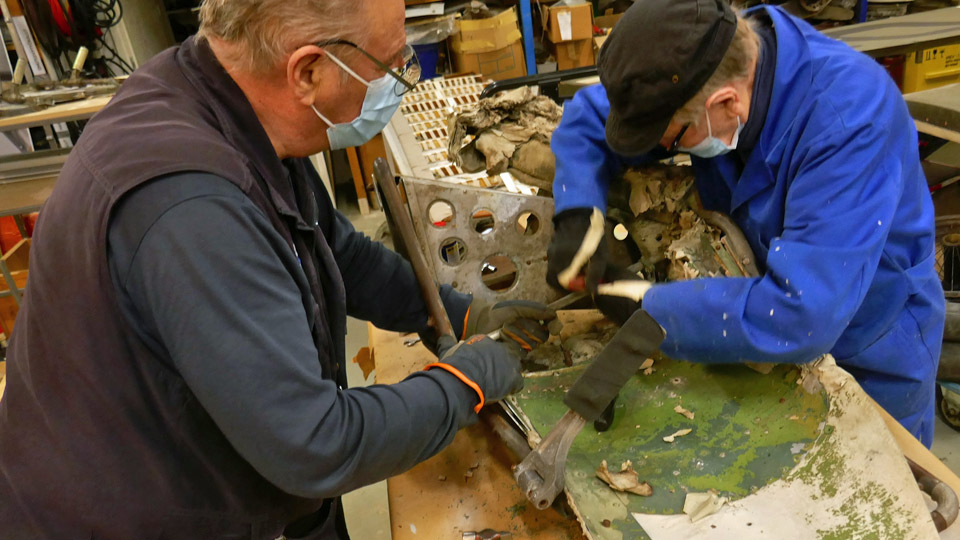
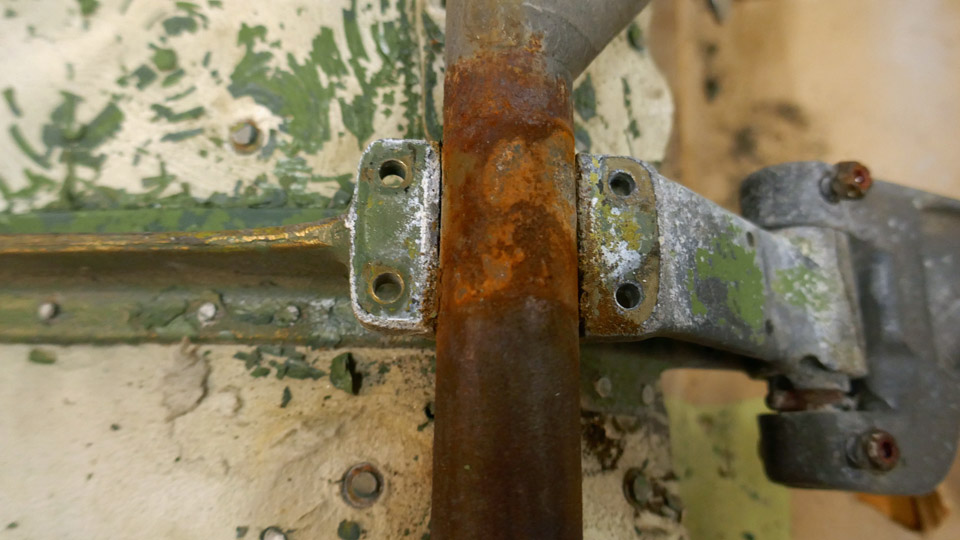
The truth is that it won’t be possible to restore these original tattered seats into good condition. The seat part of both seats will have to be completely replaced, even though the seat back is still useable. We will certainly be stuck between a rock and a hard place, trying to figure out how the seat part could be rebuilt. One option would be to build it from aluminium plate, this is an alternative to be considered. The seat frame must be cleaned of rust and painted.We started the seat work by unfastening both pilot’s seats from the rails on the cockpit floor. Then the seat part of each seat was unfastened from the seat frame. The seat is fastened on the seat frame tube with brackets, which slide on the tube to allow the height of the seat to be adjusted. The seat is locked at the suitable height with lock pins which are pushed into the holes on the frame tubes. The adjusting mechanism is under the seat.
We started the dismantling work of the seat on the left. We unfastened the rusted brackets around the seat frame tube to disassemble the seat from the frame. This wasn’t easy, because the seat height adjustment locking pins were still firmly stuck in their holes on the seat frame. Some effort was needed before the adjustment system’s locking pins could be pulled out of their holes and the seat and its frame disassembled.
We dismantled the seat on the right in a similar way. It is identical to the seat on the left, but its mirror image. There we had to disassemble completely the seat height adjustment mechanism before the locking pins could be pulled out of their holes on the seat frame. Then the seat and the frame could be unfastened from each other. Both seat parts were taken to the DO-5 storage container to wait for further actions. Photos: Lassi Karivalo Translation: Erja Reinikainen. |
|
Avainsanat: aviation history, restoration, Tuesday Club, DO-5;DC-3, C-47, Dakota |


