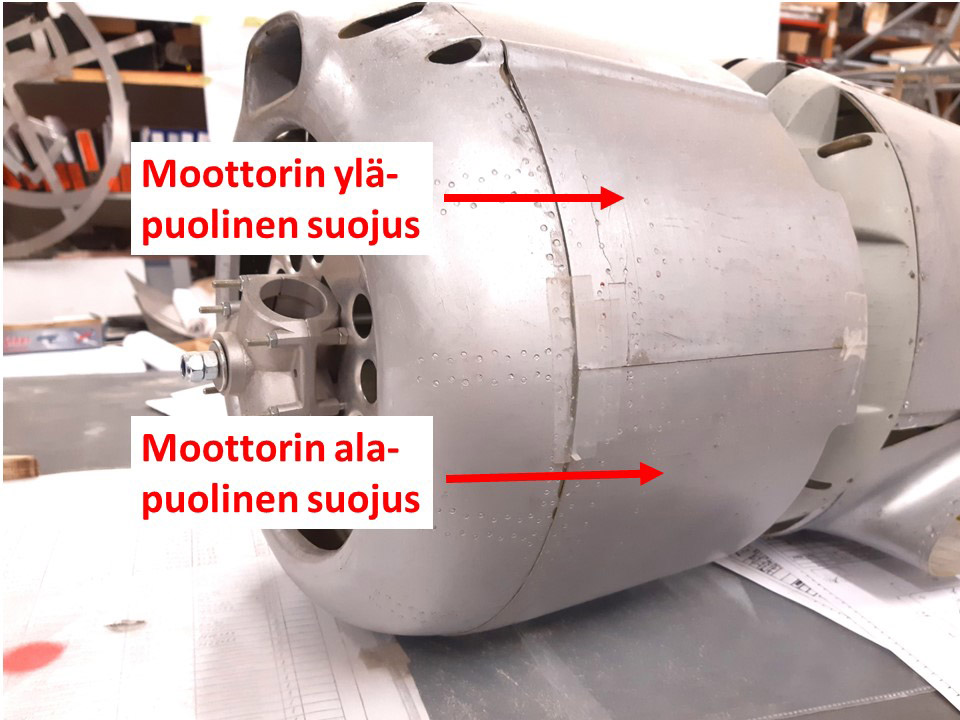
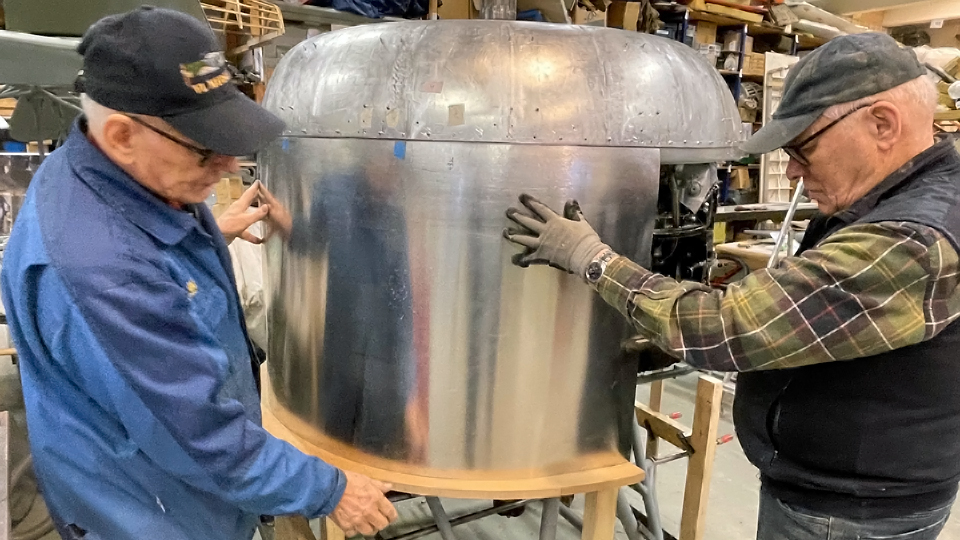
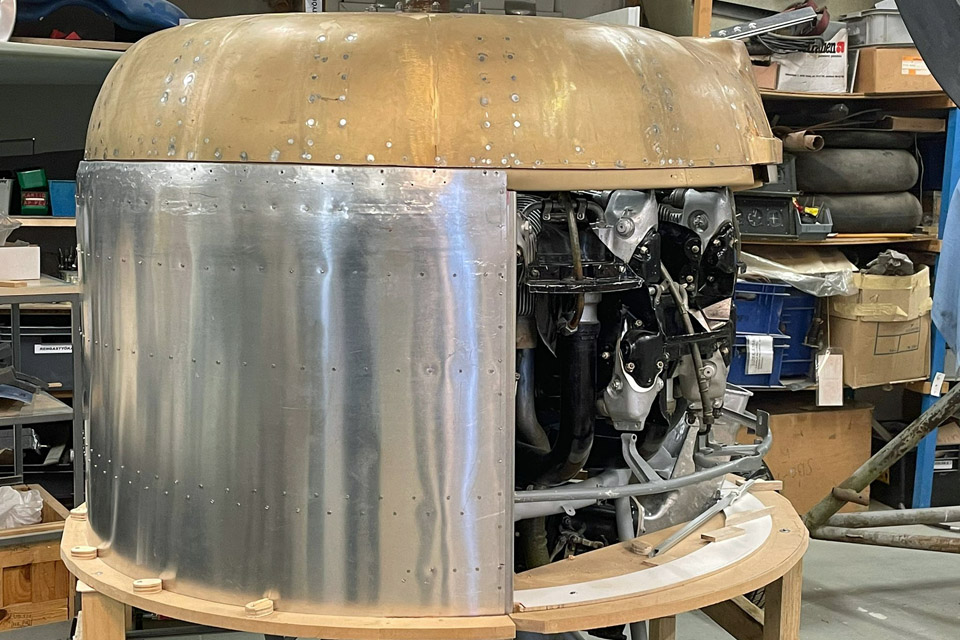
Making the lower sheet metal cowling for the Myrsky engineMaanantai 6.11.2023 - Tuesday Club member The VL Myrsky II (MY-14) engine has a lower and upper cowling, made of sheet metal. The lower cowling was built at the Tuesday Club. The cowling was made of 1 mm thick aluminium sheet. The stiffening formers that were fastened on the inside surface of the cowling were made of the same material. The upper engine cowling will be built at the Finnish Air Force Museum, where the main undertaking will be the restoration of the MY-14 fuselage.
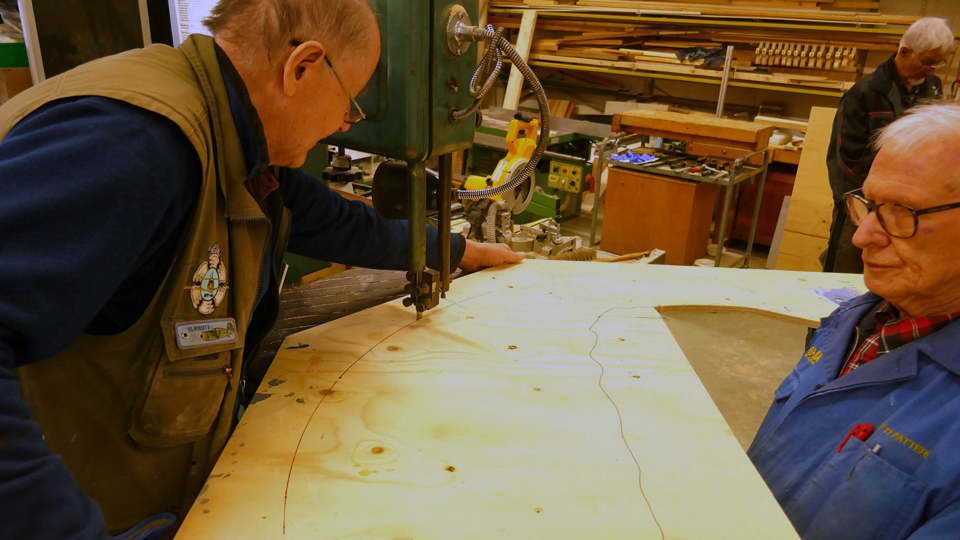
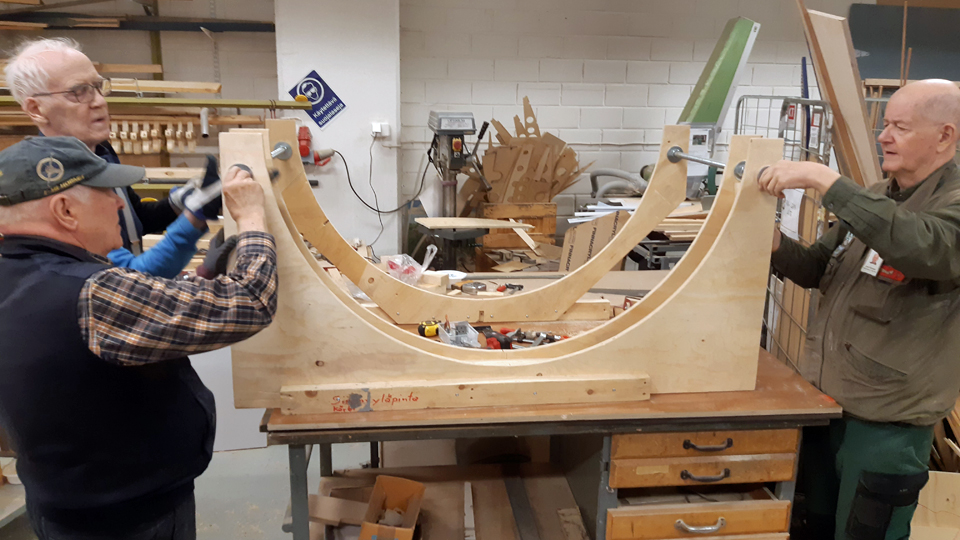
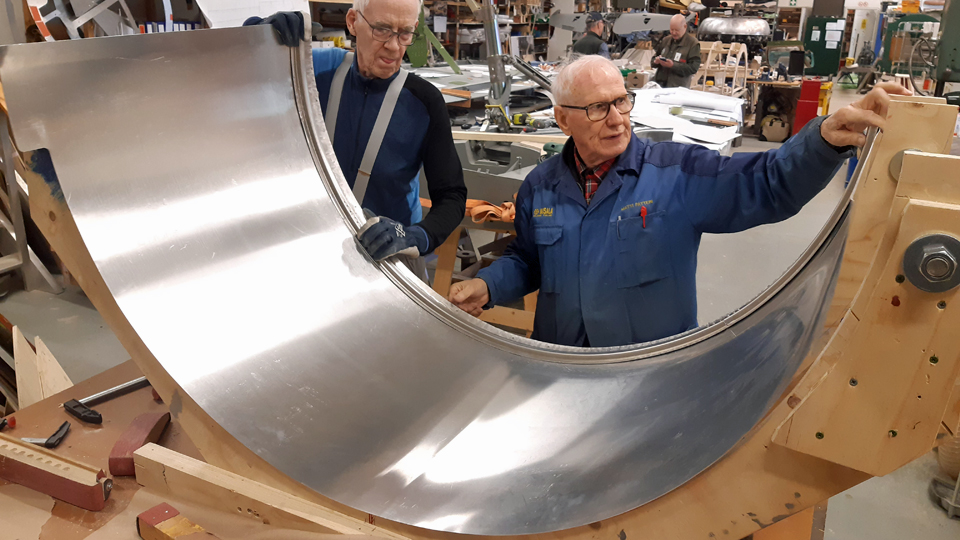
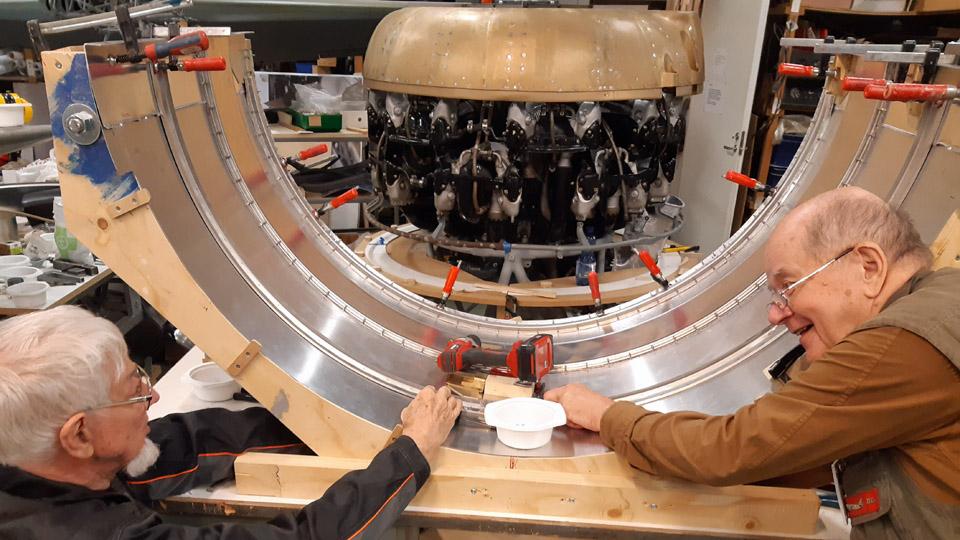
Before the 1 mm sheet, cut out of aluminium plate, was started to be formed into the U-form of the lower engine cowling, a female forming last was cut out of sturdy plywood. This forming last works as a model, showing that the lower engine cowling needs a curved shape. The shaping of the sheet was done by mangling the sheet in a mangler with three rollers and comparing the sheet to the forming last at intervals. After the mangled sheet had been made to press itself tightly against the forming last, it had reached its correct form. Next the formed sheet could be tried on the Pratt & Whitney engine used in the Myrsky. The engine was moved into the restoration shop in the Finnish Aviation Museum. We managed to fit it snugly on the side of the engine.
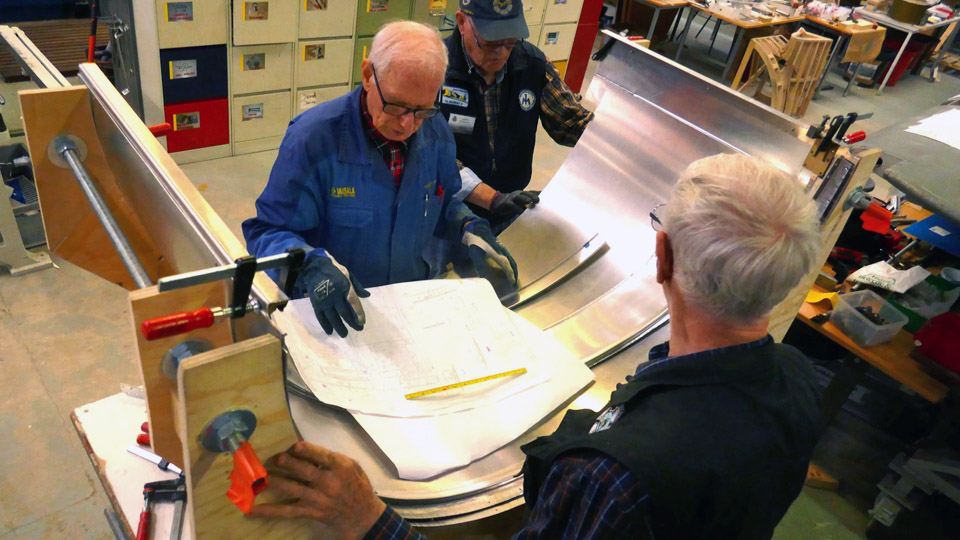
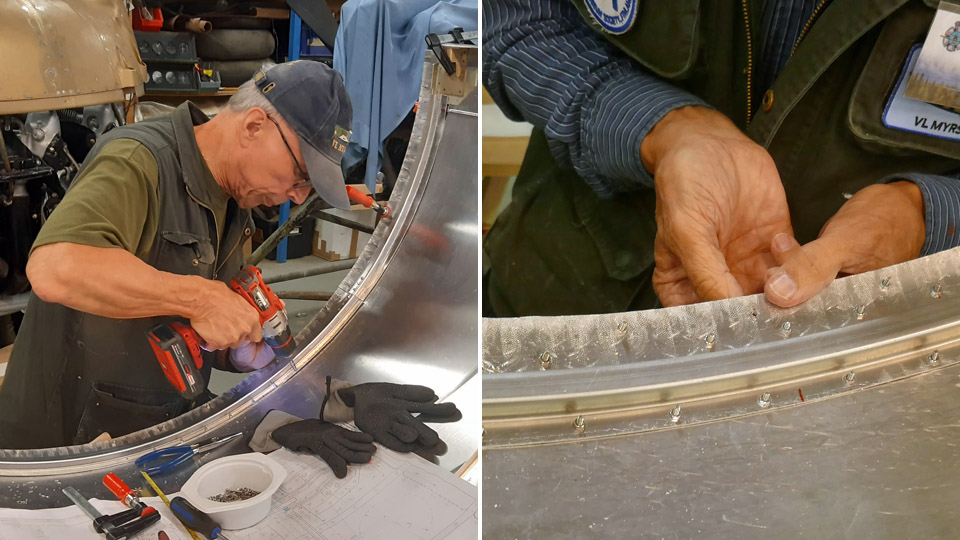
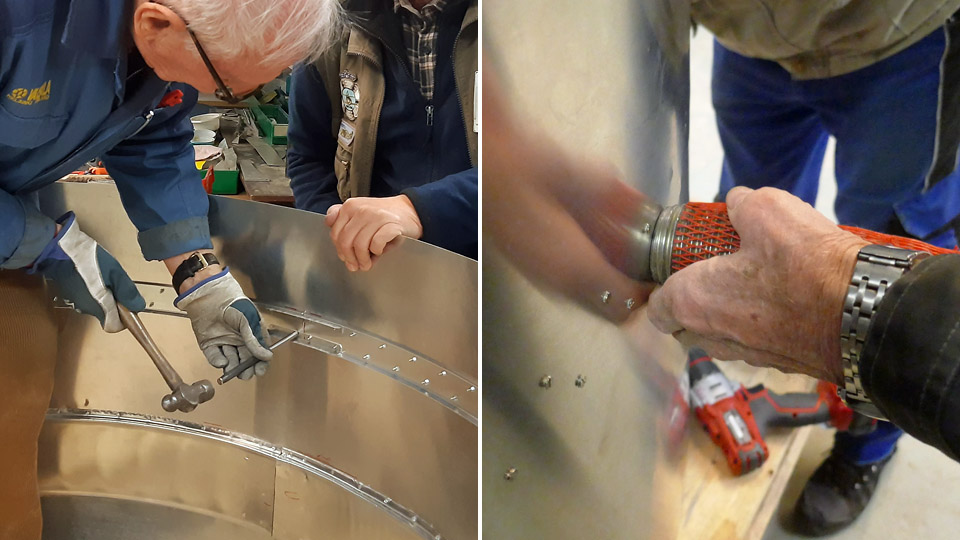
Photo by Heikki Kaakinen. The lower engine cowling needs several stiffening profile strips to keep it in form. The stiffening strips were cut and bent according to the programming information given at Prolaser Oy. After this we started to fasten the stiffening profiles on the inner surface of the engine cowling. The stiffening strips are fastened by riveting onto the metal casing.
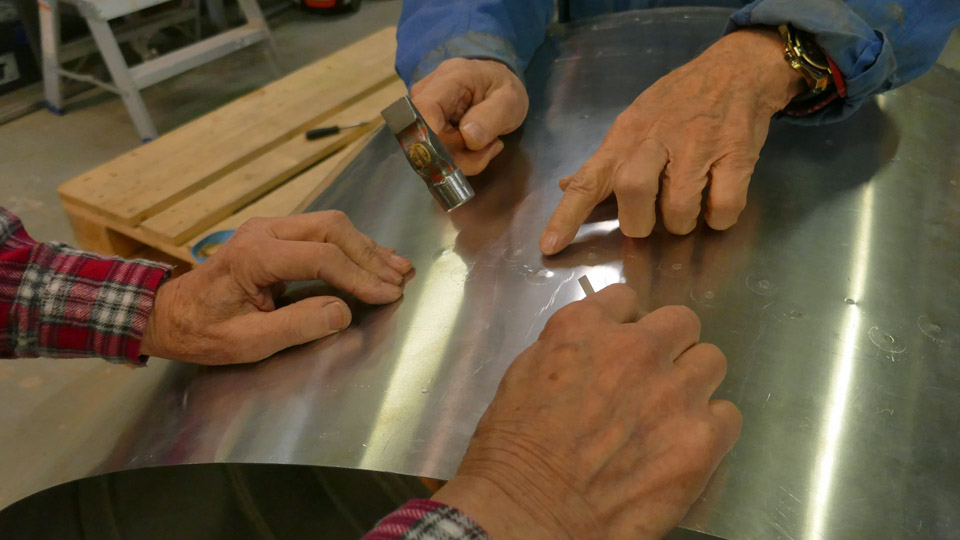
The Myrsky blueprints gave us the exact position of each profile strip on the inner surface of the engine cowling. So we started fastening the profile strips, but not straight with rivets but at first they were fastened in place with 12x3 mm small bolts. The holes for the bolts were drilled on the rivet spots according to the blueprints, and a small bolt was put in the hole to fasten the stiffening strip to place. When all the profile strips had been fastened, the inside of the engine cowling looked a bit like a porcupine, because the nuts of the small bolts were sticking out of the edges of the profile lists.
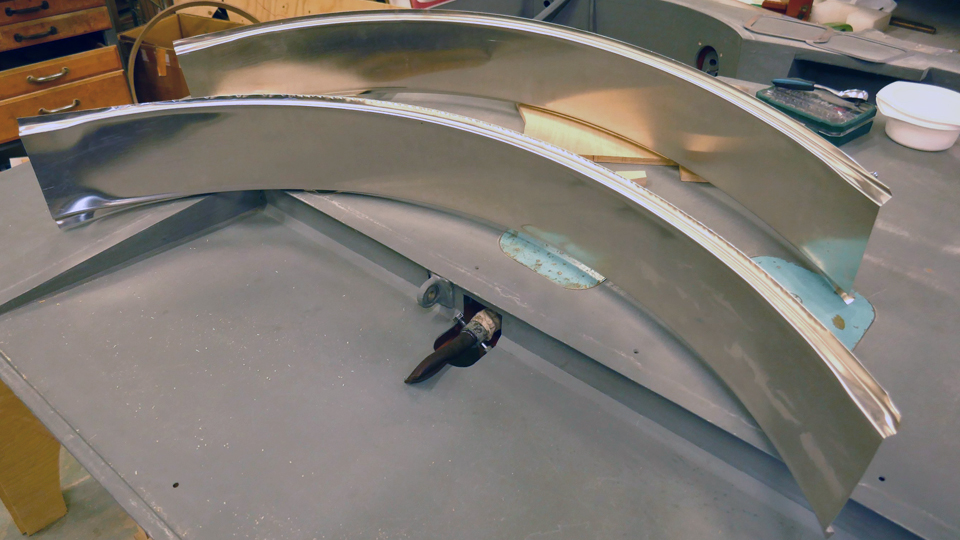
Now the engine cowling with stiffening profiles was fitted on the engine. The casing still settled laudably in place, so we could start fitting the fastening latches in the top part of the engine cowling. The lower and upper engine cowlings are fastened to each other with openable latches because the cowlings have to come off when maintaining the engine or armament.
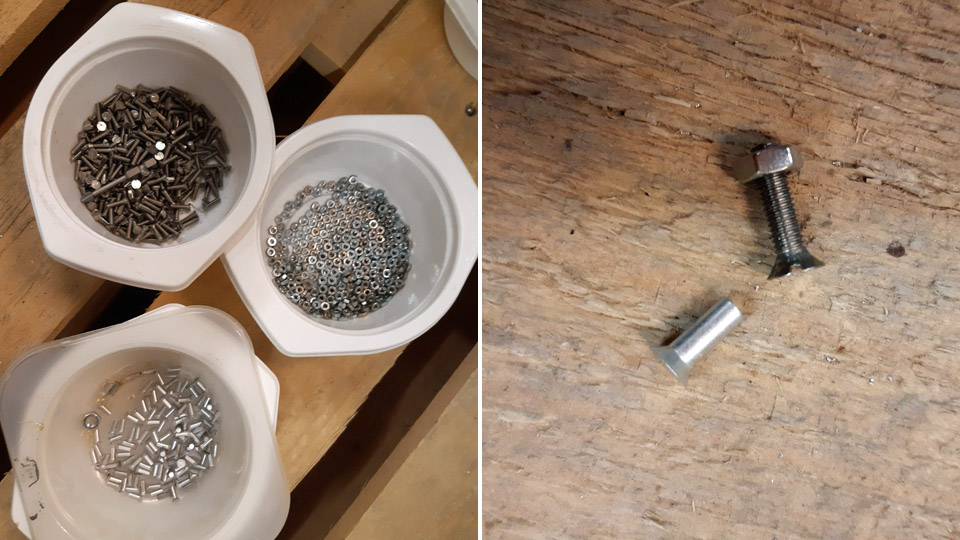
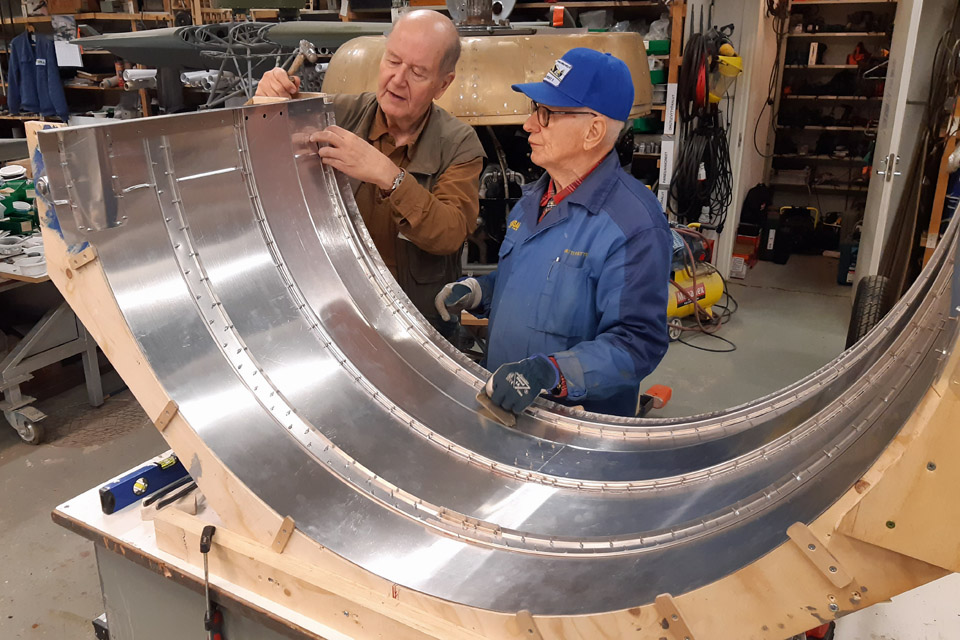
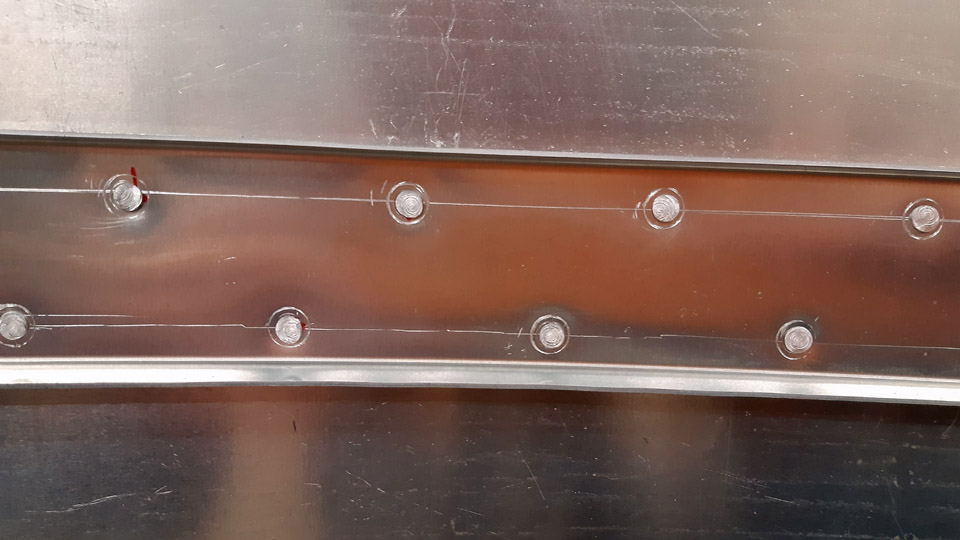
Before we started changing the fastening bolts of the stiffening profiles to countersunk aluminium rivets, the outside holes of the bolts were countersunk to suit the flush rivets. The profile strips were riveted, one hole after the other, onto the engine cowling’s inner surface with 8x3 mm aluminium rivets. The riveting was done with a riveting pin and a counter part pressed on the rivet head on the opposite side.
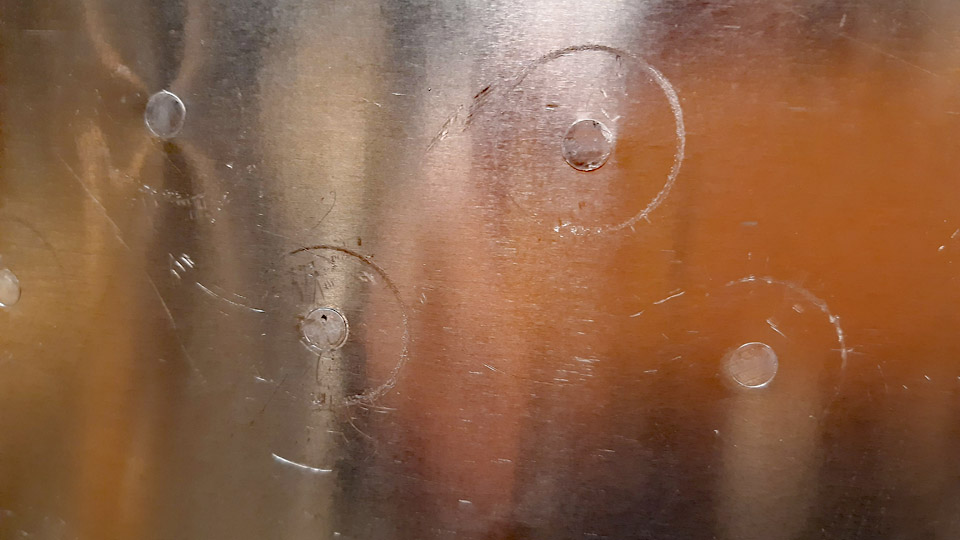
Finally it was checked that the flush heads of the rivets had been riveted flush with the engine cowling surface. Some rivet heads had to be tapped with a hammer flush with the engine cowling surface, so that the outside surface of the cowling was left absolutely smooth after the riveting. The finished lower engine cowling will still be chromated, the same way as all the Myrsky aluminium parts. Photos by Lassi Karivalo expect if otherwise mentioned. Translation by Matti Liuskallio. |
|
Avainsanat: aviation history, restoration, MY-14, VL Myrsky, Tuesday Club |
Ilmailumuseot.fi - Aviationmuseums.fi