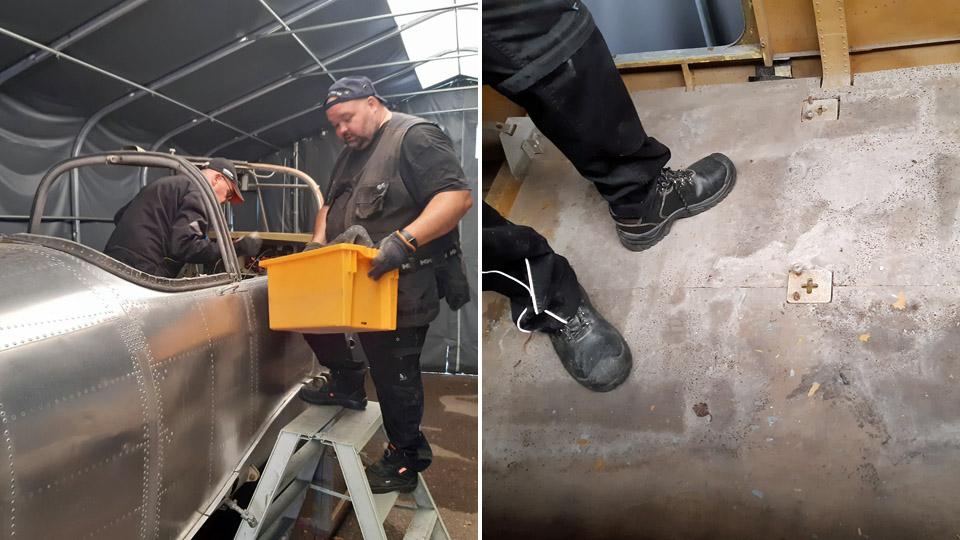
A report on the Tuuli III (TL-1) fuselage restaurationSunnuntai 28.1.2024 - Tiistaikerholainen At the beginning of the autumn season we carried on with the restoration work of the fuselage of the Tuuli III in the storage tent at the Finnish Aviation Museum’s yard. First we emptied the cockpit from the stored and packaged Tuuli parts. While doing this we noticed that the temporary cockpit floor plywood panels, that we had installed about five years ago for the period of the restoration work, were covered with mould. We disposed of them and made new ones out of 9 mm film plywood to the measurements of the original Tuuli floor panels, which were in storage. The floor panels were installed to the cockpit.
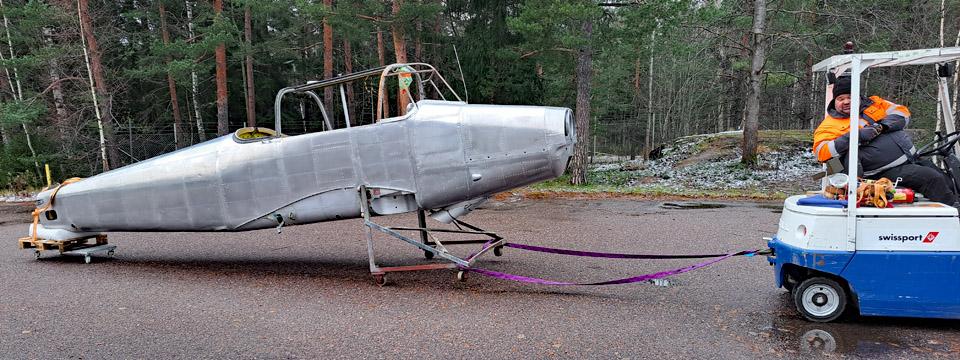
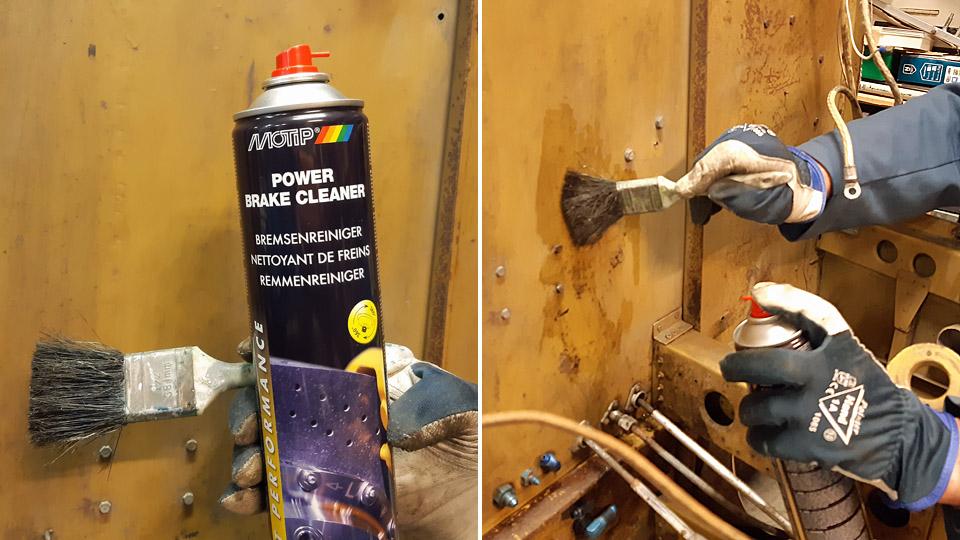
We started to clean the dirty cockpit walls and floor surfaces. We removed the surface dust with a vacuum cleaner nozzle and a brush. However, the surfaces had still to be washed clean. At first we used the steam cleaner, which had been acquired to the museum, but it turned out to be ineffective particularly in cleaning the oiled and sticky floor surfaces. The best cleaning agent for oiled and dirty surfaces proved to be a car brake cleaning liquid, Motip Brake Cleaner. The cleaning liquid was put into a spray bottle, from which the liquid was sprayed onto the surface to be cleaned and the surface was wiped clean with a rag. The cold autumn weather forced us to move indoors, so the Tuuli fuselage was towed by a lift fork from the storage tent to the Finnish Aviation Museum’s restoration workshop.
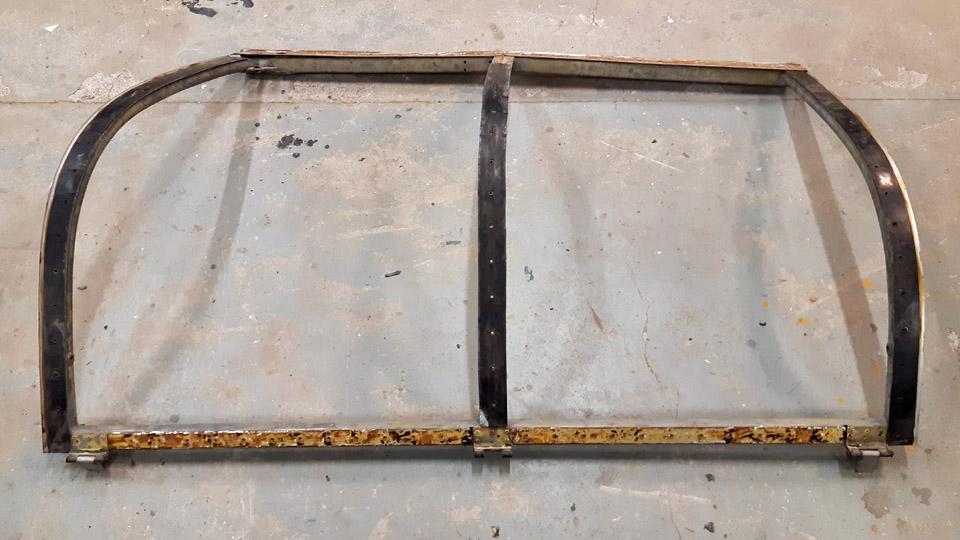
At the restoration workshop we started to work on the canopy frames, with the future glass bead blasting in mind. The completely opaque plexiglass panes had already earlier been unfastened from the frames. Our job was to strip off the sloppy rubber seals. We tried different methods for this. The best way proved to be one where we heated the seal with a hot air blower, loosening the seal simultaneously with a broad chisel. Thus we managed to get rid of the rubber seals and the frames were now waiting to be glass bead blasted and subsequent painting.
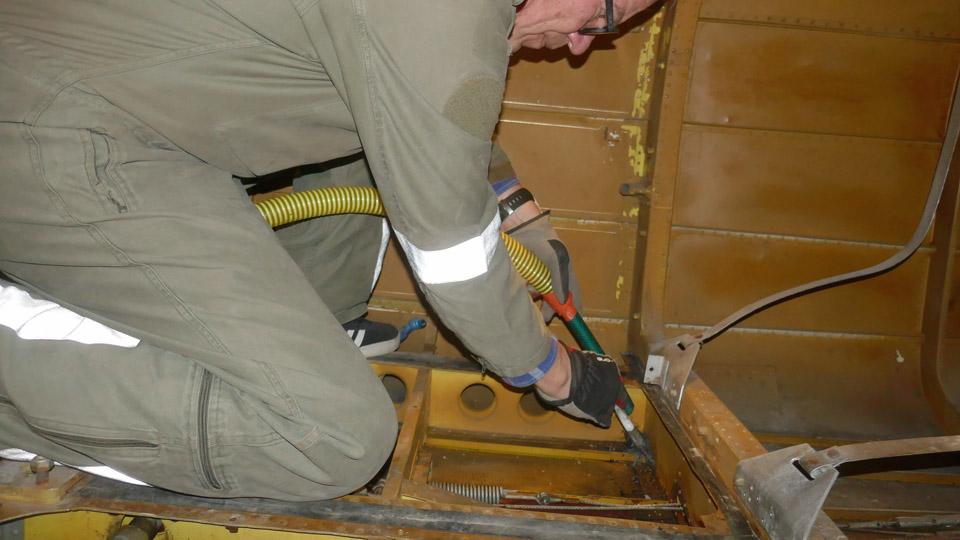
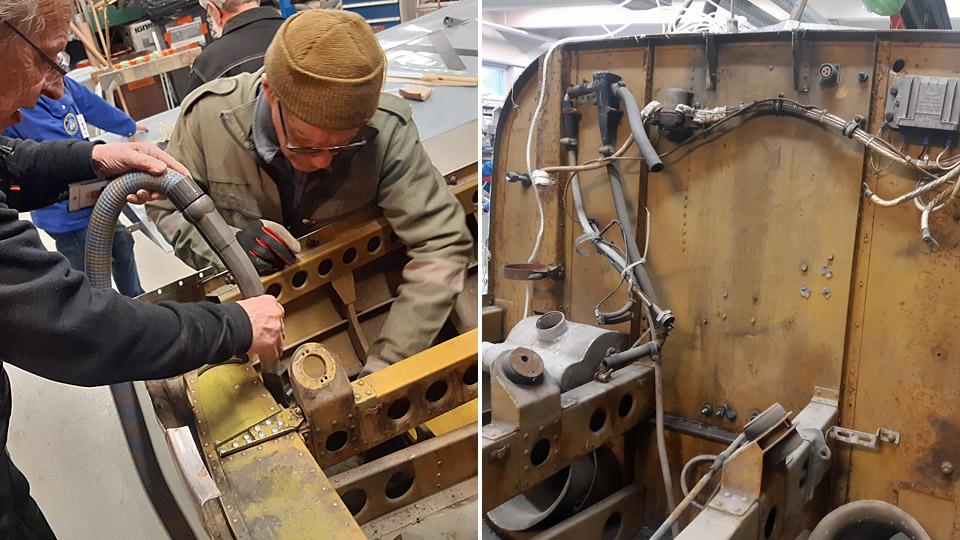
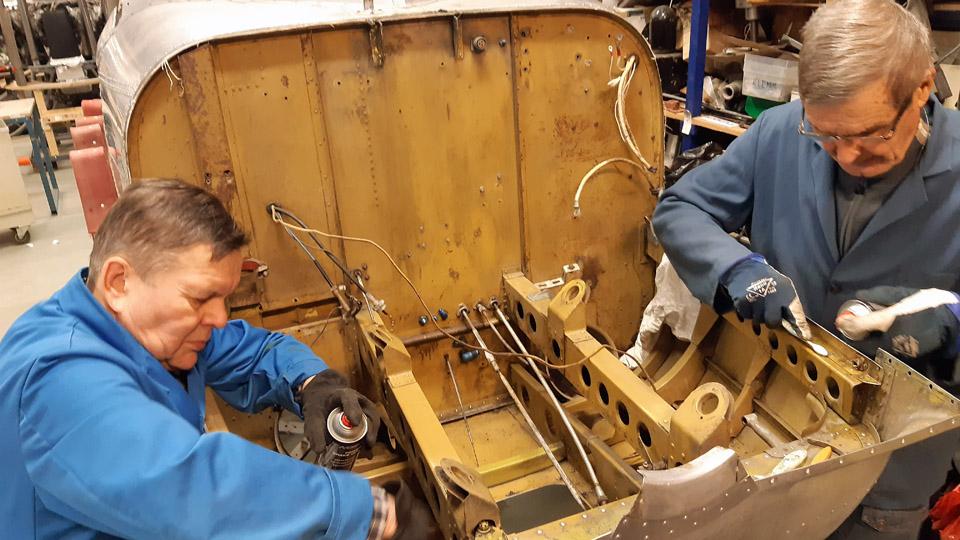
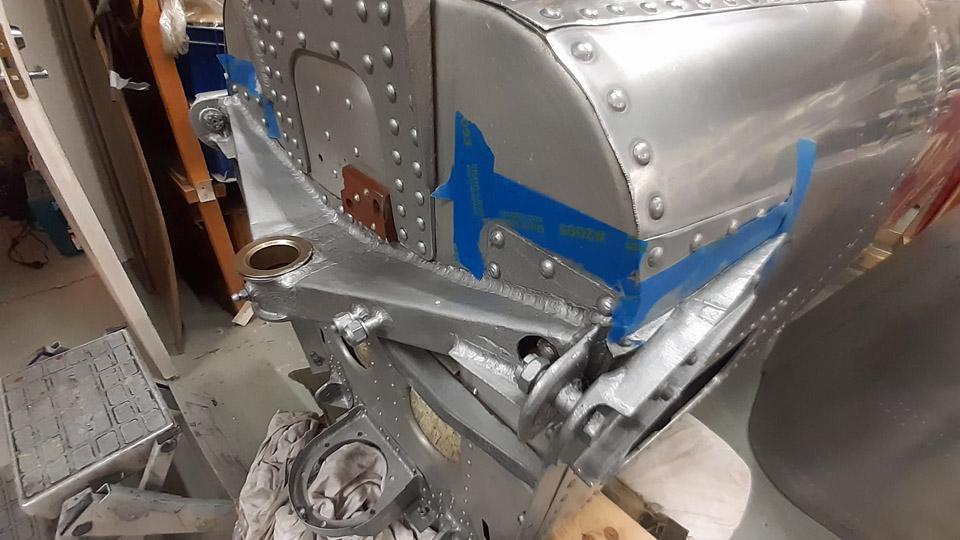
Simultaneously with working with the frames we started the cleaning of the Tuuli engine bay surfaces. For that purpose the upper engine cowling was detached. Before we could get to cleaning the surfaces, we had to dismantle wires and gadgets from the fire wall between the cockpit and the engine bay.
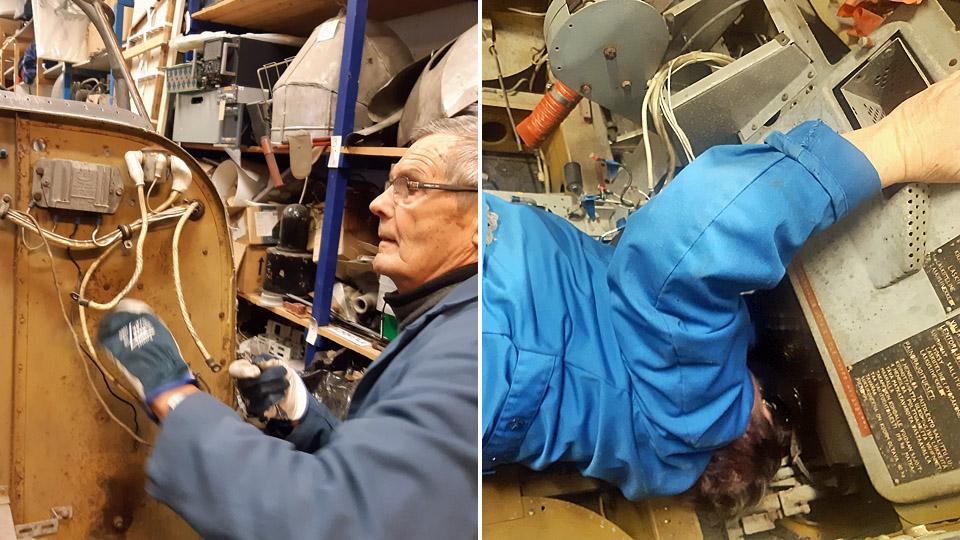
As the wires and gadgets were dismantled, they were marked and put into bags or boxes. The parts were also photographed before unfastening to facilitate their refitting. Part of the gadgets in the firewall were fastened with bolts through the firewall. These bolts, too, and with them the gadgets could be unfastened, when one of the club members crawled into the cockpit under the instrument panel, and reached and held the nut in place, when the bolt was wrenched open from the other side. Thus all the parts fastened to the firewall could finally be detached. The exhaust tubes going below the fuselage were unfastened from the engine bay bottom.
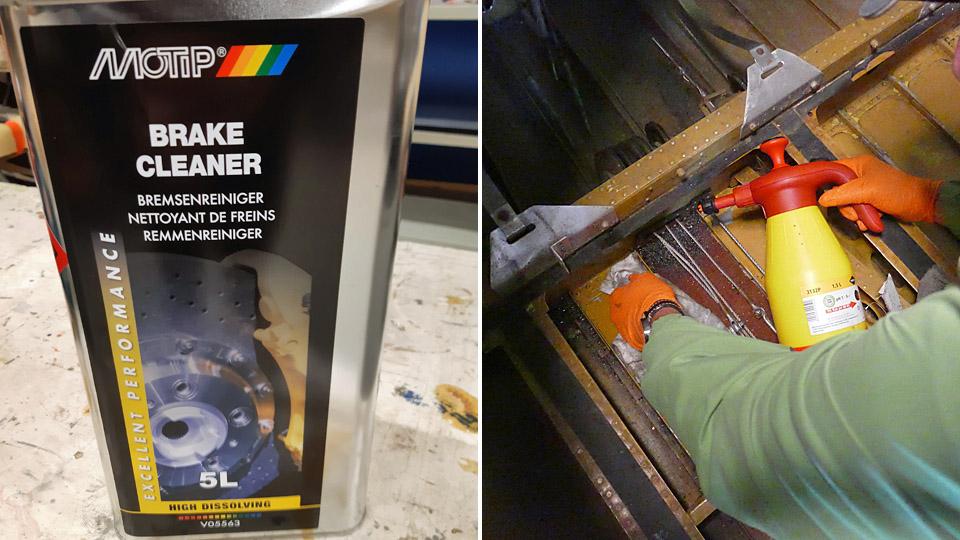
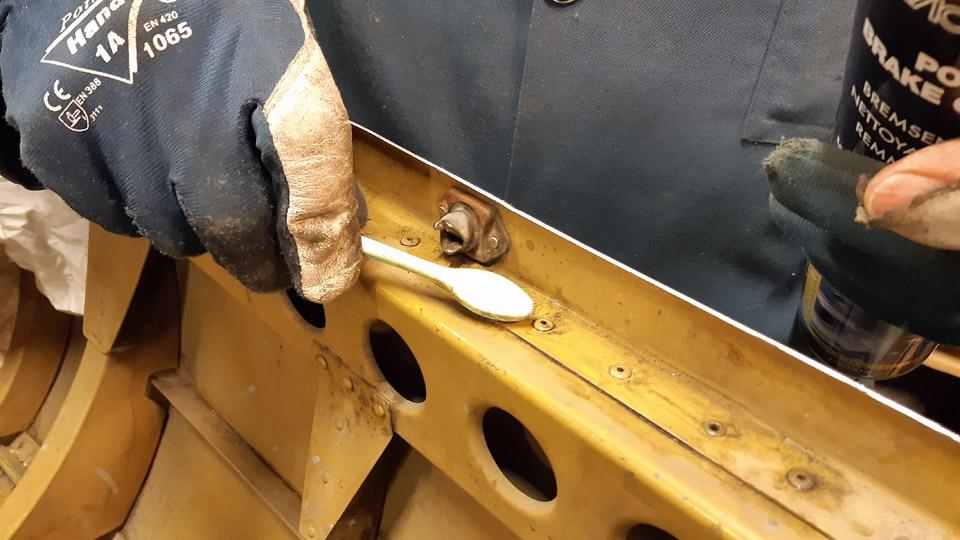
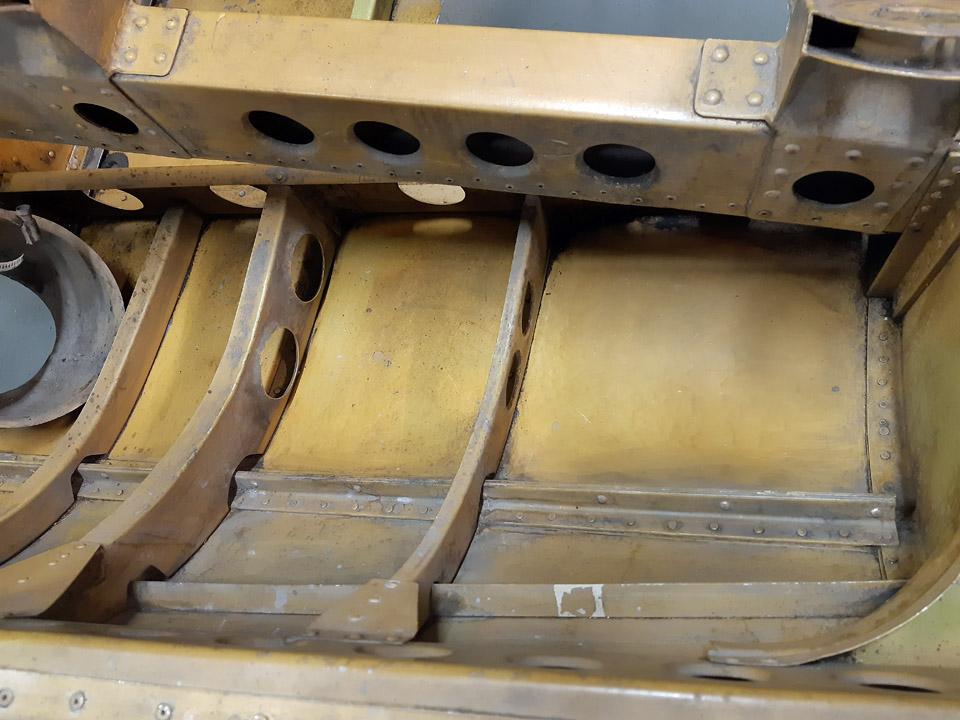
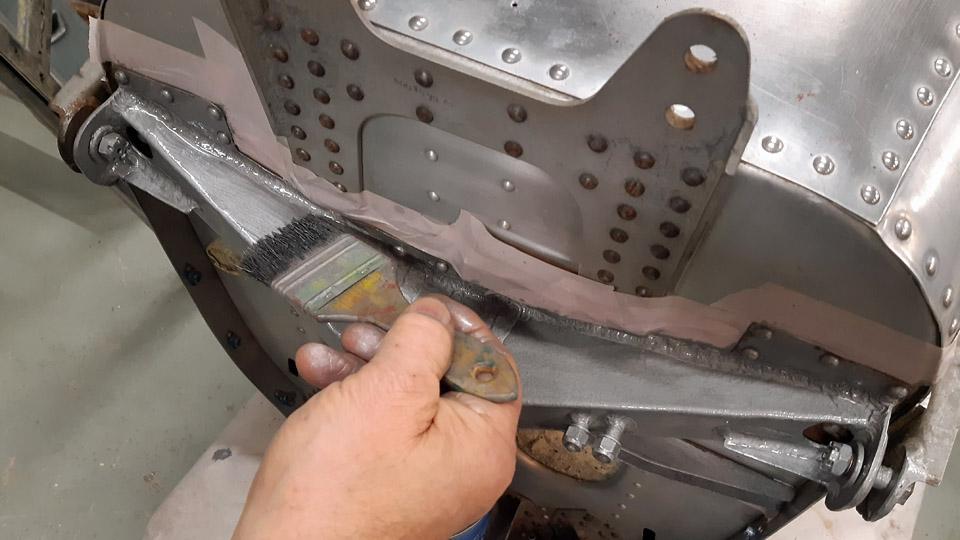
The engine bay surfaces were now ready for cleaning. First we vacuum-cleaned the surfaces from dust and dirt. After that the surfaces were cleaned with Motip Brake Cleaner. Now the cleaning liquid was acquired in spray form. The cleaning of the surfaces was advanced by small steps. First the cleaning agent was sprayed onto the surface. Then the dirt was taken off with a paintbrush or a small brush and finally swept clean with a piece of cloth.
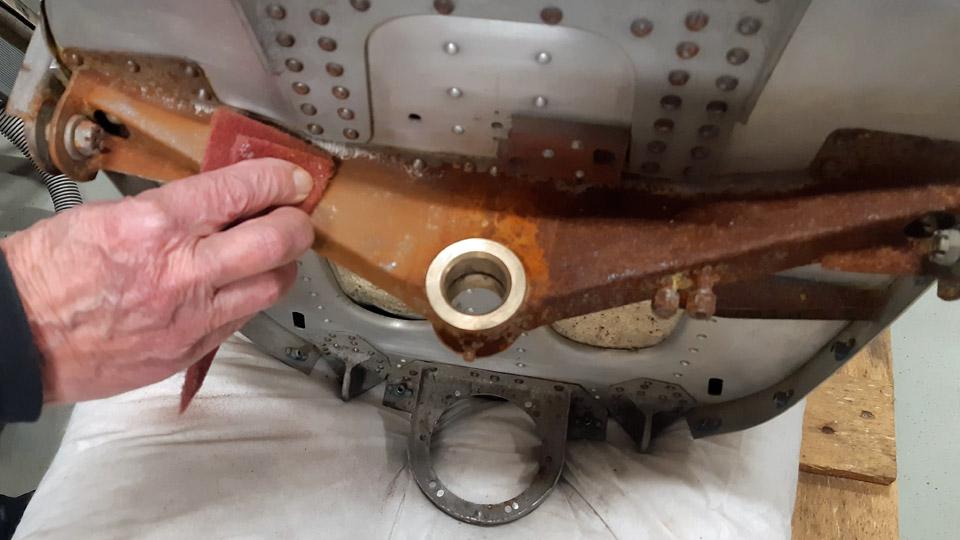
The Tuuli fuselage is without the tailplane. At the end of the cut off fuselage, there is a bulky metal support for the rudder axle. It’s covered with thick rust. The initial thought was to unfasten it for cleaning. Because the metal support is fastened to the end of the fuselage with rivets, we gave up the idea.
The surfaces of the metal support, and other rusty parts had their surfaces ground with a scouring pad, when most of the rust came off. Then the parts were dealt with an anti- grease substance and painted with aluminium-coloured rust-protecting Isotrol-paint. You can also apply Isotrol on a rusty surface because it penetrates the rust to the surface of the metal, preventing the corrosion from continuing. Photos by Lassi Karivalo. Translation by Matti Liuskallio. |
|
Avainsanat: aviation history, restoration, Tuesday Club, Valmet Tuuli III, OH-XTL, TL-1 |
Ilmailumuseot.fi - Aviationmuseums.fi