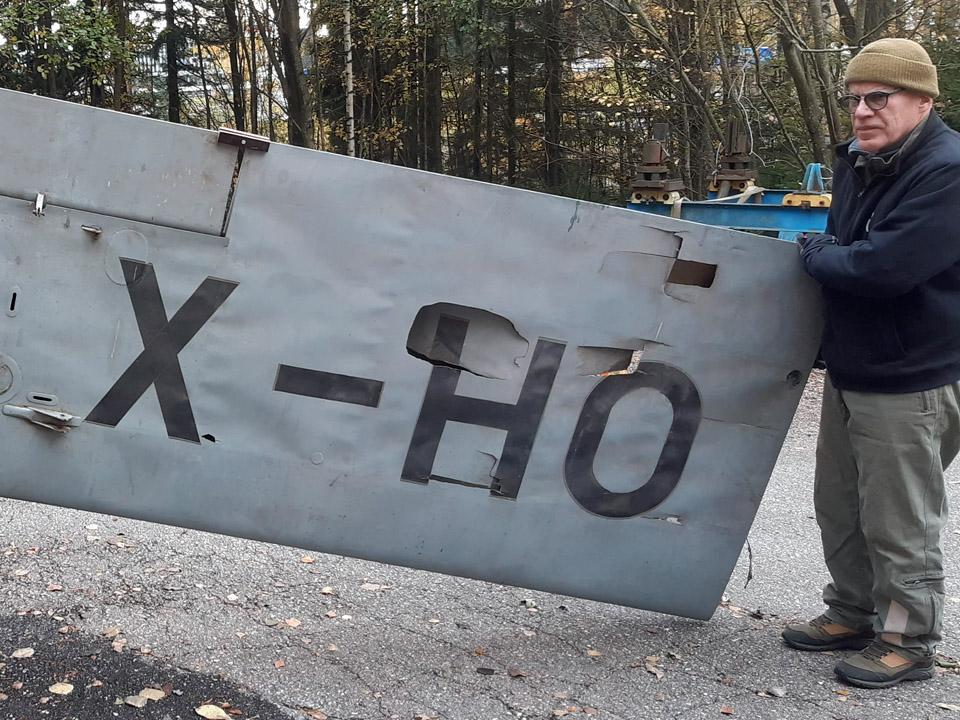
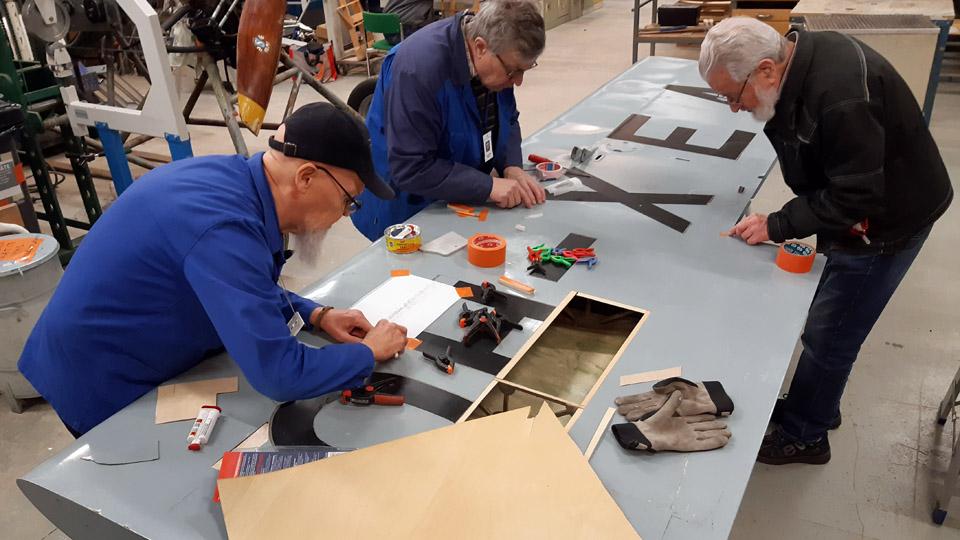
Damages in the Ressu (Snoopy) plywood covering repairedTiistai 12.3.2024 - Tuesday Club member The restoration of the experimental aircraft (OH-XEA) “Ressu” has so far concentrated on the work with repairing the holes and damages in the plywood covering of the wing halves, ailerons, horizontal stabilizer, and the elevator. This job has now been finished as far as patching goes.
There were about twenty holes and damaged areas in the plywood covering. Part of them being tiny pinpricks, but some were damages measuring tens of centimetres. As patching material, 0,9 mm aircraft plywood was used. To patch small holes, Ressu’s original plywood with a coating of paint was used. We obtained it in connection with clearing the large damaged areas in the wing. In patching the holes in the Ressu plywood covering, we followed the same proven method throughout. In this blog the patching of a largish damage on the lower surface of the left-hand wing will be presented as an example.
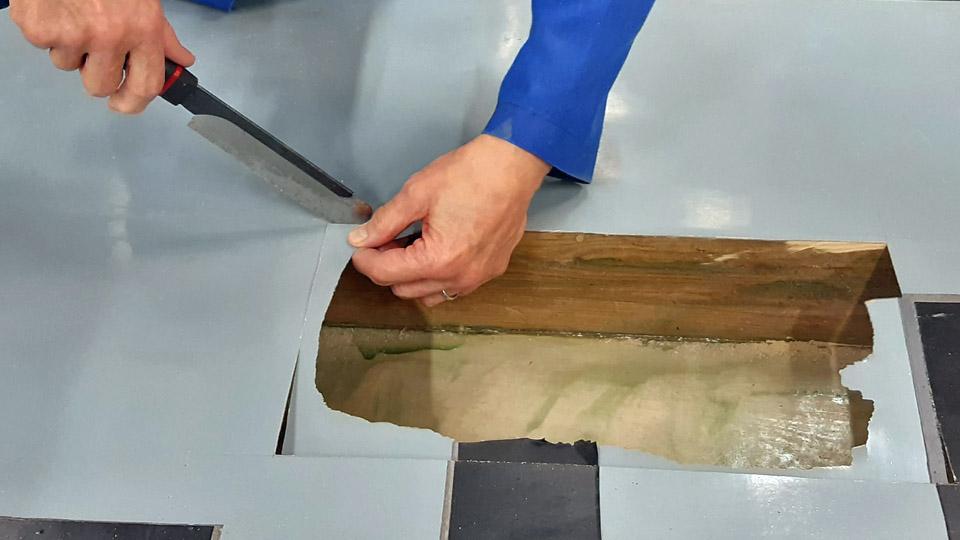
A hole, or an area of a larger damage, was sawn open to a square or rectangular shape. In sawing, a “Kugihiki”, or a so-called Japanese saw was used, which is an excellent tool for sawing thin plywood. Supporting battens were glued under the sawn edges, so that about 1 cm protruded from the inside of the opening. The plywood patch to cover the opening will be glued on these supporting battens.
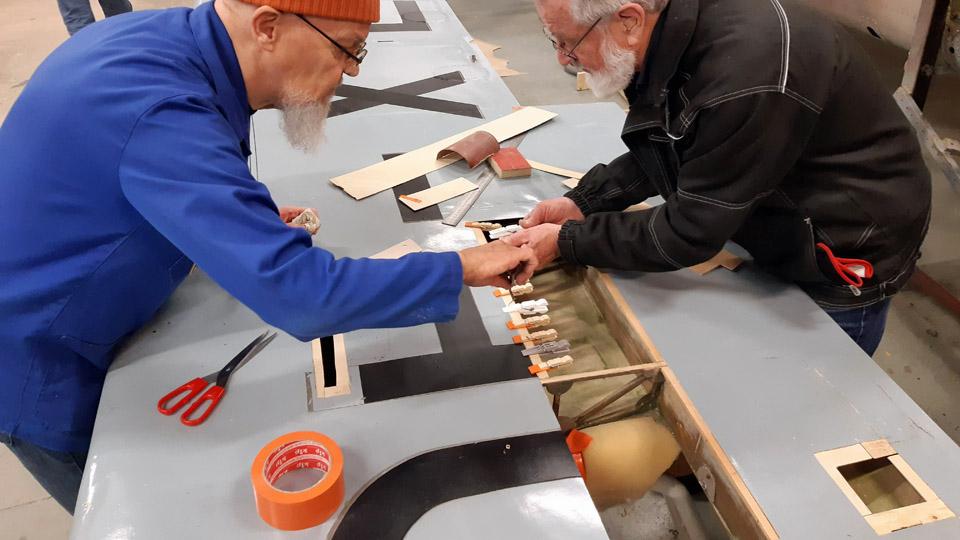
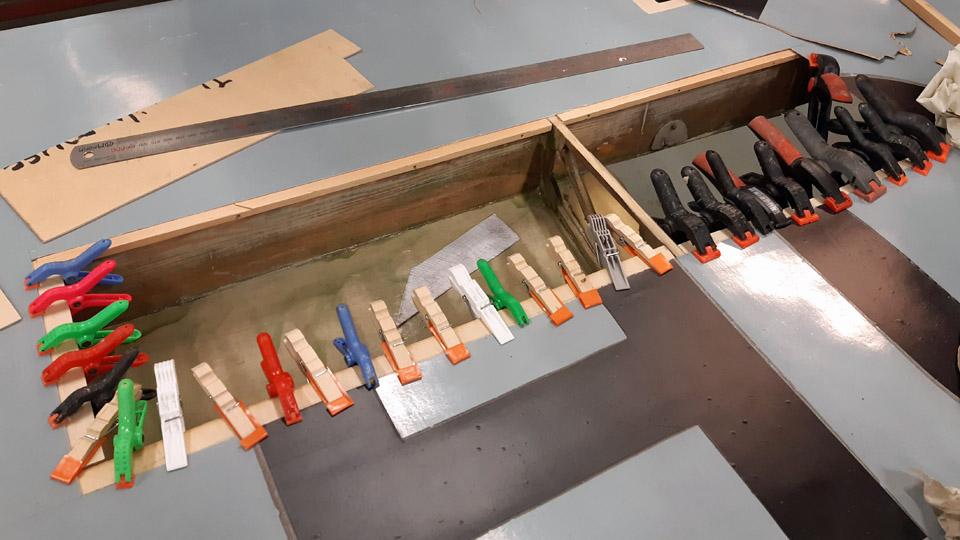
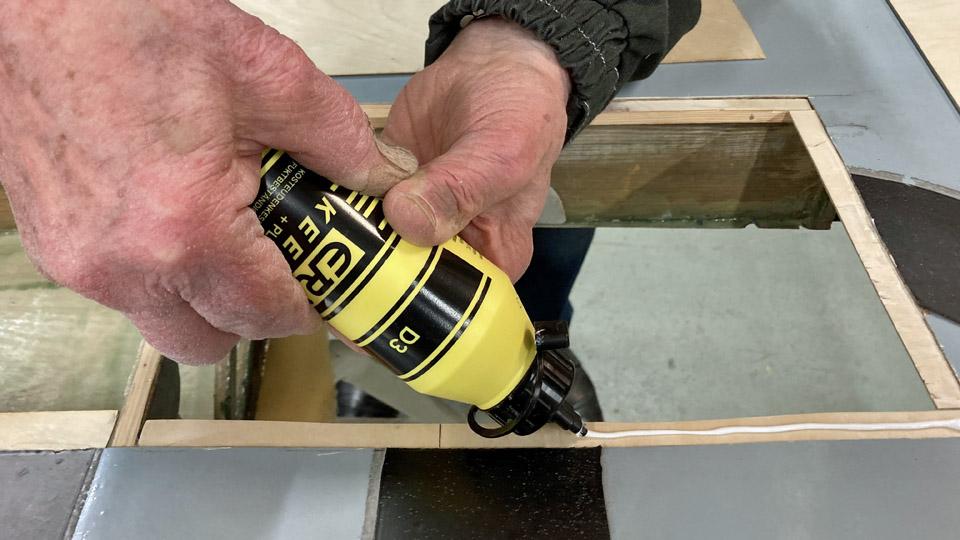
For gluing the supporting battens and the plywood patches, moisture resistant Erikeeper Plus or Casco Outdoor glue for wood was used. Before gluing the support battens, the protective lacquer was ground off the edges of the underside of the covering plywood. Thus the glue sticks better on the underside of the covering plywood. The support battens were pressed onto the edges of the underside covering plywood with small clamps. Work was also in progress with other holes in the wings, simultaneously with this large opening underside the left-hand side wing.
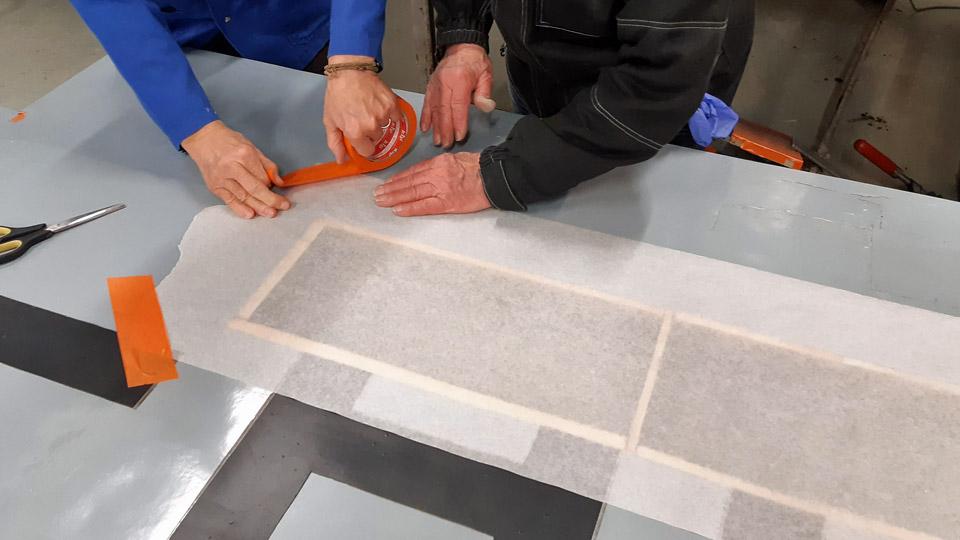
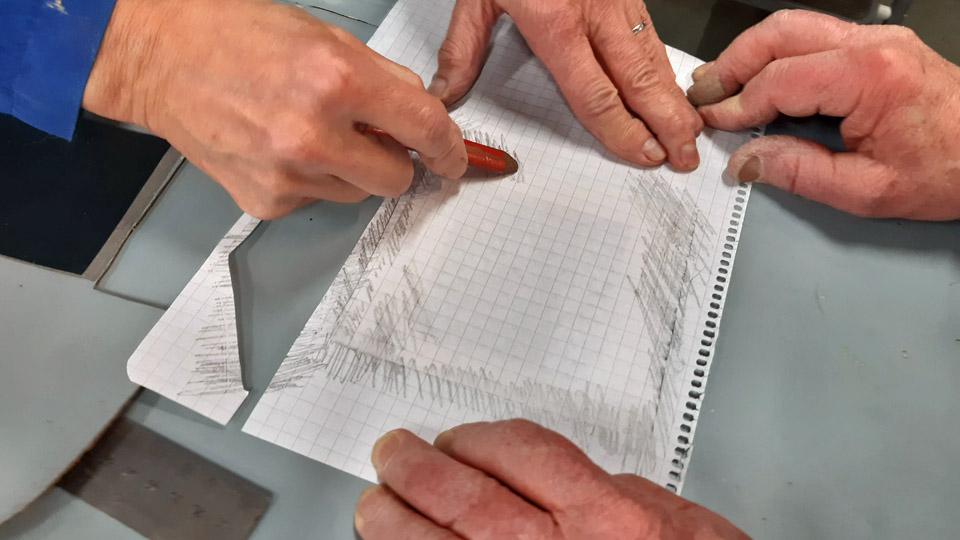
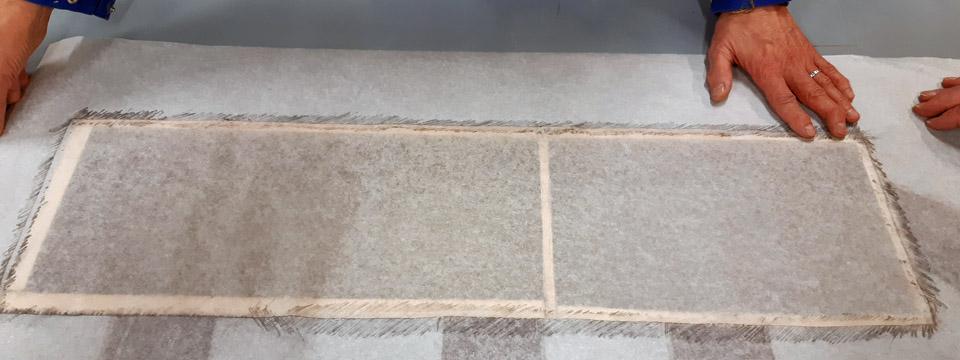
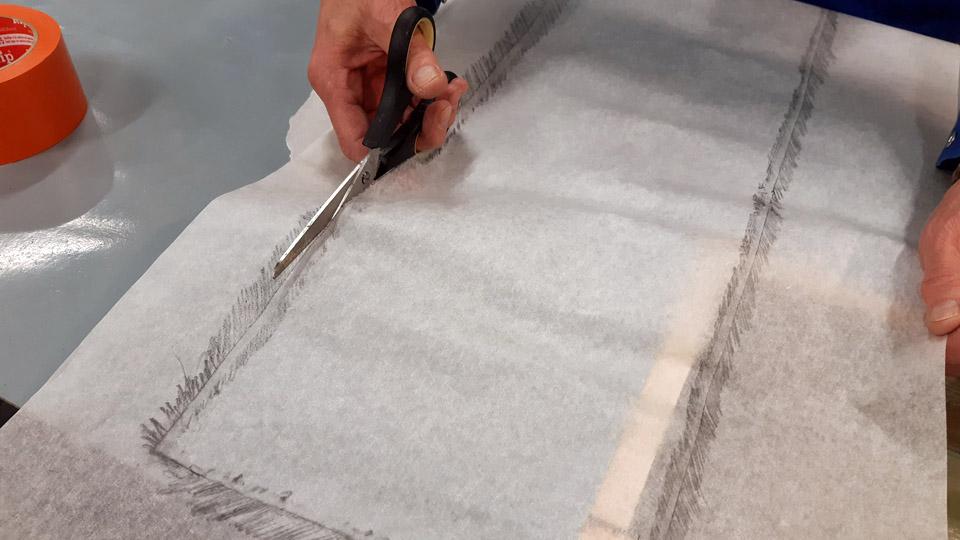
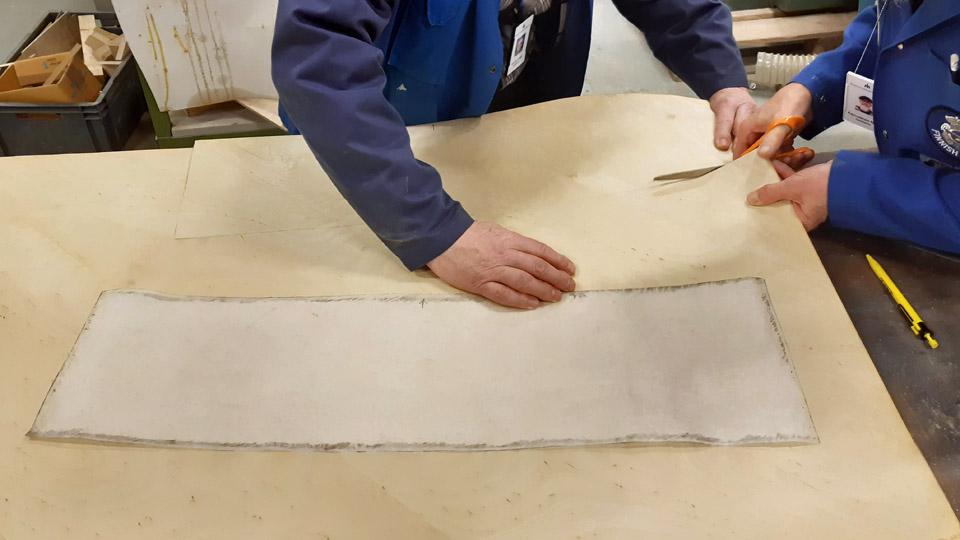
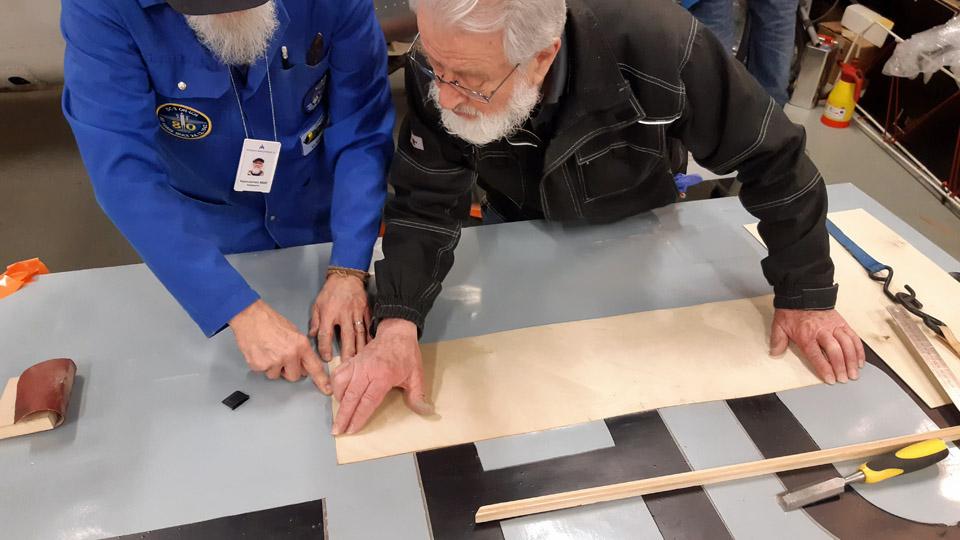
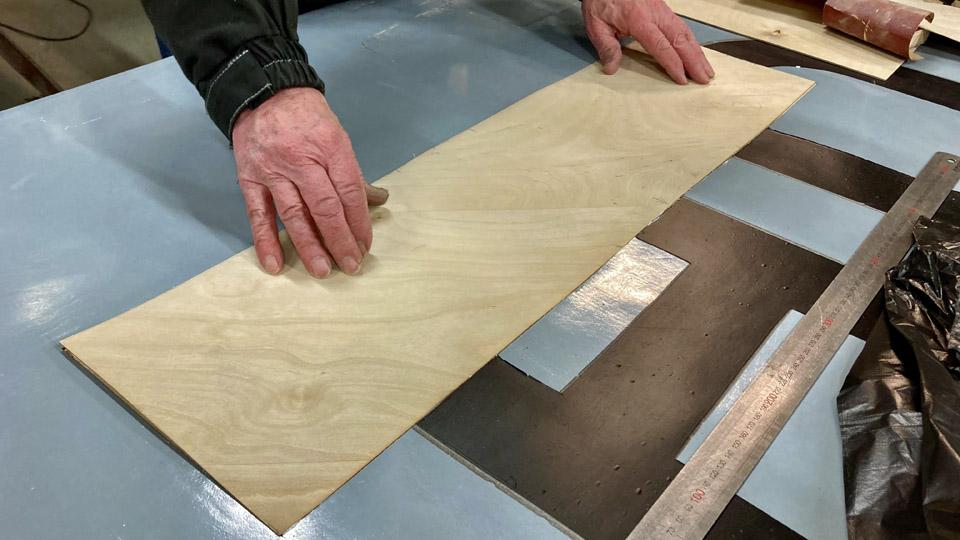
After the glue had dried, a sheet of thin paper was fastened over the whole opening to be patched. The plywood edges of the plywood opening were “smudged” with a pencil so that it became visible on the paper, thus producing an image of the edge line of the opening. The paper was cut along the now visible opening edge in the plywood. So we had a model to cut the right size of a patch. The paper was superimposed on a sheet of plywood and, hey presto, after this model a plywood patch we needed was cut out of the sheet.
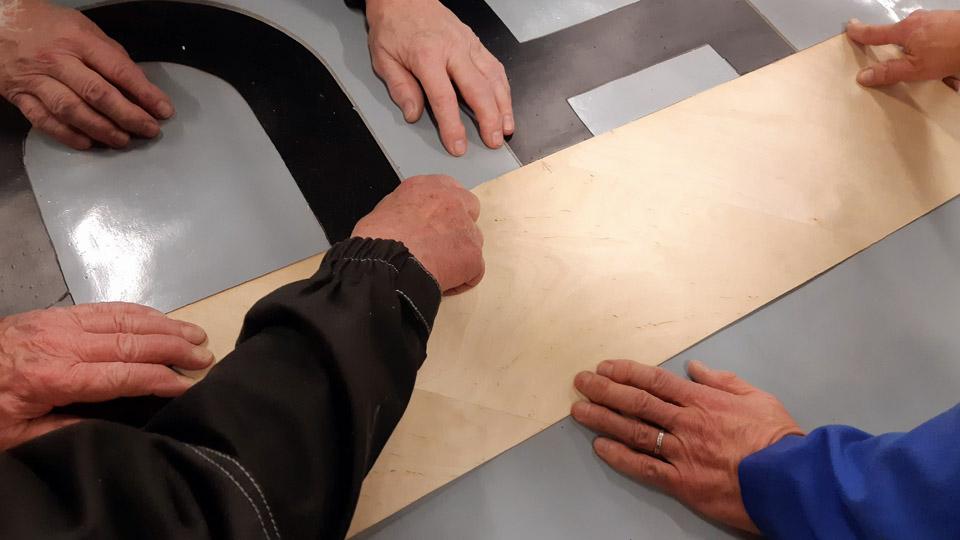
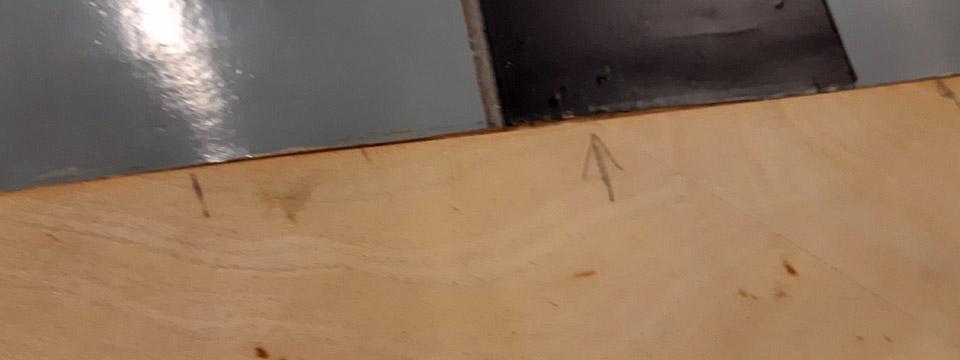
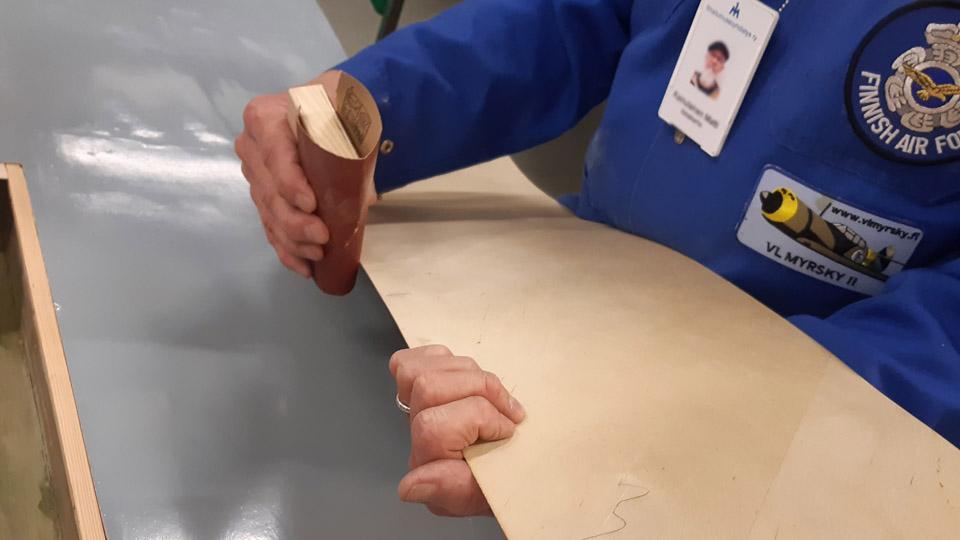
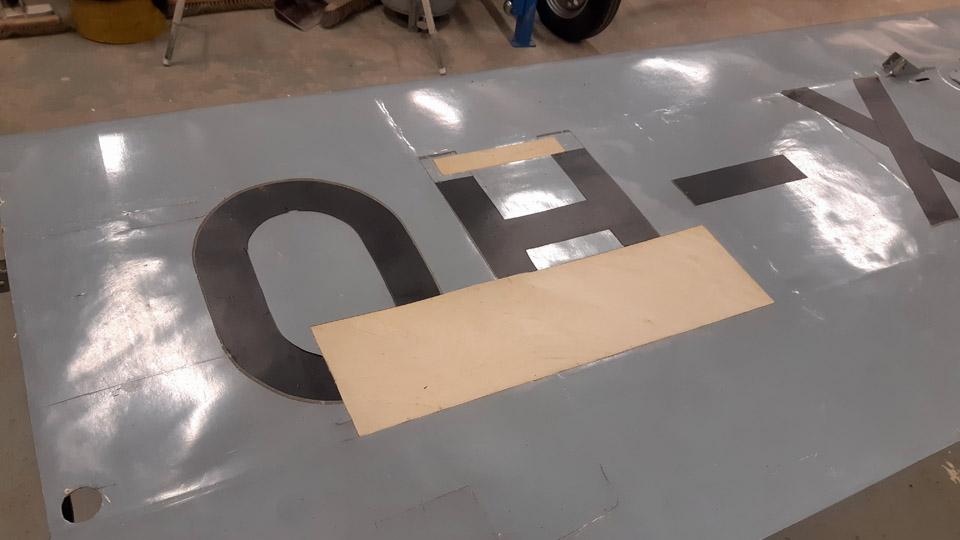
The cutout piece of plywood was fitted in place on the support battens. We marked with arrows the places where the plywood patch still needed filing at the edges, to get the patch press itself in a butt-joint manner against the edges of the opening. When the plywood was in place, glue was spread on the support battens, and the plywood was pressed against the battens.
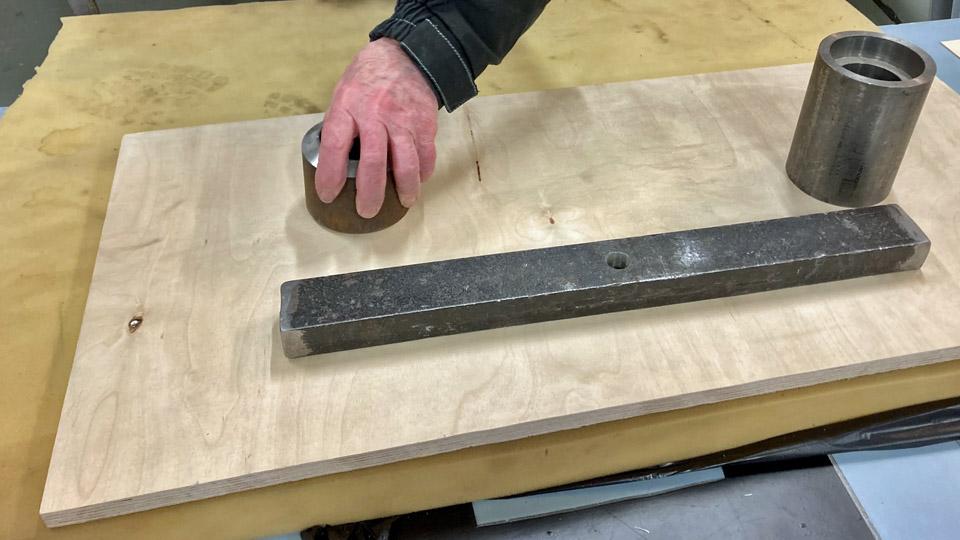
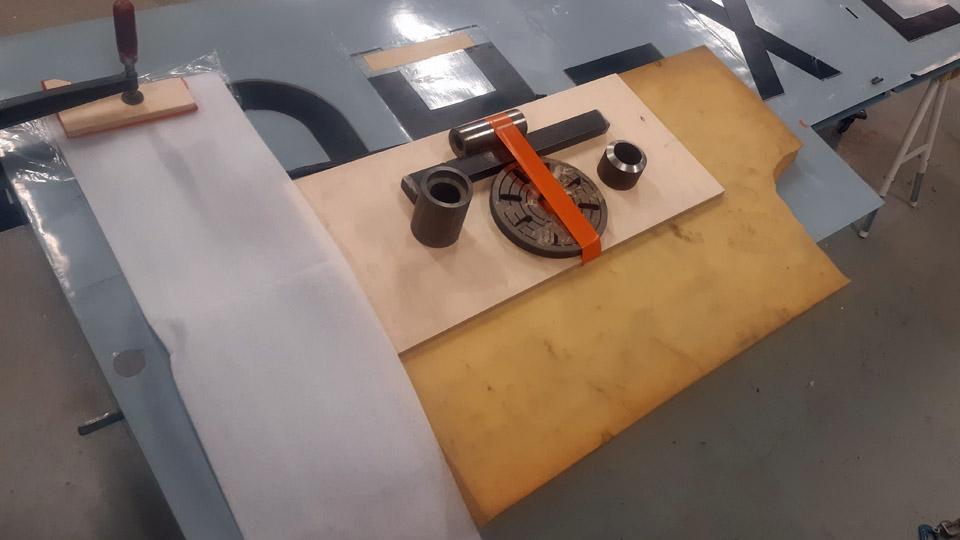
The gluing of the plywood patch was secured by putting a sturdy plywood sheet on the patch and iron weights piled on it. At the lowest a sheet of foam rubber was placed to distribute the weight evenly.
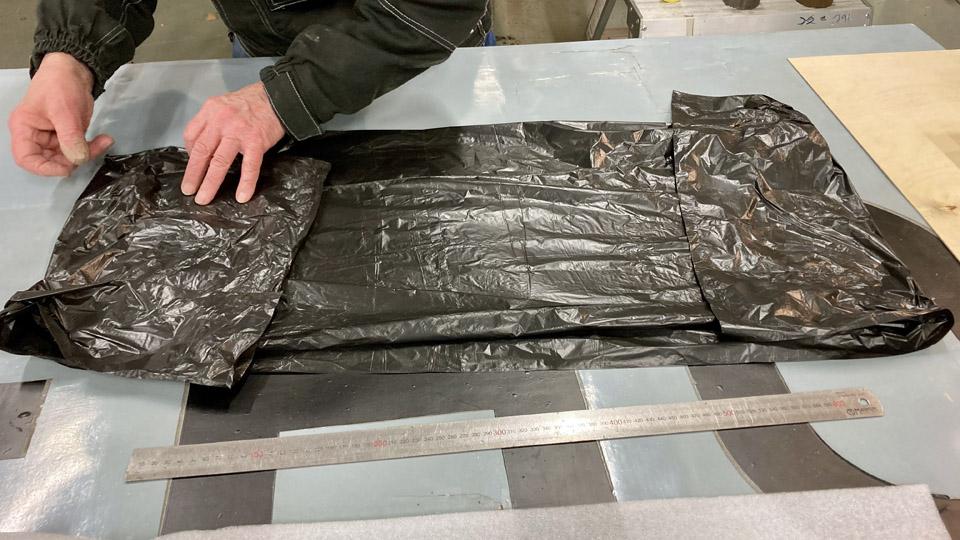
Before laying the weights, a layer of protective plastic was spread over the patch, to prevent extra glue from seeping off the seams of the plywood patch and possibly sticking to the foam rubber sheet. When both the foam rubber sheet and the sturdy plywood sheet were in place, iron weights were piled on the plywood sheet. We noticed after the glue had dried and the weights and the plywood sheet were removed, that the plywood patch had settled very neatly in place. Photos by Lassi Karivalo. Translation by Matti Liuskallio. |
|
Avainsanat: aviation history, restoration, Tuesday Club, Hietanen HEA-23b, OH-XEA, "Ressu" |


