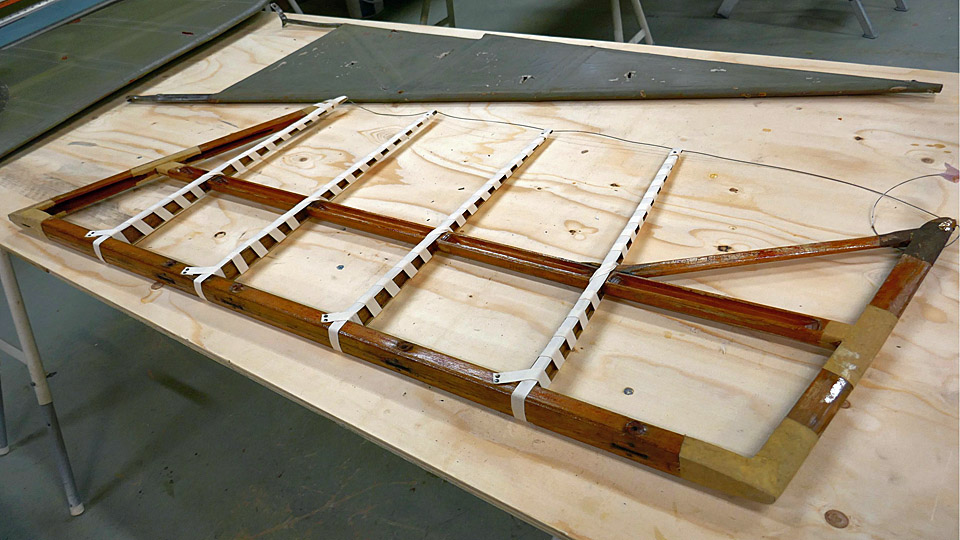
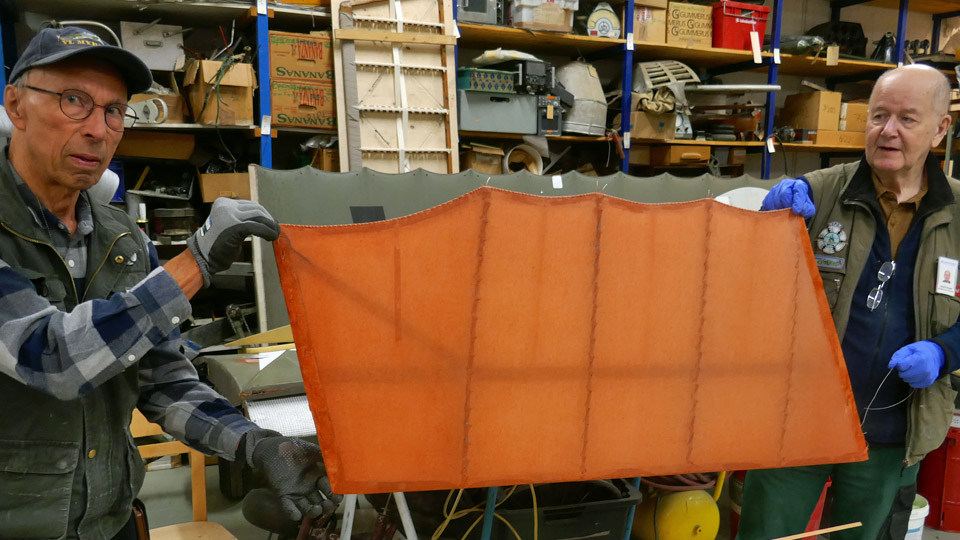
Covering the Caudron elevator got under wayPerjantai 3.3.2023 - Tuesday Club member The Caudron C.59 advanced trainer’s starboard elevator, which had been completely stripped of the covering fabric, had already been waiting for a few years to be covered. On the ribs, strips of linen fabric had already been tied, onto which the covering fabric will be sewn. The Caudron’s port elevator 1920’s original fabric covering was still in such good condition that it wasn’t seen necessary to be renewed, patching a few holes was sufficient enough.
For the covering fabric was chosen the 165 g/m2 linen fabric called “Kesäyö (summer night)”, bought at Eurokangas. This same fabric was used to covering the elevators and rudder of the VL Myrsky II (MY-14), which is under restoration, although the tightening of the fabric with nitro cellulose lacquer posed its own problems.
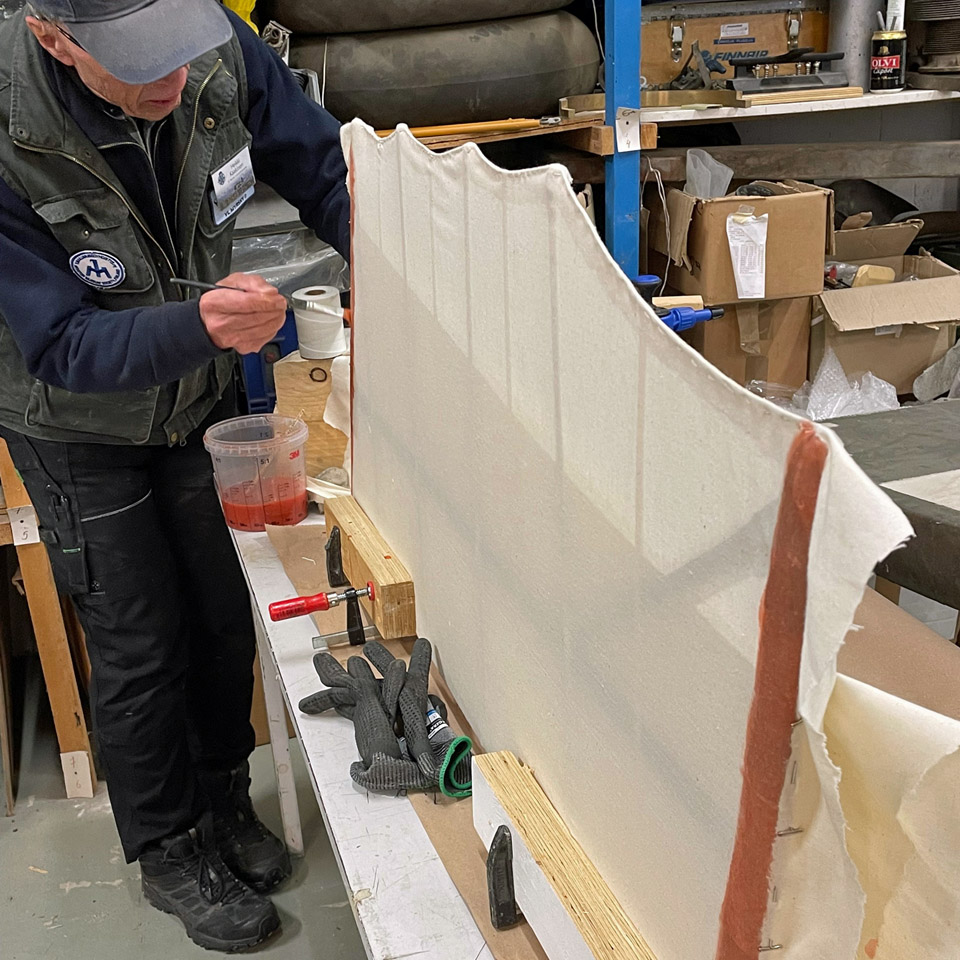
Photo by Jukka Köresaar. The covering was started by cutting a piece of fabric that completely covered the whole of the elevator. The fabric was glued with nitro cellulose lacquer to the leading edge or the hinge side of the elevator. After this the fabric on one side of the elevator was stretched towards the trailing edge and the edge of the fabric was preliminarily attached with sturdy T-headed pins to the steel wire acting as the trailing edge. The extra fabric was cut off.
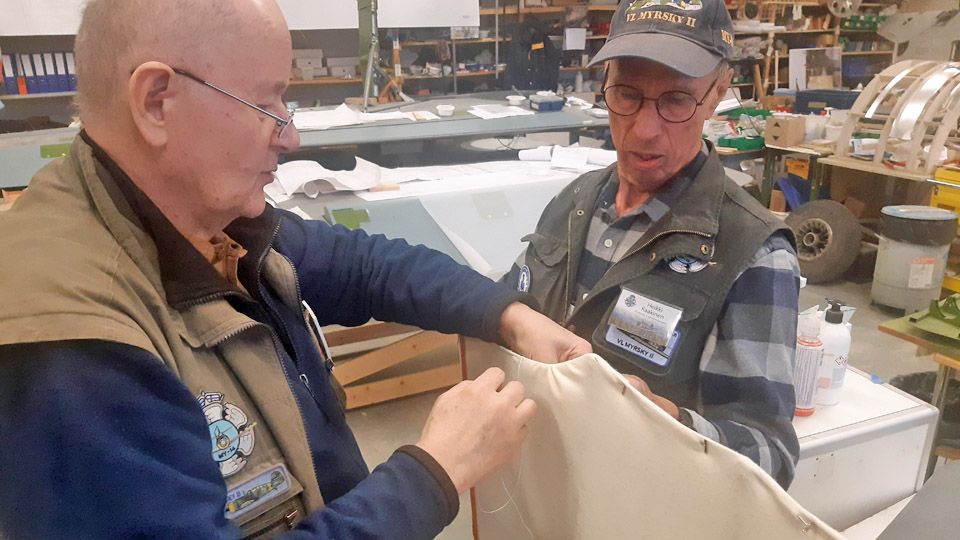
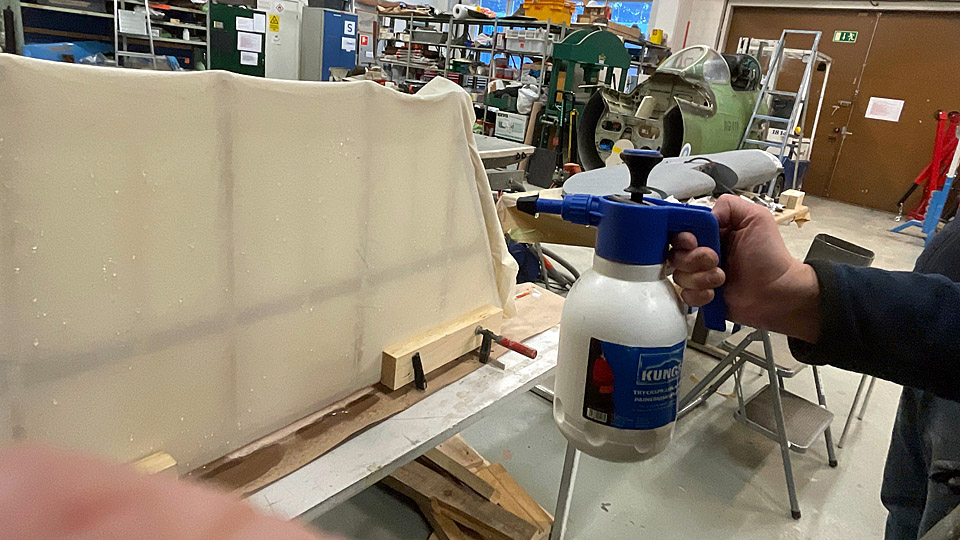
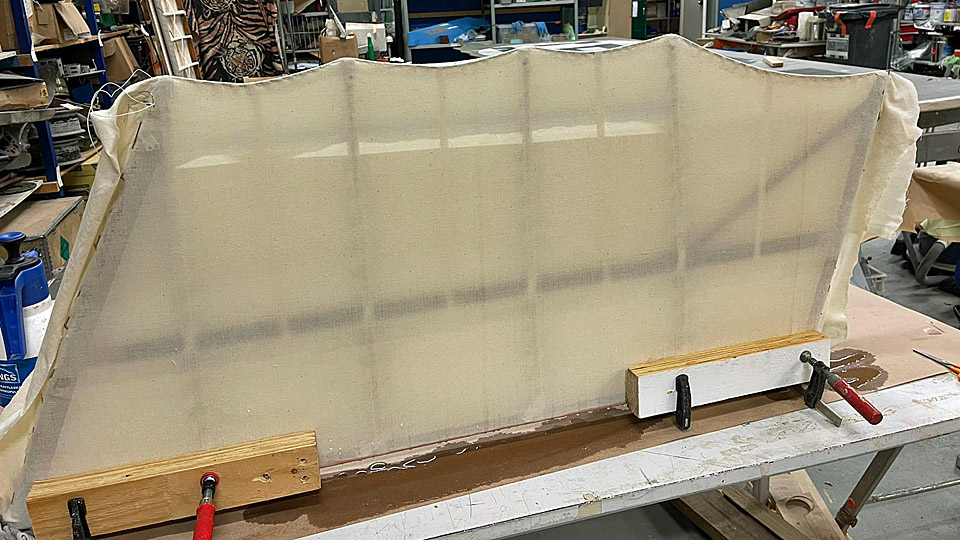
Photos by Heikki Kaakinen. The stretched fabric was sprayed wet with boiled water. The meaning of this was the pre- tightening or pre-shrinking of the fabric. The fabric turned translucent when wet. After the fabric had dried, its edge was sewn with linen thread to the trailing edge steel wire. The proper tightening of the covering fabric is done with nitro cellulose lacquer, when the fabric covering of the elevator tightens and resembles a drum skin.
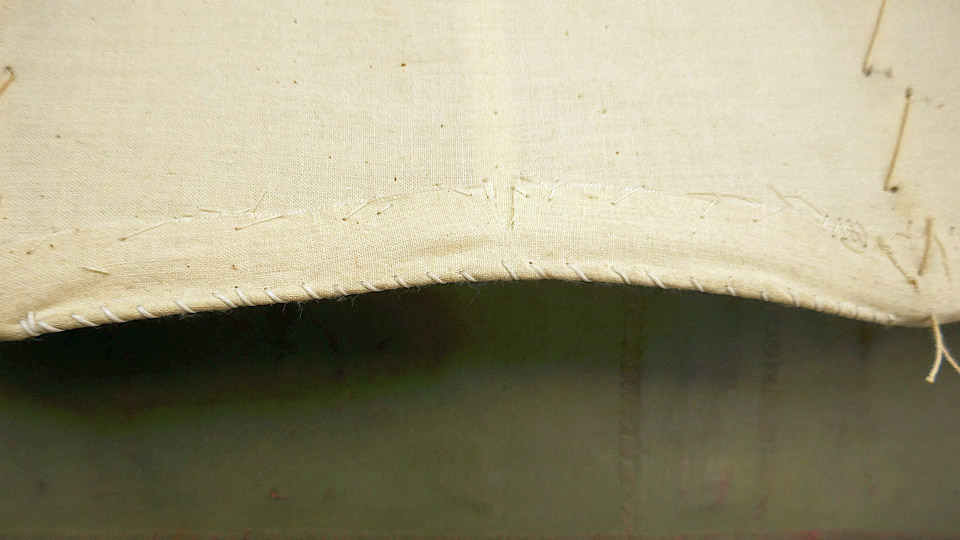
Next, the fabric on the other side of the elevator was stretched and pre-tightened in a similar manner. After pre-tightening the edge of the fabric was folded over the steel wire acting as trailing edge, over the already sewn seam of the fabric covering the other side and was sewn on the wire. The lapel of a few centimetres going over the trailing edge wire was tacked to the covering fabric beneath. A protecting strip of fabric over the stitches of the trailing edge wire will be glued over the stitches with tightening lacquer.
Photo by Jukka Köresaar. Before the covering fabric was sewn on the strips attached to the ribs, the covering fabric’s lateral lapels were glued to both ends of the elevator. The elevator’s end is a wooden batten 4 centimetres wide. The covering fabric was glued on the end batten with tightening lacquer. The end batten will also be wholly covered with a protective strip of linen fabric.
Photos by Jukka Köresaar.
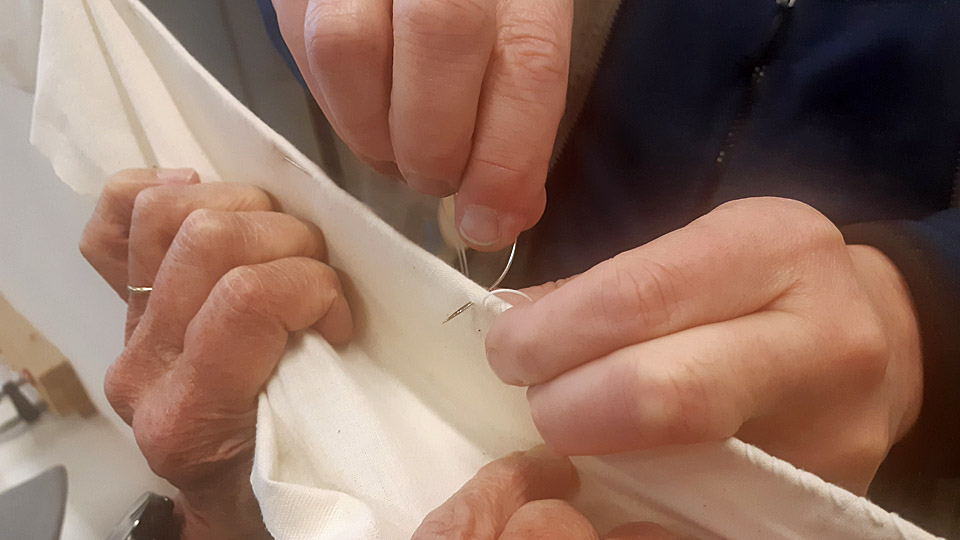
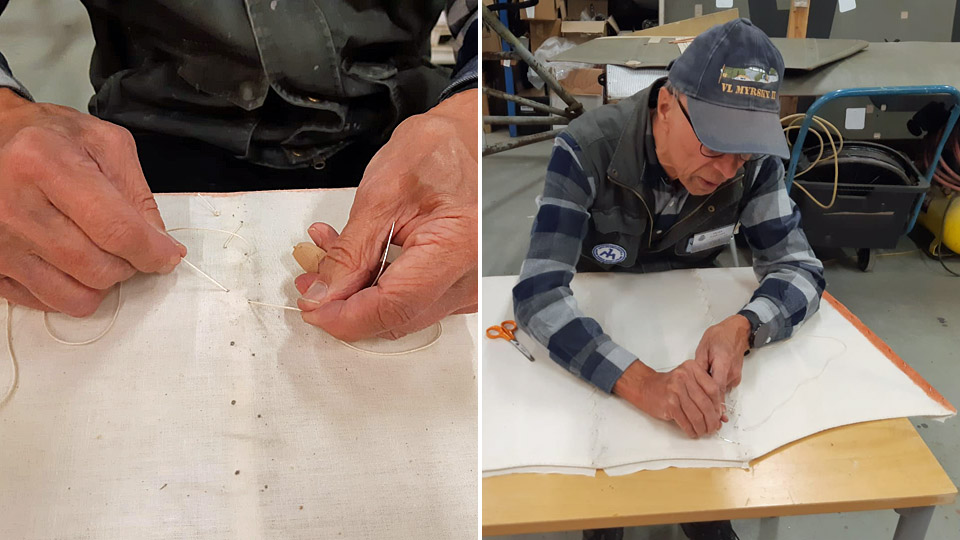
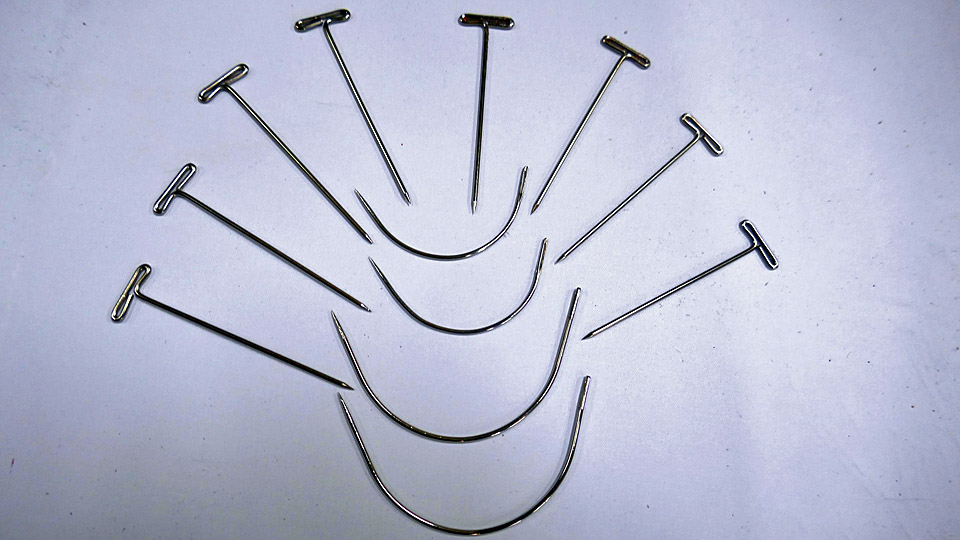
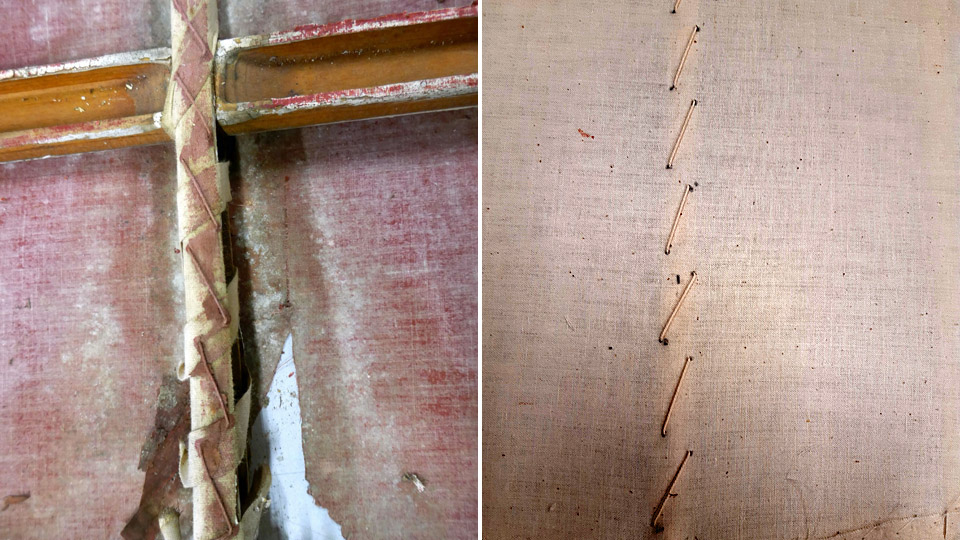
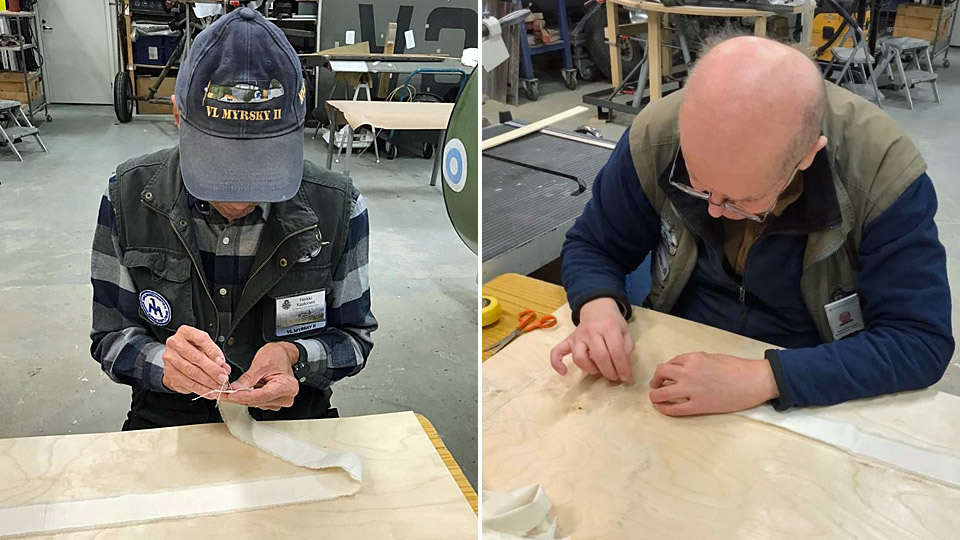
When covering an aircraft’s wings or control surfaces with fabric, the covering fabric is sewn into the underlying fabric strips on the ribs. When sewing the elevator covering fabric into the Caudron elevator’s underlying strips, which were on the ribs, a curved needle was used. It could be deftly slid through the covering fabric and the underlying strip. The sewing was done by oblique tacking, in which we used the same form of tacking as was used in the elevator’s original dismantled covering. The original model for oblique tacking came to light when dismantling the elevator’s covering and it was documented for future re-covering of the elevator.
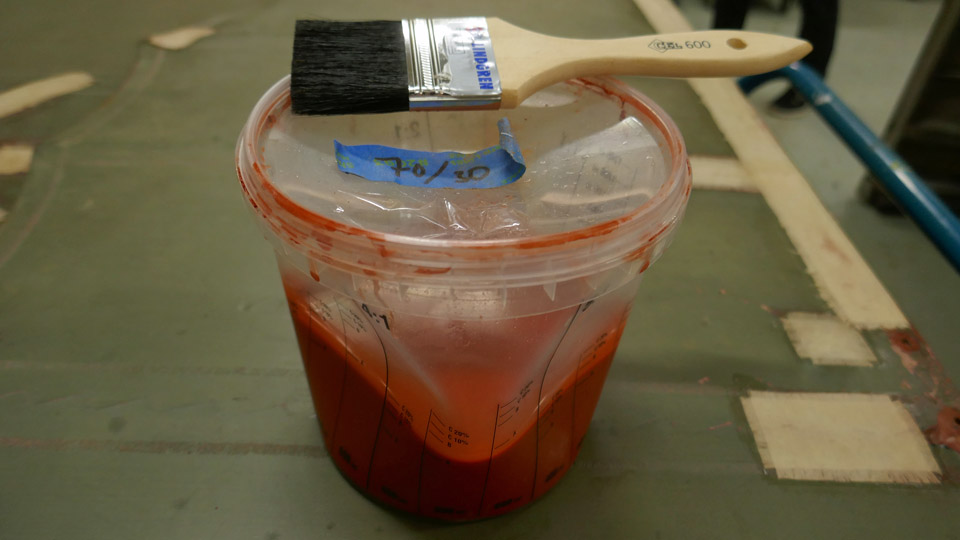
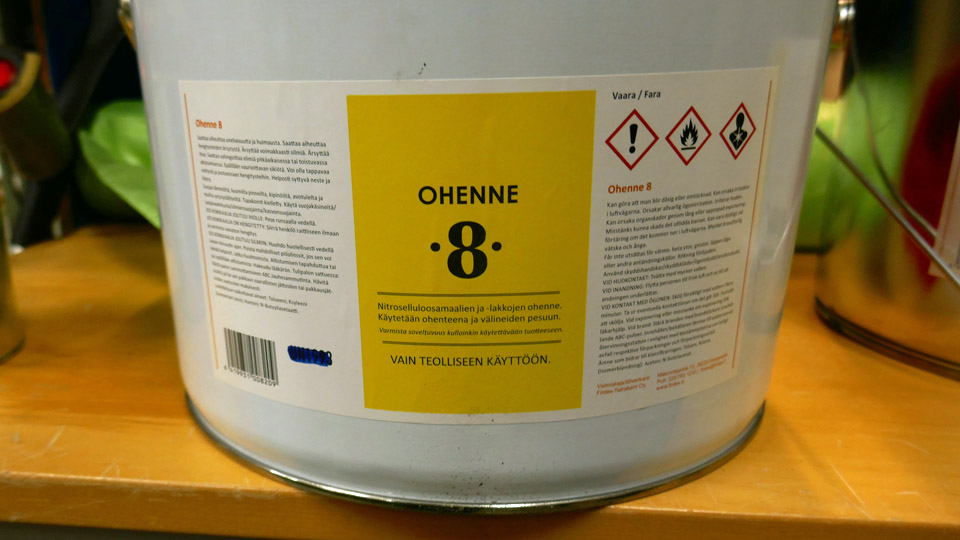
When the covering fabric had been sewn into the ribs, the tightening of the fabric could be commenced with nitro cellulose lacquer. We used the NC-SPEED nitro cellulose lacquer. The tightening varnishing of the fabric is done by stages. The varnishing is usually started with nitro cellulose lacquer thinned to 25 %, from which we move on to 50% and 75% lacquer and after that to unthinned 100% lacquer. It usually takes five to seven layers of varnishing before the fabric is tight enough. As thinner we used the Ohenne 8 (thinner 8). Furthermore, the tightening lacquer is dyed red with iron oxide. The dyeing is done to see clearly when varnishing the covering fabric, which parts of the fabric have or haven’t already been varnished.
The Caudron C.59 elevator’s new covering fabric was varnished first with 25% nitro cellulose lacquer. It was applied with a paintbrush. After the lacquer had dried, the surface of the fabric was sanded with a Super Fine sanding pad. By sanding the fuzz sticking out of the surface of the fabric was removed. With the 25% lacquer the fabric tightened only slightly. In the next phase the fabric will be varnished with 50% NC-SPEED nitro cellulose lacquer and as the fabric tightens, with ever stronger lacquer up to unthinned NC-SPEED lacquer.
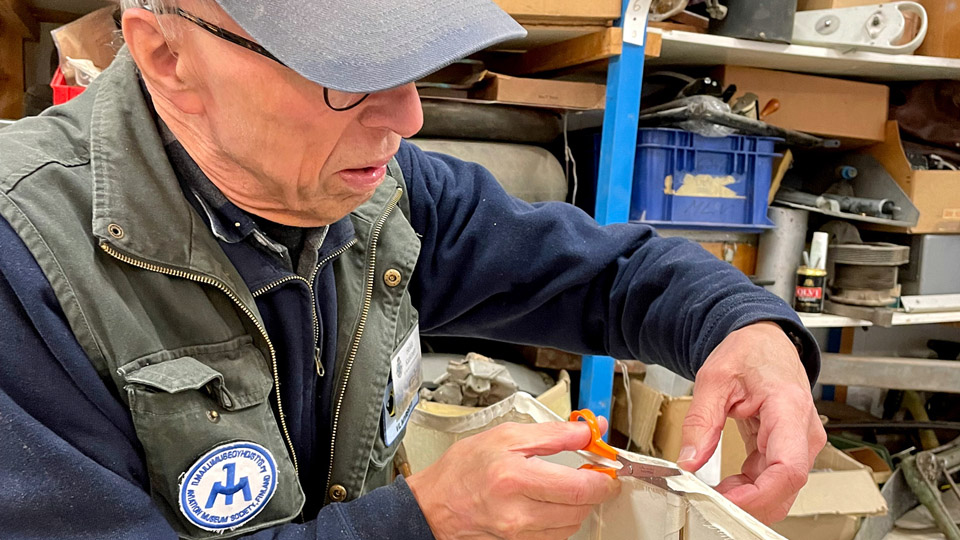
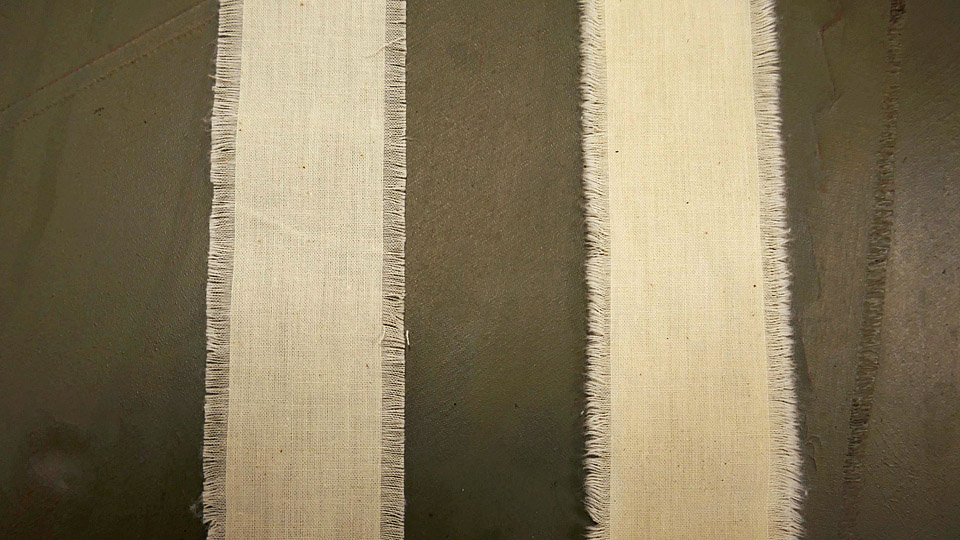
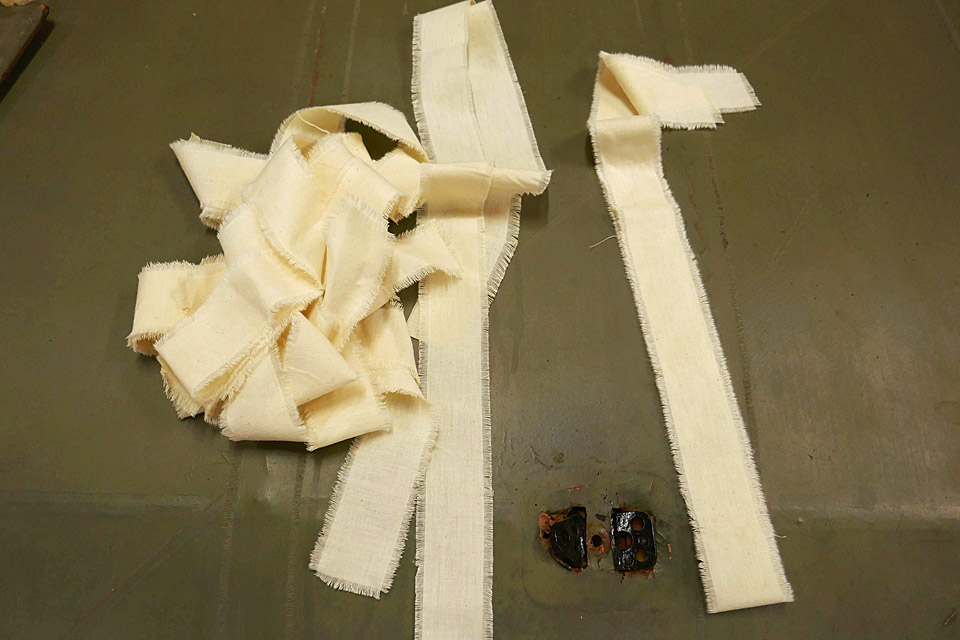
Simultaneously with the varnishing, the protective strips for the seams, leading edge, trailing edge and the end battens were being made. The strips were made of the same “Kesäyö” linen fabric, which was used to cover the elevator. The fabric was cut into 5cm wide strips. The edges were fringed. It means that the warp was unfurled from the edges about 5 mm. Fringing of the edges of the protective strips enhances the gluing of the strips on the seams of the covering fabric. Fringing of the covering fabric edges was typical in the covering of aircraft in the 1920’s. Later it was changed into a saw-toothed pattern in the edges of protective strips, which was made by using ”zig-zag-scissors”. Photos by Lassi Karivalo except if otherwise separately mentioned. Translation by Matti Liuskallio. |
|
Avainsanat: aviation history, restoration, Tuesday Club, Caudron C.59;CA-50 |
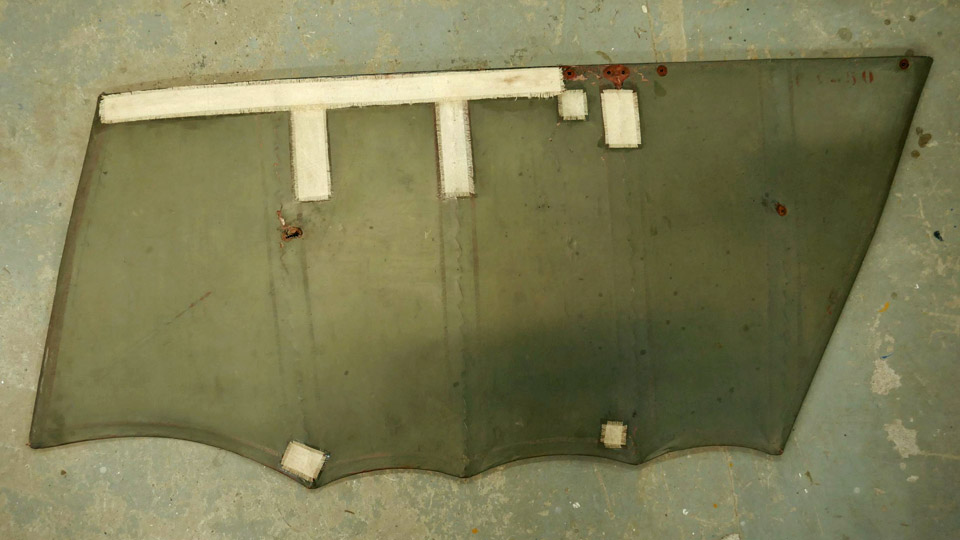
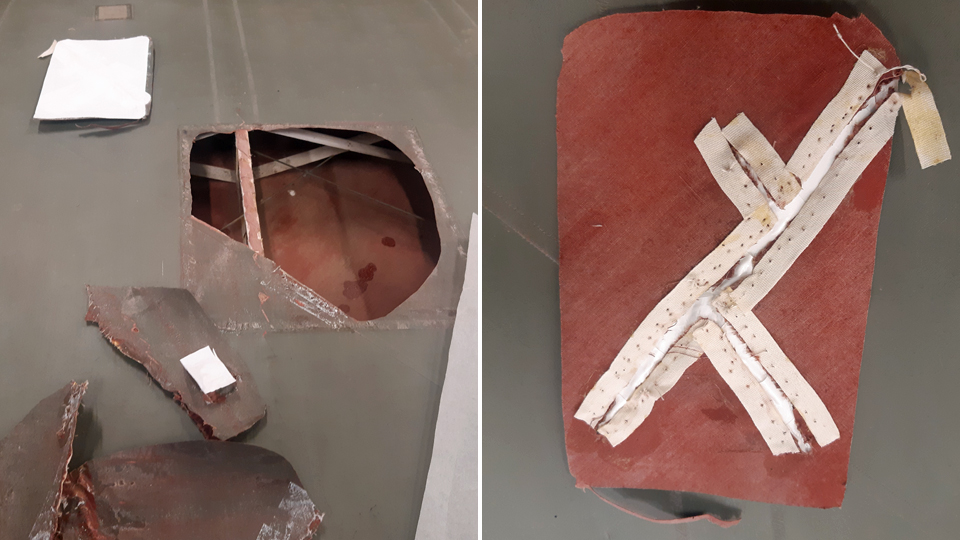
Changing the patches on lower wings of the Caudron to a modern patching materialMaanantai 26.12.2022 - Tuesday Club member The patching of the holes on the lower wings of the Caudron C.59 CA-50), the advanced trainer from the 1920’s, was finished in 2021. More than a hundred holes of various sizes could be found on both wings. To patch the holes on the lower wings we had used first cotton and then linen fabric. We had sewn together the tattered edges of big holes before gluing the patches on them. The patches had been fringed on their edges in the manner of the 1920’s, and they were glued on the holes using nitrocellulose lacquer, i.e. the tightening lacquer for the covering fabric.
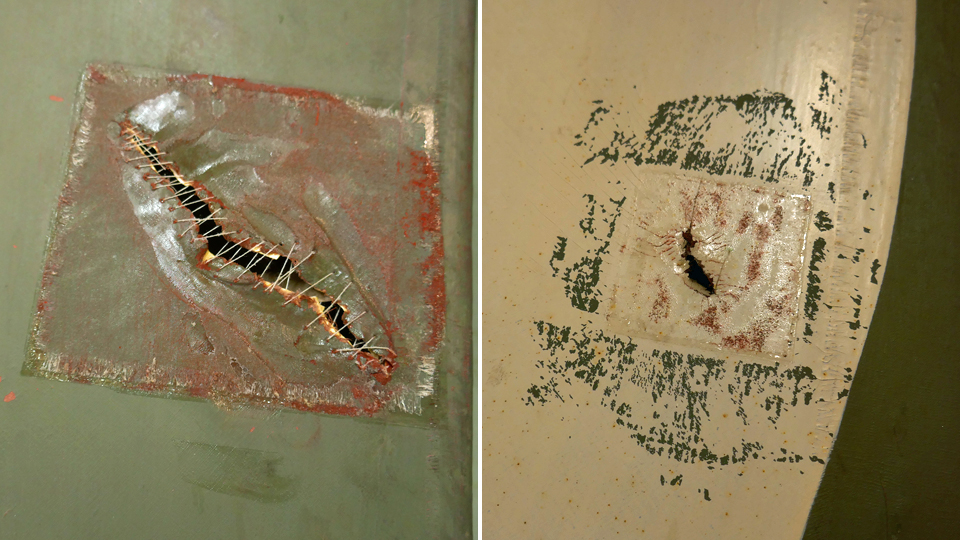
In the autumn of 2022 we started the changing of the fabric patches on the lower wings with the Finnish Aviation Museum’s staff supervising the work. The reason for this was that the larger patches of fabric, and especially the linen patches, hadn’t properly tightened. There were also problems with those patches, where the edges of the holes had been sewn together. In these places the stitches had remained lumpy under the patches in a disturbing manner, probably because the fabric hadn’t tightened enough on the stitches. Patches on the wings have to be smooth at least for aerodynamic reasons.
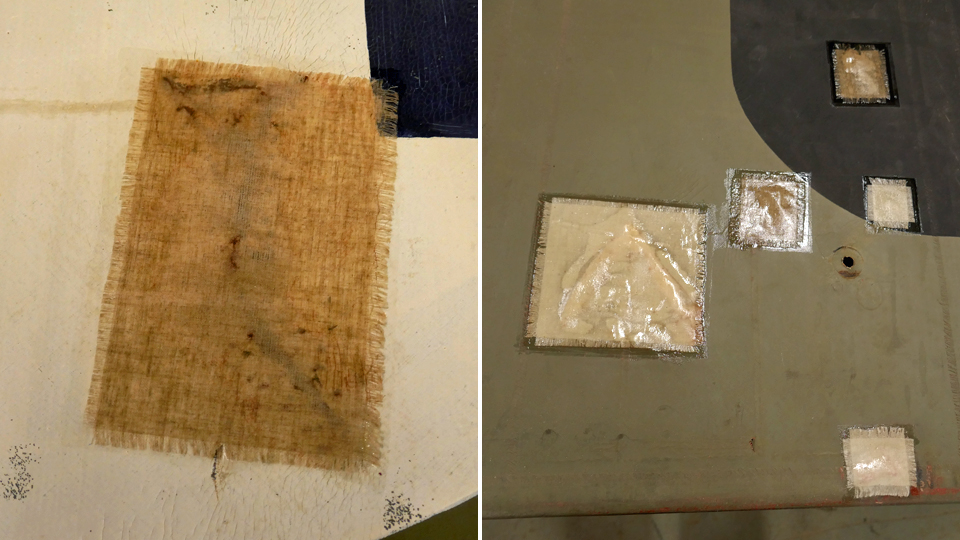
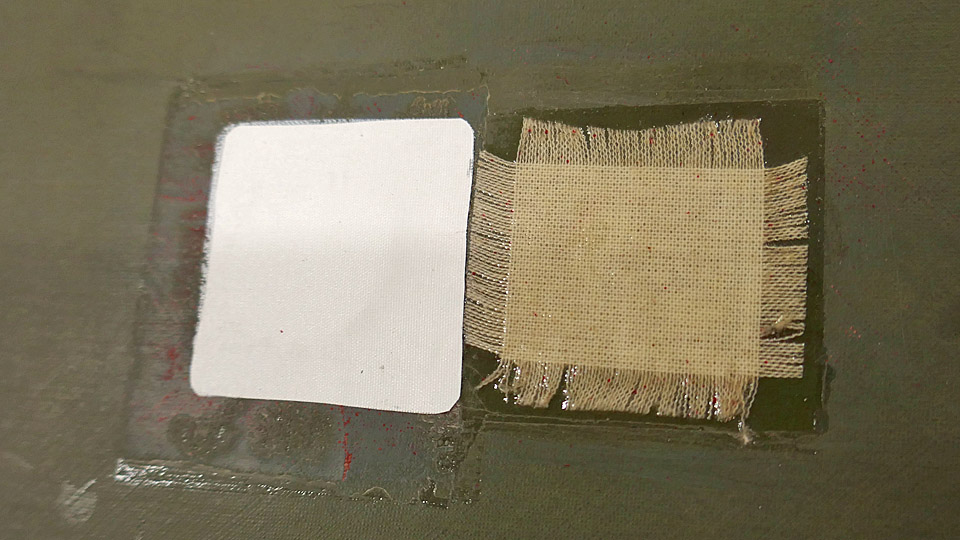
The Museum decided to have the inadequately tightened linen patches and the fabric patches containing stitches to be changed to a new material. As the new material the modern heat-tightening Oratex- material, resembling the 1920s style, was chosen. Patches made of thin Oratex-material, painted in the patinated greyish green hue, produced inconspicuous and at the same time aerodynamically extremely smooth patches, compared with the fabric ones made with tightening lacquer.
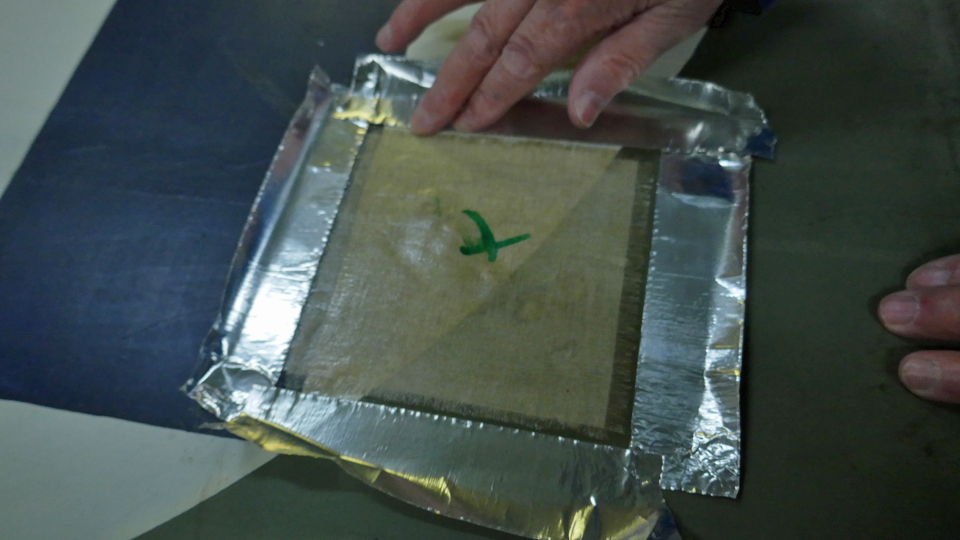
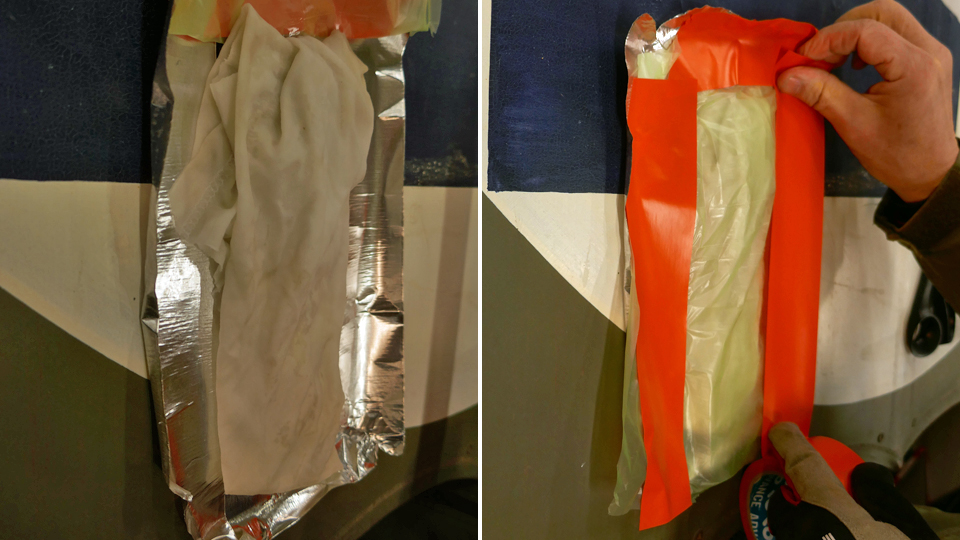
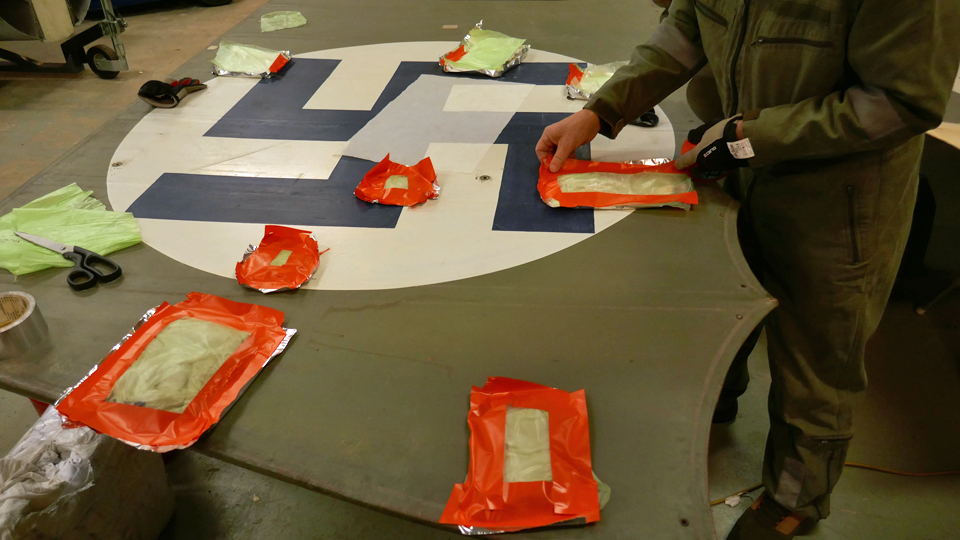
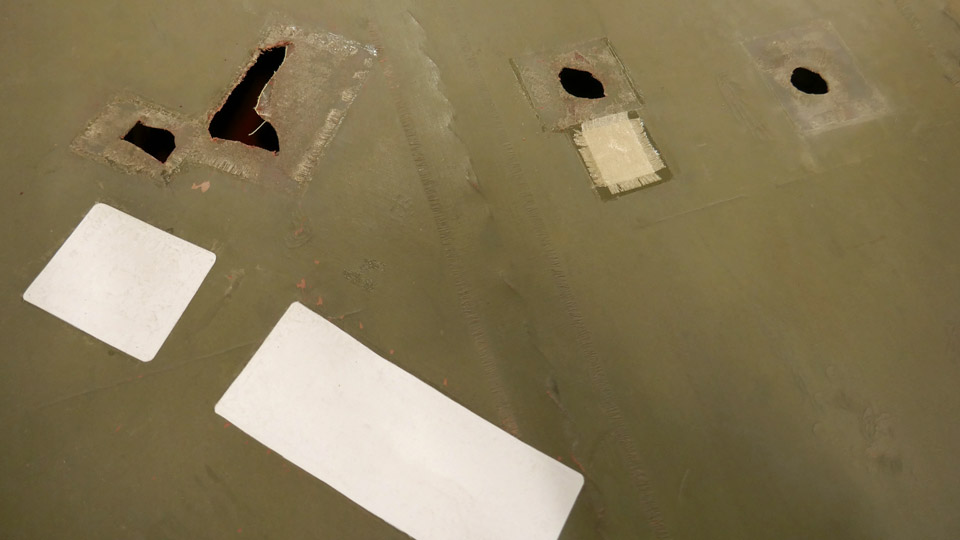
To replace the patching material the fabric patches were loosened using thinner for nitro cellulose lacquer (Thinner 8). The patch was surrounded with aluminium tape, so that the thinner wouldn’t damage the 1920s covering fabric. After this a thoroughly Thinner 8 soaked fabric, which was covered with a sheet of plastic foil, was placed on the patch. The foil was taped tightly on the edges to keep the fabric wet and to prevent the thinner from evaporating. After a few hours “the package” was opened and the cotton or linen patch, glued with nitro cellulose lacquer, could be neatly detached. After this the edges of the holes without a patch were cut clean. Patches, with tattered edges sewn together, were cut completely open. Holes with tattered edges will not be sewn anew.
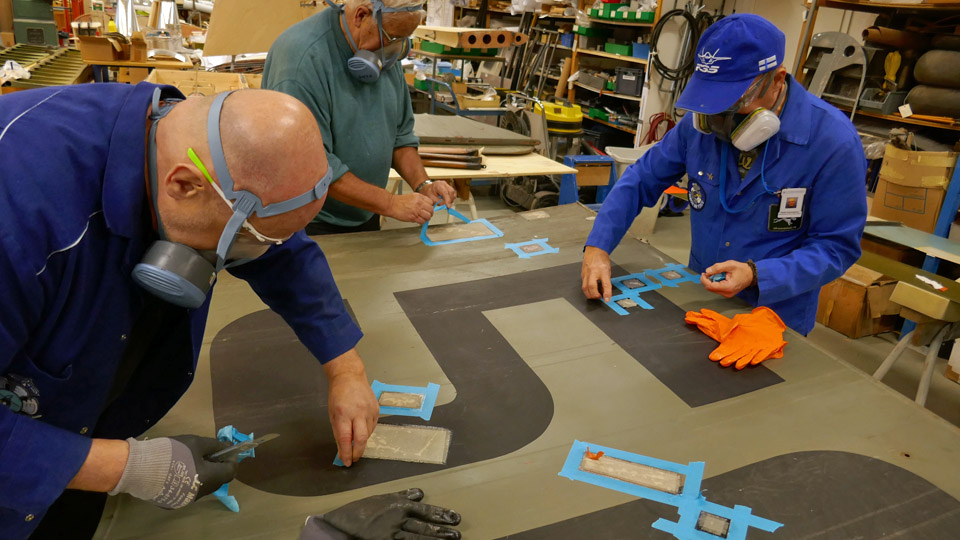
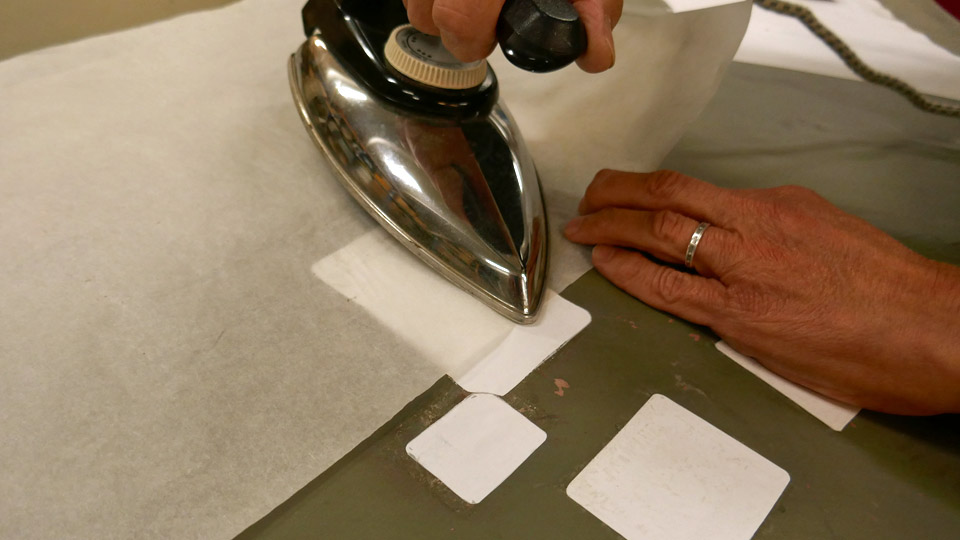
Now the patching of the cleaned holes could be started with Oratex-material. For each hole a larger round or rectangular piece was now cut out of the Oratex-material. After that the patch was glued and tightened on the hole by heating the patch with an iron, which was pre-heated to a suitable temperature, using a protective paper. The heating melts the glue from the underside of the patching material, fastening the patch to its place and tightening the fabric smooth.
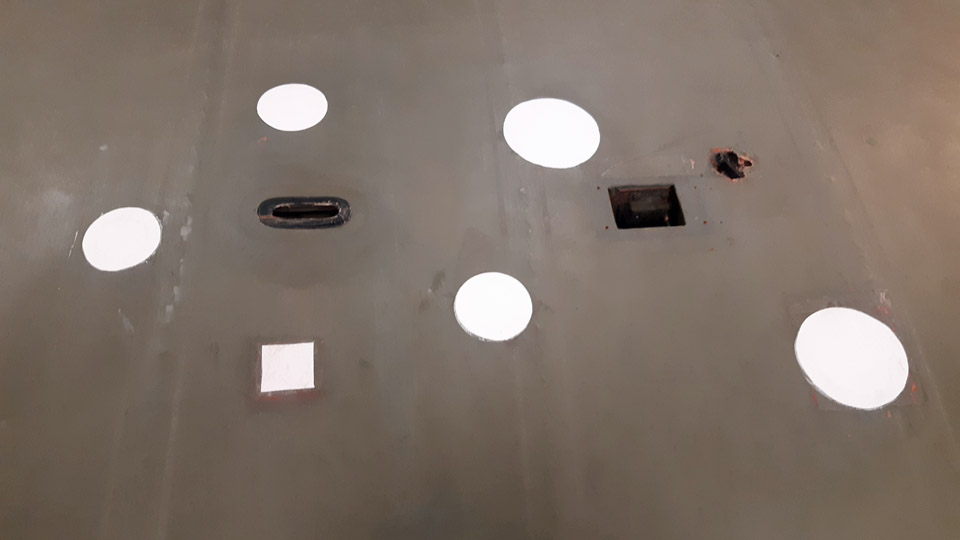
This modern material is really handy to use and the patches turned out to be very smooth and tidy. There’s also the extra bonus of not having to protect oneself against the toxic fumes of the nitrocellulose lacquer. The appearance of Ortex- patches differs, however, from the traditional fabric patches with fringed edges from the 1920s. The work will continue in the spring season of 2023. Photos by Lassi Karivalo. Translation by Matti Liuskallio. |
|
Avainsanat: aviation history, restoration, Tuesday Club, Caudron C.59;CA-50 |
Ilmailumuseot.fi - Aviationmuseums.fi