Covering the Link Trainer aileronsMaanantai 18.3.2024 - Tuesday Club member The wing refurbishing of the South-Karelian Aviation Museum’s Link Trainer has moved on to the covering stage. At first we set on to covering the ailerons. One aileron was original and the other built at the Aviation Museum Society’s Tuesday Club to replace the missing aileron. Stripped of its covering, the repaired original aileron and the rebuilt aileron were covered with a special cotton fabric for covering, bought from Switzerland at Craftlab.
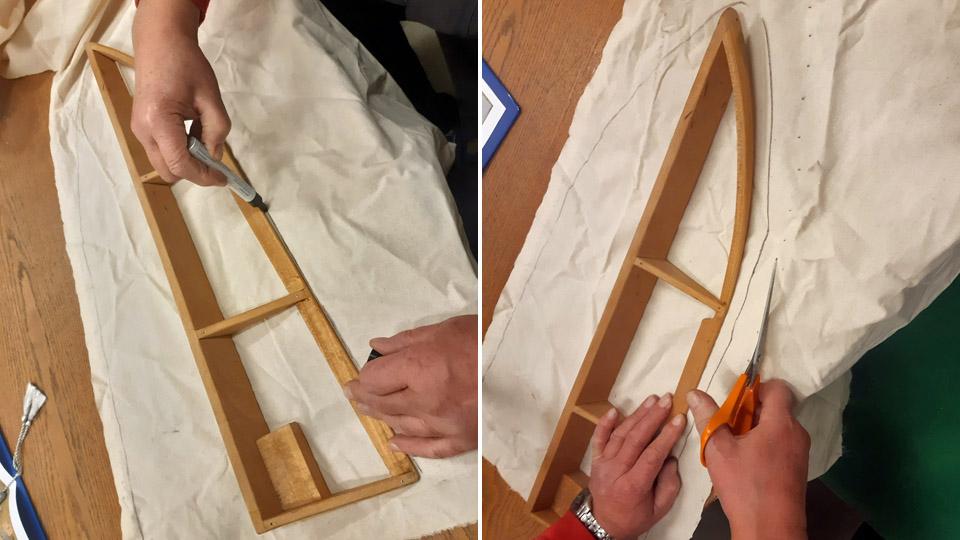
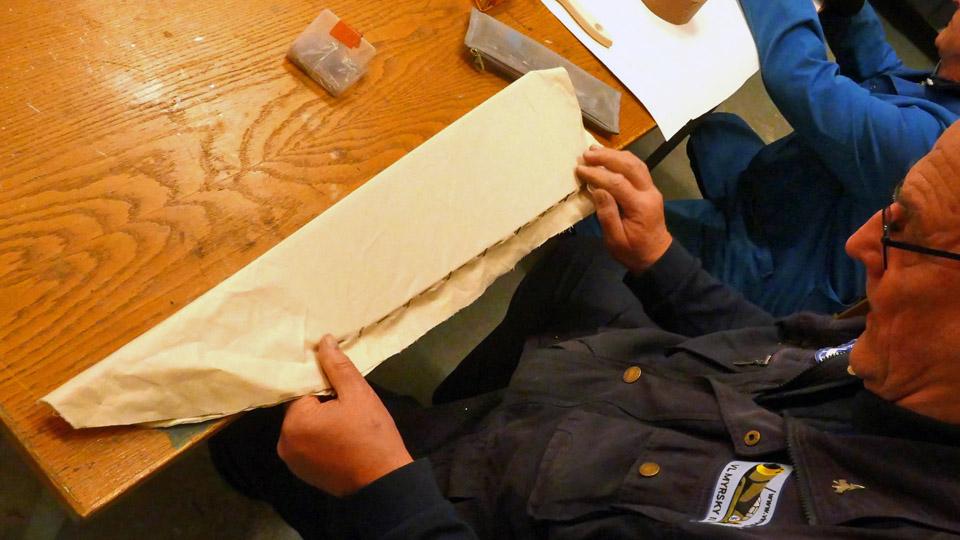
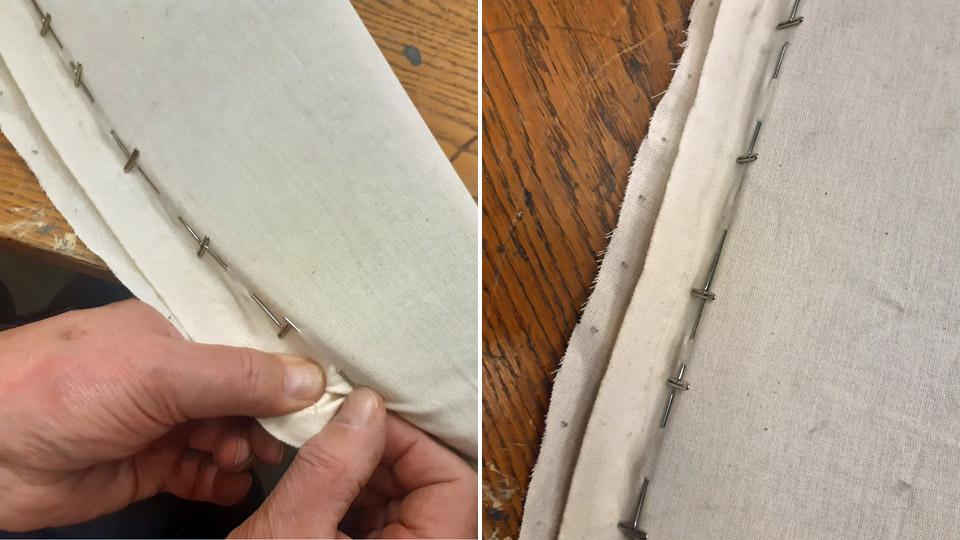
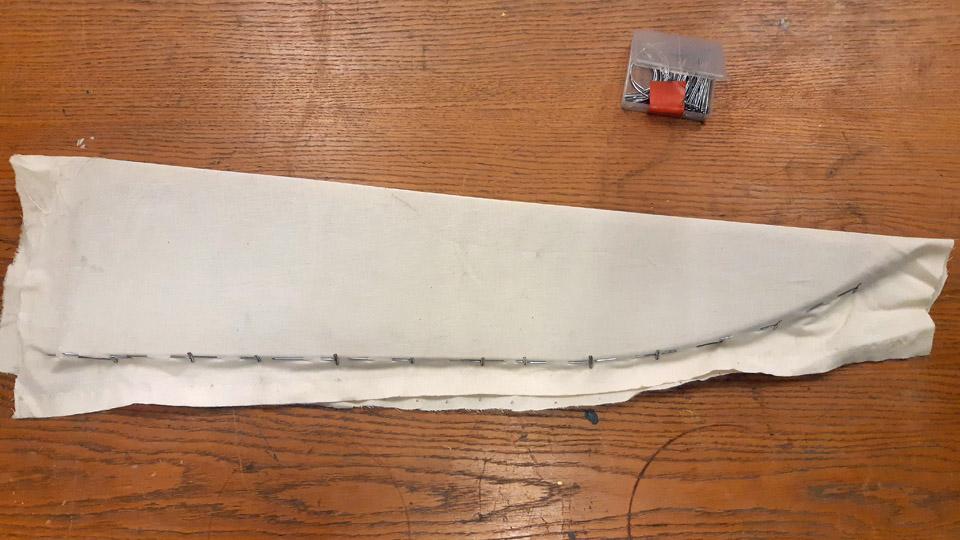
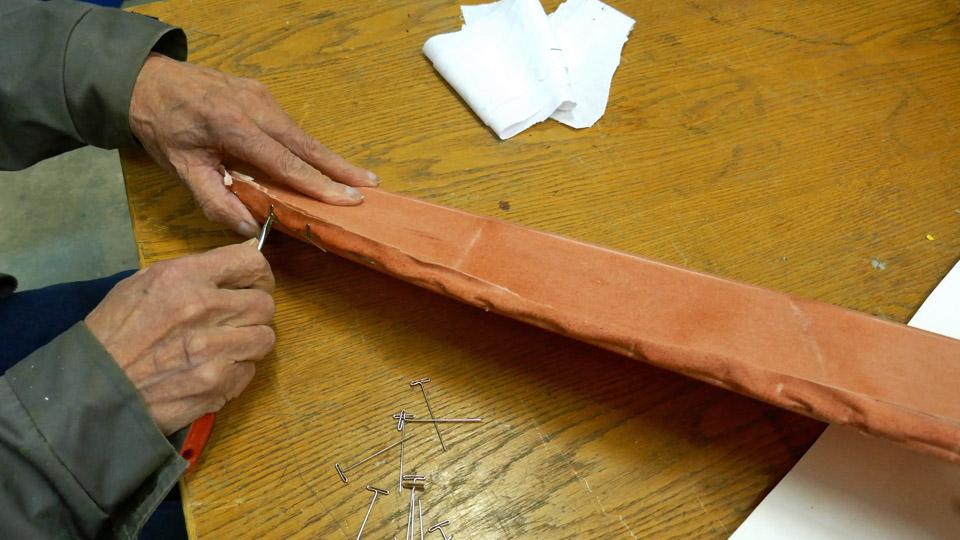
The covering was commenced by setting the aileron on the covering fabric and drawing the shape of the aileron on the fabric with a felt pen. The fabric was cut with a wide margin, taking into consideration the actual space for working. The fabric was folded around the aileron, so that the lapels met at the trailing edge. The lapels were fastened together with wig pins, at the same time tightening the fabric on the aileron. T-headed and long wig pins are very handy for this purpose. The pins were acquired from a Chinese on-line shop.
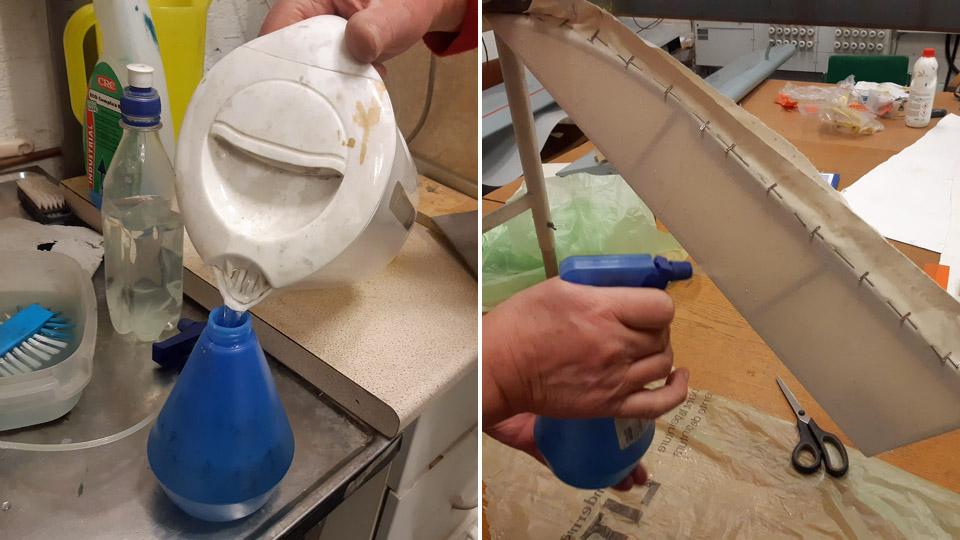
After the lapels of the covering fabric had been fastened to each other with pins, we were facing with tightening the fabric with water. Water tightening is the first phase to make the covering fabric tight. In the process the warp and weft already shrink somewhat, i.e. the fabric pre-tightens around the aileron. For water tightening the water was boiled. By boiling the water it will be disinfected, so that organic impurities won’t infect the fabric, which could cause the fabric to mould. Well, in this case the boiling wouldn’t have been necessary, because we aren’t dealing here with an airworthy device. After the water had cooled down, the fabric was thoroughly soaked.
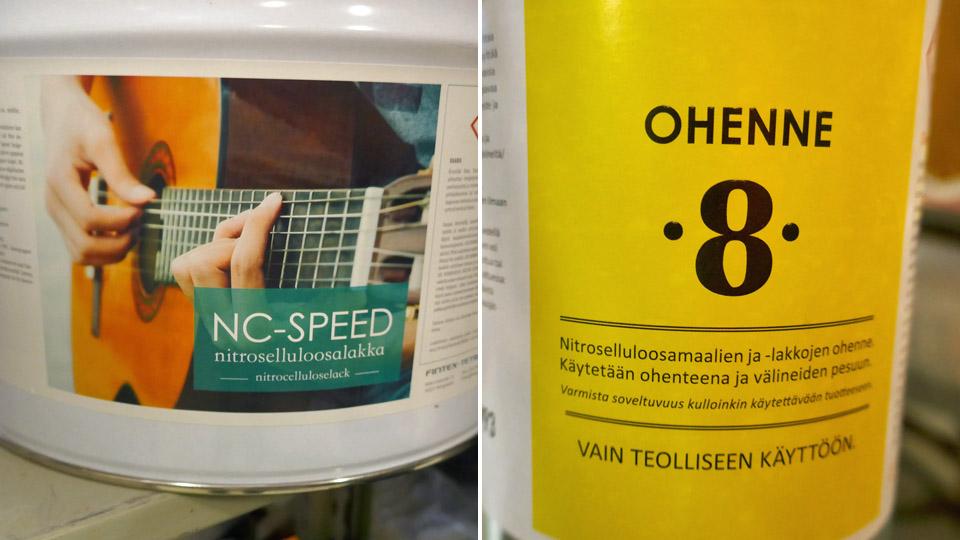
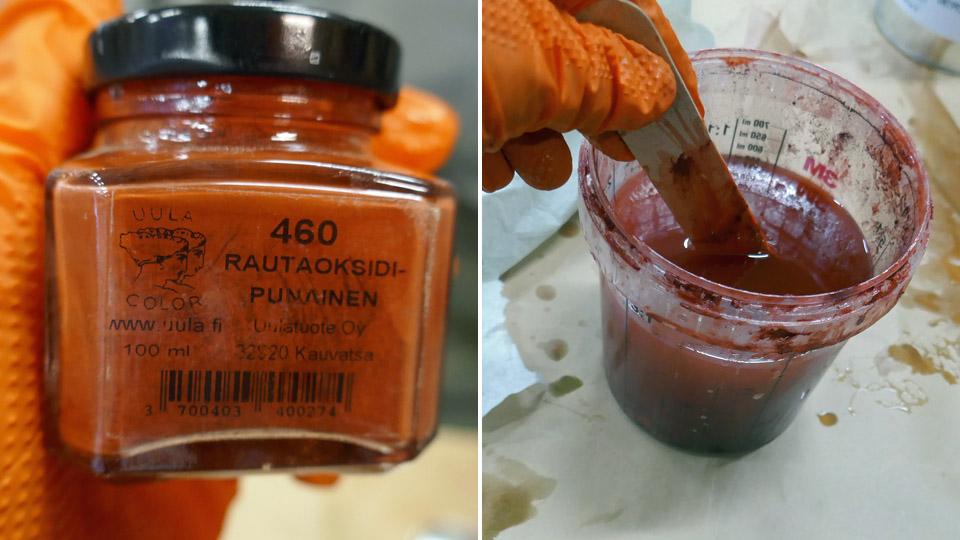
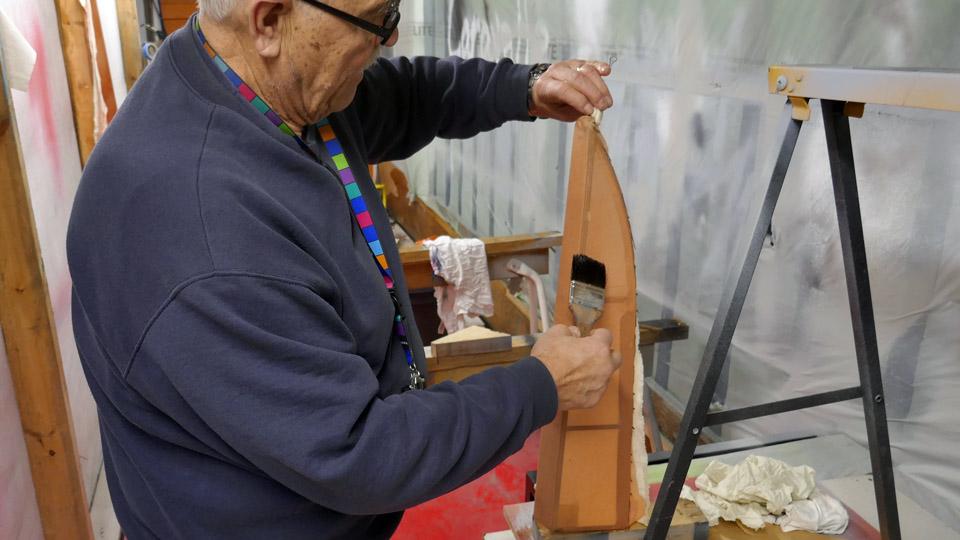
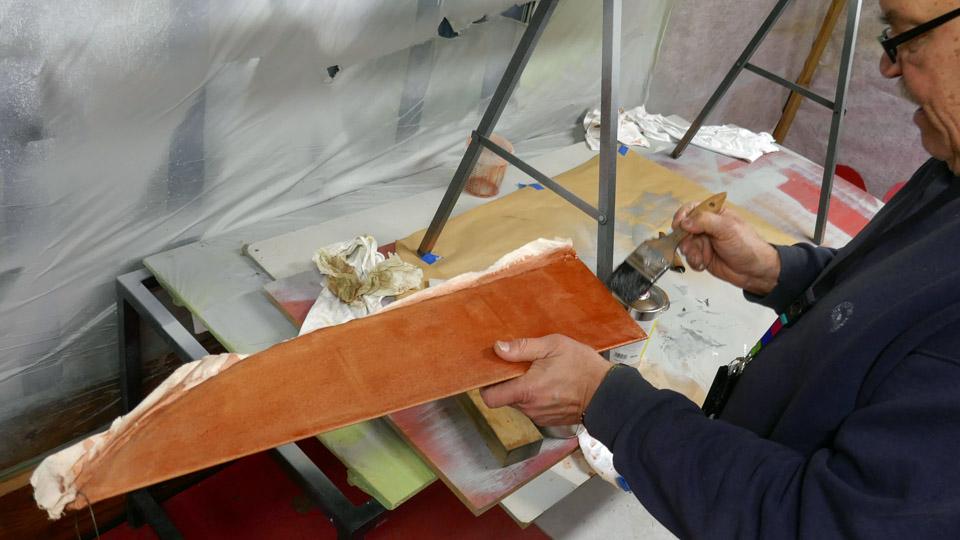
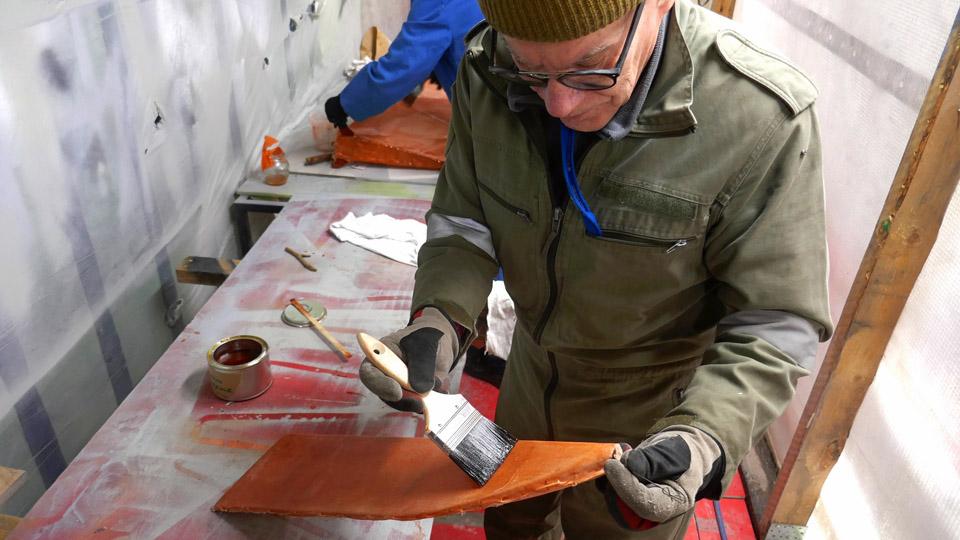
After the fabric had dried, the proper tightening was commenced. It will be done with nitrocellulose lacquer, which causes the fabric to become as tight as a drumhead. As a lacquer we used NC-Speed nitrocellulose lacquer and as thinner Ohenne 8. Red iron oxide was mixed into the tightening lacquer as a pigment. It is customary to colour the tightening lacquer, so that you can keep track of which areas have been dealt with and which haven’t.
25 % lacquer.
50 % lacquer. The tightening coats of lacquer for the covering fabric will be applied in phases by starting with diluted lacquer and ending up with undiluted lacquer. The Link Trainer’s ailerons were applied at first with two layers of 25% lacquer, followed by two applications of 50% lacquer, one application of 75% lacquer and to finish it all an application of undiluted nitrocellulose lacquer. The lacquered surfaces were sanded between applications for the fuzz, which was stood up by the lacquer.
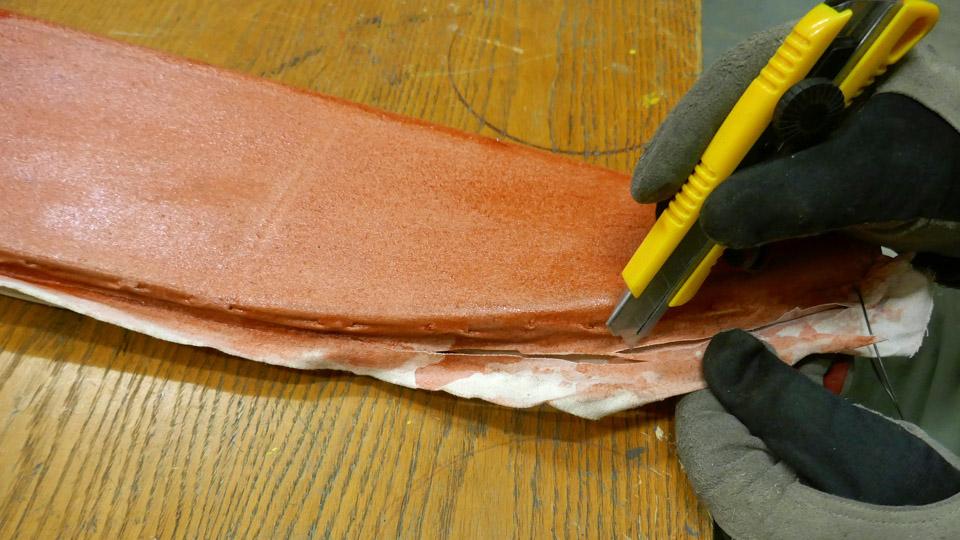
After the application of 50% lacquer, the fastening pins of the covering fabric were removed. At the same time the extra fabric lapels’ surplus to the trailing edge were cut off with a Stanley knife. This was possible, because the covering fabric was glued firmly enough to the trailing edge of the aileron, the ribs, and other parts of the aileron structure. The trailing edge will be sanded smooth, and a serrated cotton strip will be glued to it to strengthen it.
75 % lacquer. In this connection it must be noted that in case of an airworthy aircraft, the covering fabric would have been sewn to the ribs of the aileron, the same way as the fabric would have been sewn to the wing ribs. In not covering the ailerons and the wings we decided to cut corners, so in this case skip sewing the fabric to the ribs. This had been the case with the damaged covering fabric we stripped off the wings.
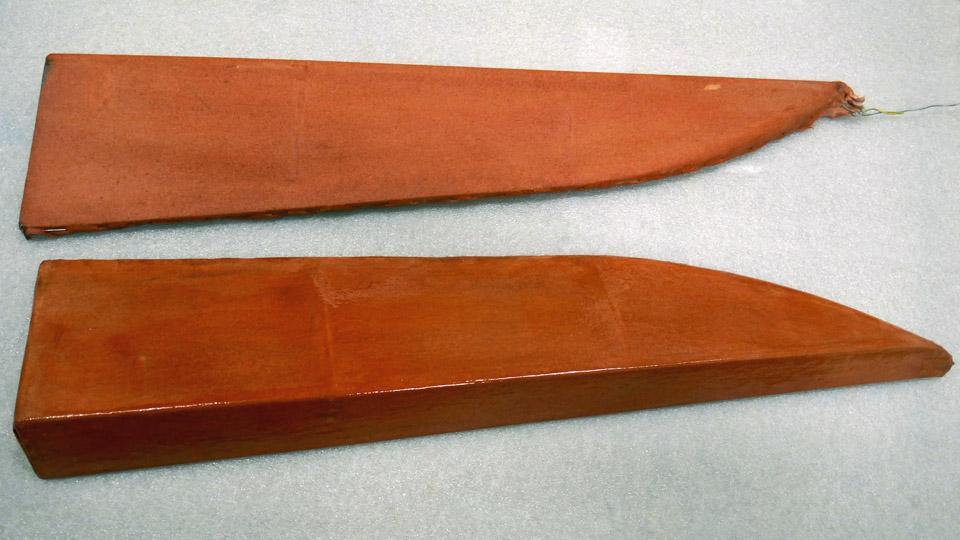
The tightening lacquer for one aileron is ready and waiting for to be painted beige. The other aileron will receive a few more applications of lacquer, before its fabric will be as tight as a drumhead. Photos by Lassi Karivalo. Translation by Matti Liuskallio. |
|
Avainsanat: aviation history, restoration, Tuesday Club, Link Trainer |
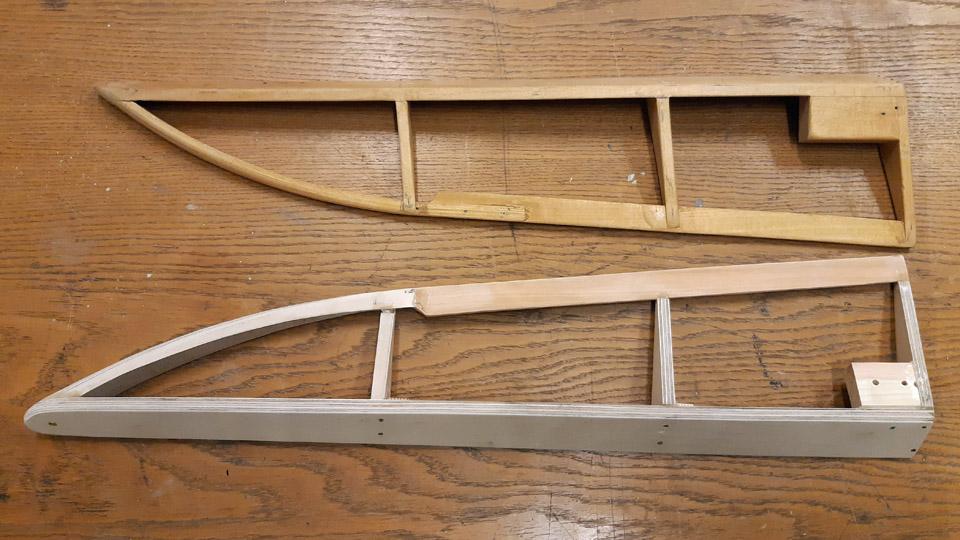
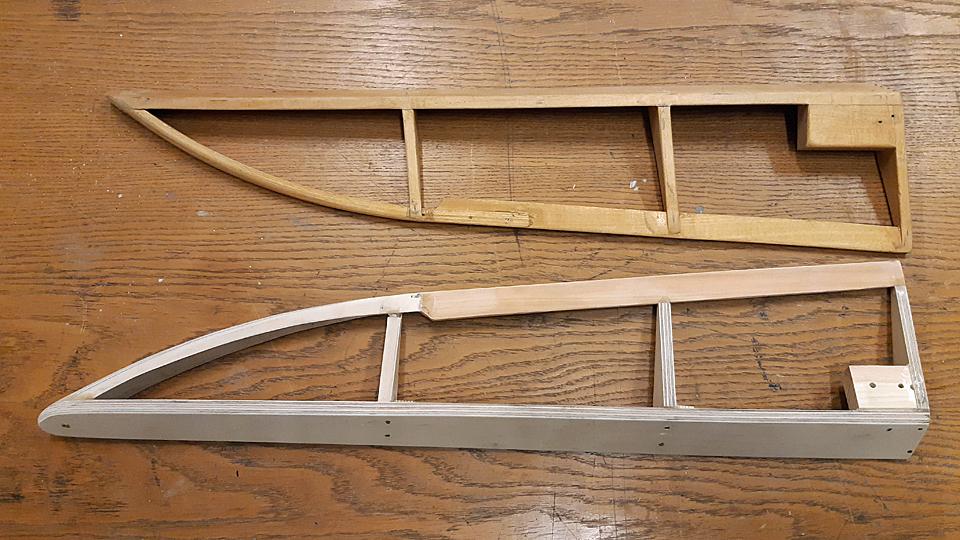
Building of the missing Link Trainer aileronSunnuntai 10.3.2024 - Tuesday Club member The restoration of the Lappeenranta based Karelian Aviation Museum’s Link Trainer wings is underway at the Aviation Museum Society’s Tuesday Club. Our main work is to refurbish the wings and cover them again. Furthermore the missing aileron from the left-hand wing had to be built. As a model we used the right-hand wing aileron, which was stripped of its covering.
Photo by Kimmo Marttinen.
Photo by Lassi Karivalo.
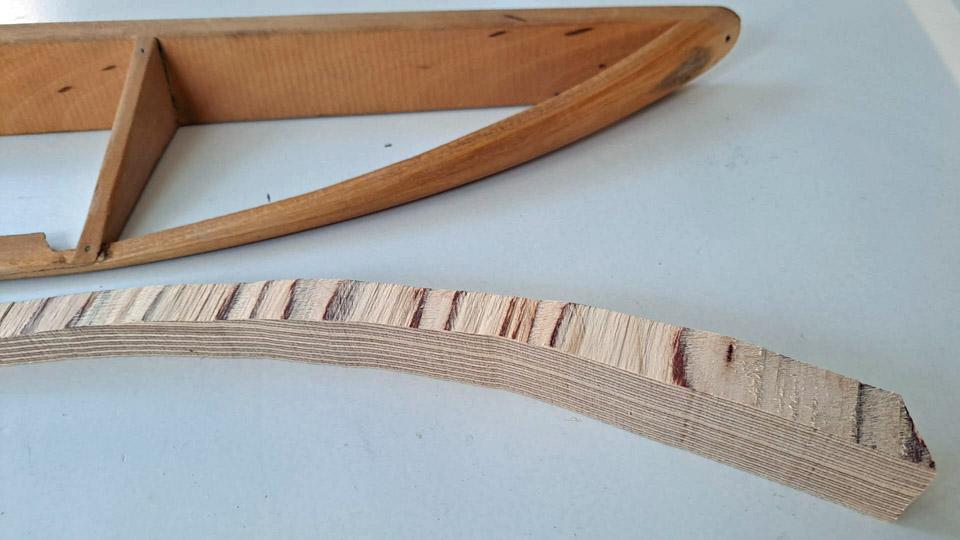
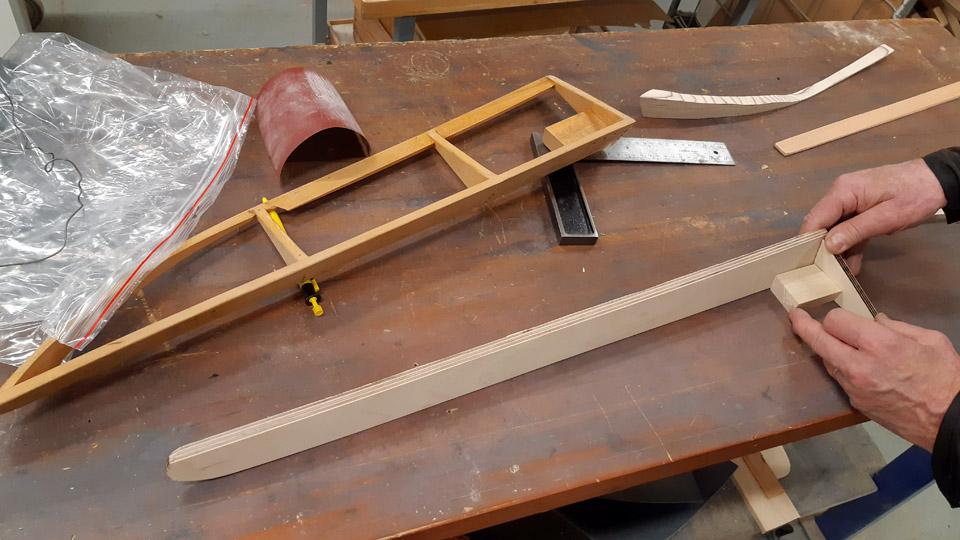
Photo by Lassi Karivalo. We started to build the aileron from strips of wood according to the original. However, we noticed after a few days that the finished parts of the aileron didn’t keep their form, but there were distortions. The material we used wasn’t good enough. We ended up with a solution different from the original by building the left-hand aileron mainly from plywood, which keeps its form well. The decision facilitated our work also so that the curved trailing edge tip had originally got its form from strips of wood soaked in water. Making the curved part of the aileron from plywood will be easier.
Photo by Lassi Karivalo.
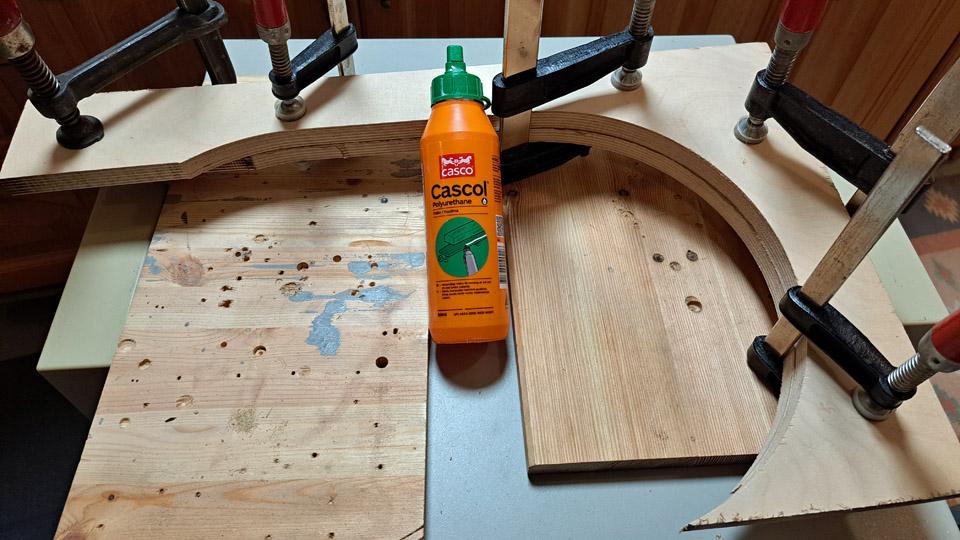
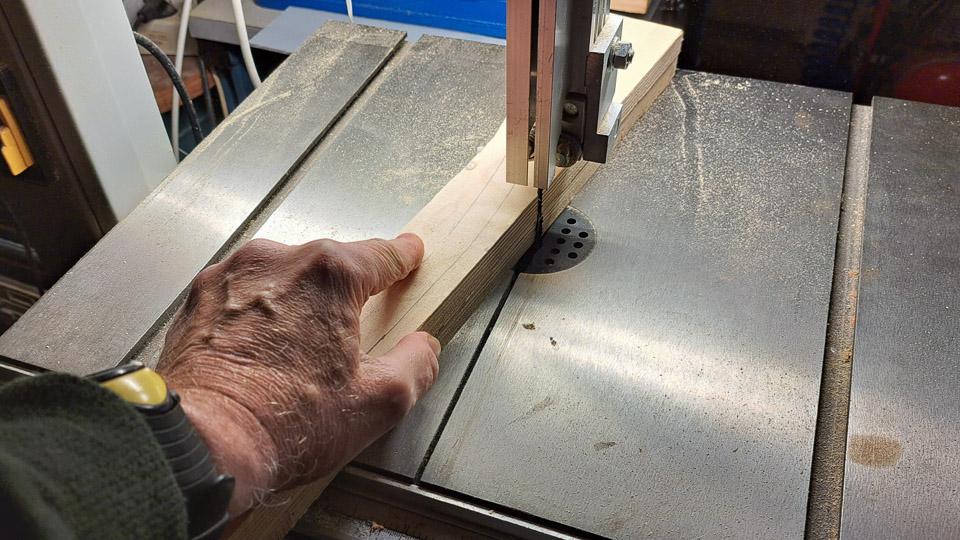
We started making the aileron from the curved tip of the trailing edge. In order to get thick enough plywood to build the trailing edge tip, we glued two sheets of plywood together. After the glue had dried, a picture of the right-hand aileron’s curved trailing edge was drawn on the plywood. The plywood was sawn along the drawing line, to give us a blank for the left-hand aileron trailing edge. The blank was shaped tentatively to its form.
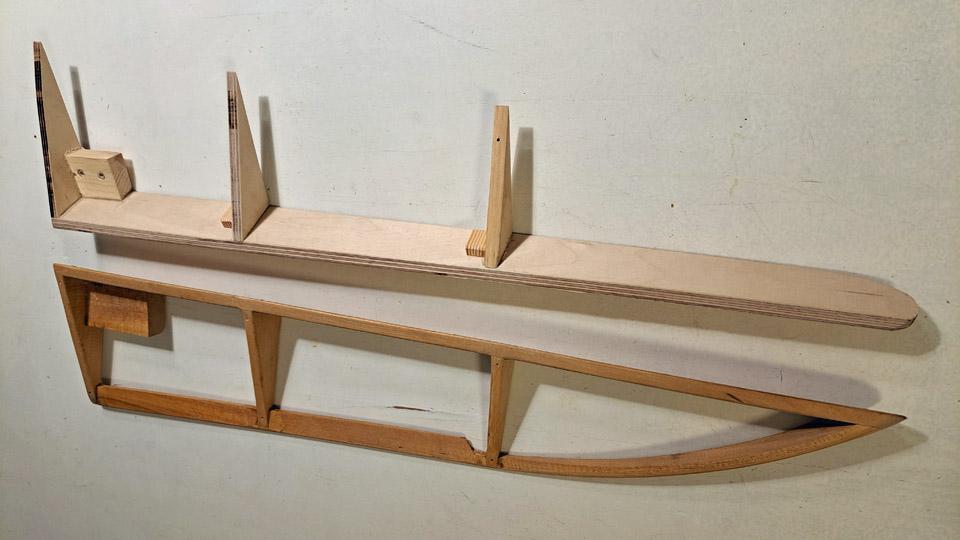
Next we made from plywood the left-hand aileron’s leading edge, which could be called the spar of the aileron. We sawed it from 6 mm thick plywood according to the model given by the right-hand aileron. The leading edge is not at right angles to the wing base. The correct angle (98,3 degrees) was defined from right-hand aileron’s leading edge. The left-hand aileron’s leading edge base was ground to that angle. The leading edge batten was now ready.
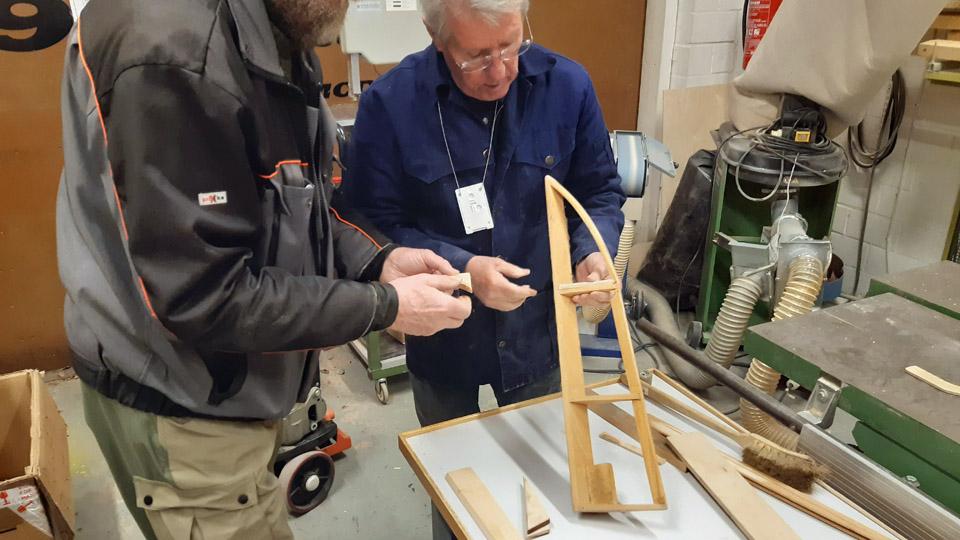
The necessary three triangular ribs were made of plywood according to the right-hand wing aileron ribs and angles. In the same way some thin 3 mm strip of pine was found, from which the straight stem of the trailing edge was made. The trailing edge stem will be joined according to the original model with a 5 cm long glue joint to the curved tip of the trailing edge batten.
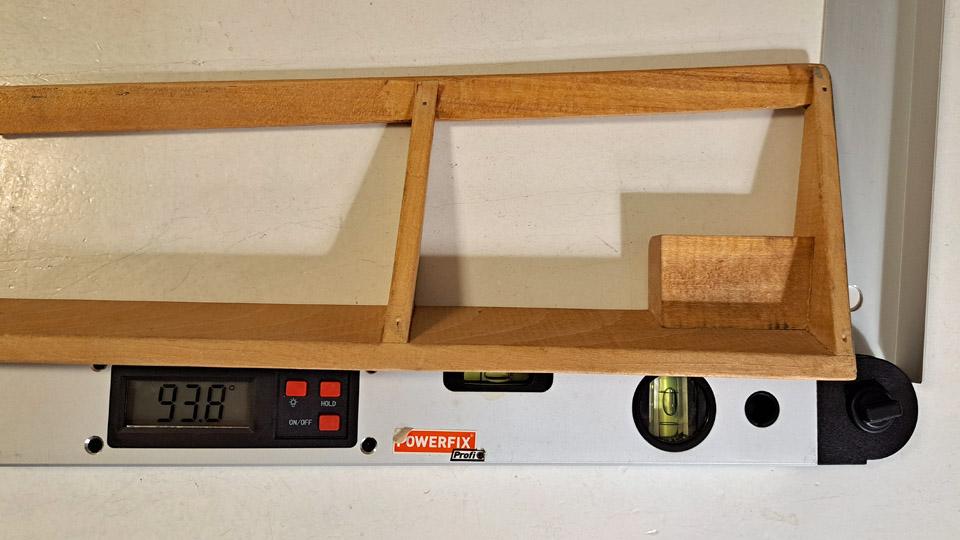
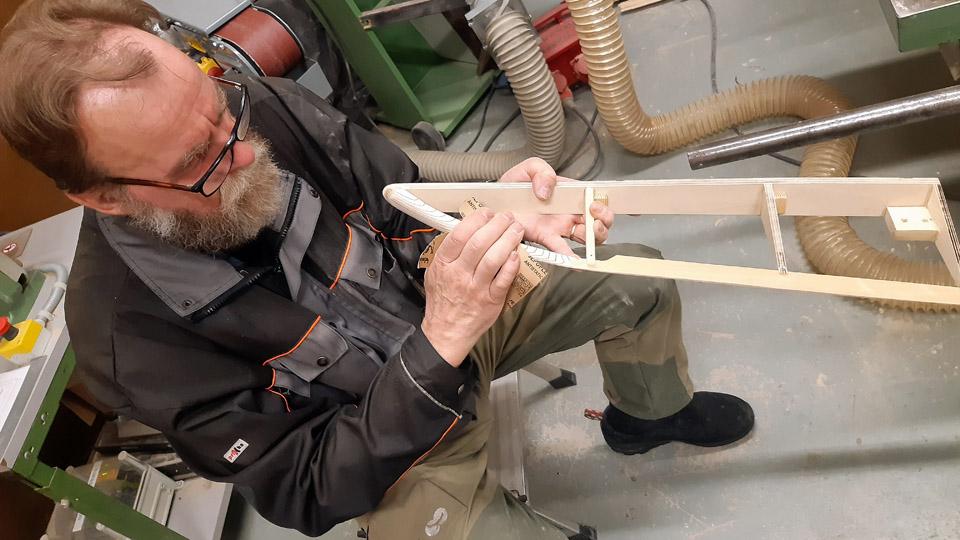
When all the components of the aileron had been made, the construction of the aileron was started. The compilation was commenced with the leading edge and the ribs that were glued to it. As a gluing platform sturdy plywood was used, onto which a guiding piece with an angle of 93,8 was fastened. The leading edge batten was fastened with clamps to the guide piece and its sturdy platform. First the aileron’s root rib was glued into place and after that the two other ribs. The gluing was secured with two screws. The aileron had already got its basic form.
The trailing edge of the aileron was still missing. First the straight thin stem of the trailing edge, which was shaped from a batten of wood, was glued to the ribs. Last to go to place was the curved tip of the trailing edge. At the same time the tip and stem were joined at the rib with a glue joint. The rib also strengthens the glue joint. Because the curved tip of the trailing edge had only been tentatively ground, the tip was ground to final form after the glue had dried.
The missing aileron of the Link Trainer was structurally finished. The aileron will be covered and painted in accordance with the covering of the Link Trainer wings. Photos by Pauli Jokimies except if otherwise mentioned. Translation by Matti Liuskallio. |
|
Avainsanat: aviation history, restoration, Tuesday Club, Link Trainer |
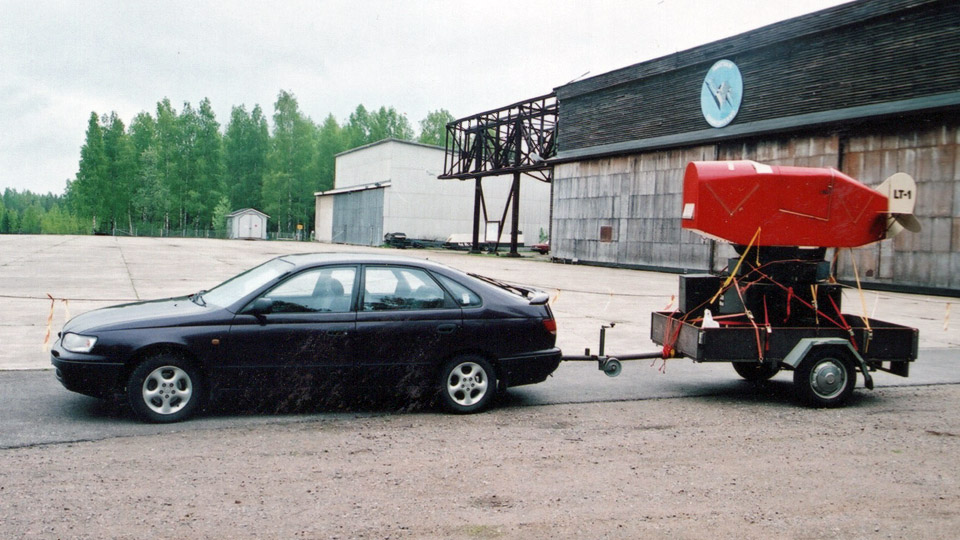
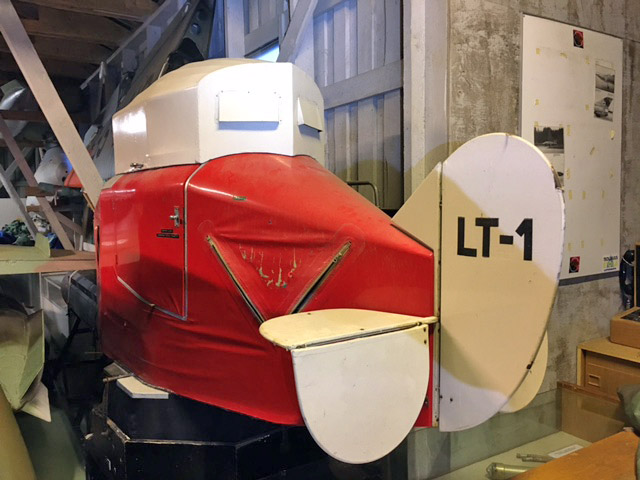
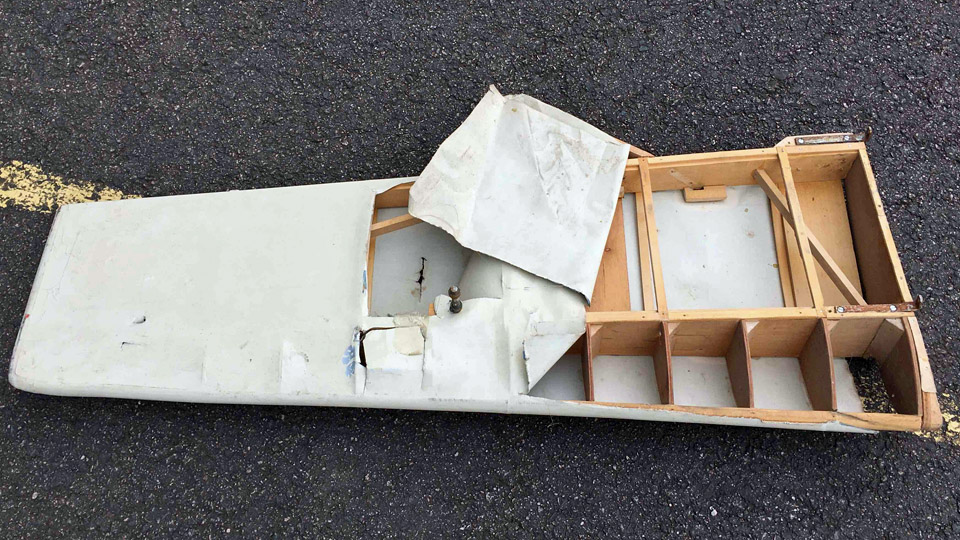
The wings of a Link Trainer to the Tuesday Club to be coveredSunnuntai 3.12.2023 - Tuesday Club member The collection of the Karelian Aviation Museum includes a Link Trainer (LT-1). This Link Trainer has last been in use at Immola. The retired link Trainer was collected in a trailer to the Karelian Aviation Museum to Lappeenranta on June 6th, 2004.
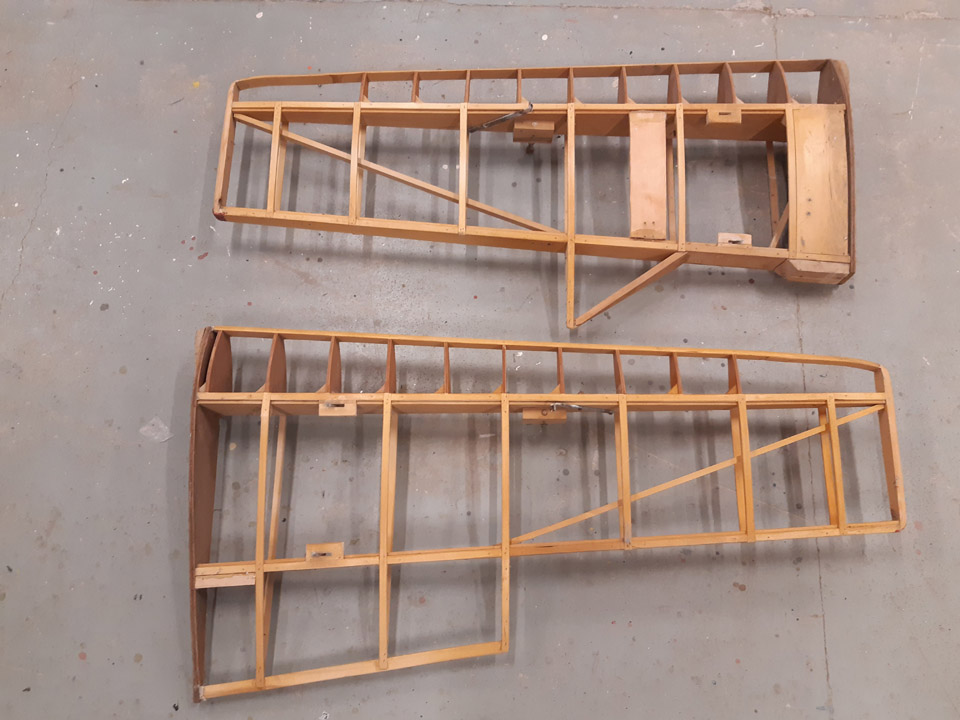
Photos by Kimmo Marttinen. This Link Trainer has wooden wings with ailerons. The fabric covering of the wings is badly torn. On top of that the left aileron is missing. The wings are structurally more or less intact, so for that part there isn’t much to repair.
Photos by Ari Aho. The chairman of the Karelian Aviation Museum, Mr Kimmo Marttinen, turned to the Tuesday Club, whether the Tuesday Club could cover anew the LT-1 wings. The Club has several restoration projects active, but we answered in the affirmative because the wings are tiny, and their covering anew won’t take much room. The LT-1 wings were brought from Lappeenranta to the Finnish Aviation Museum at the beginning of November.
Photo by Ari Aho.
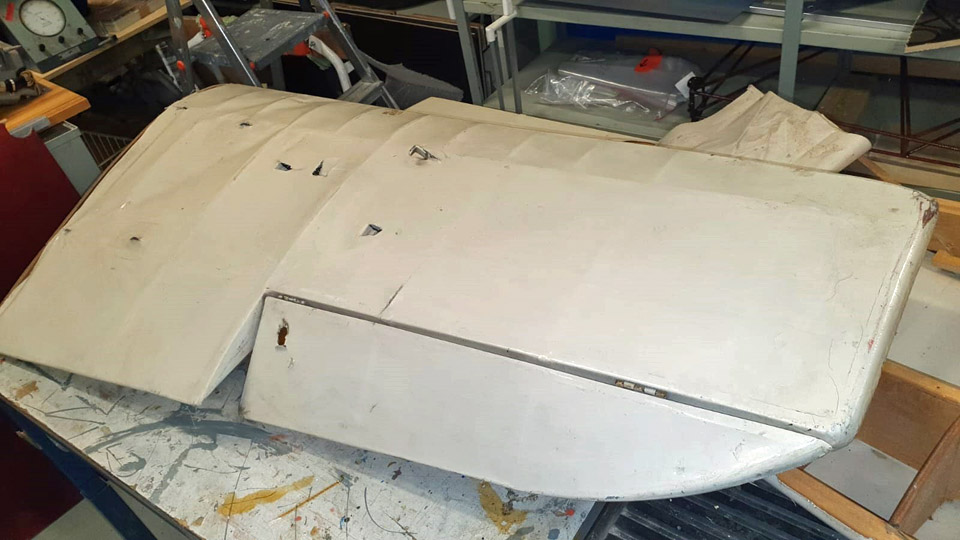
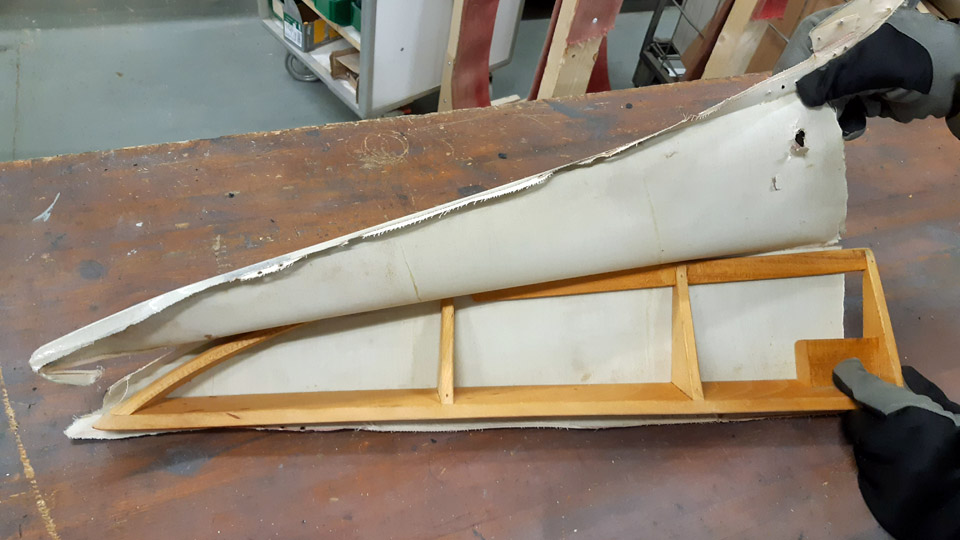
Photo by Kimmo Marttinen. At the Aviation Museum we examined more closely the Link Trainer’s fabric covered wings. There were damages on the covering of the upper surface of both the wings, but they could be patched. The covering of the underside of both the wings, instead, was badly damaged. However, we decided to cover both wings anew, because the end result wouldn’t be tidy, if it consisted of both old patched and new fabric covered surfaces.
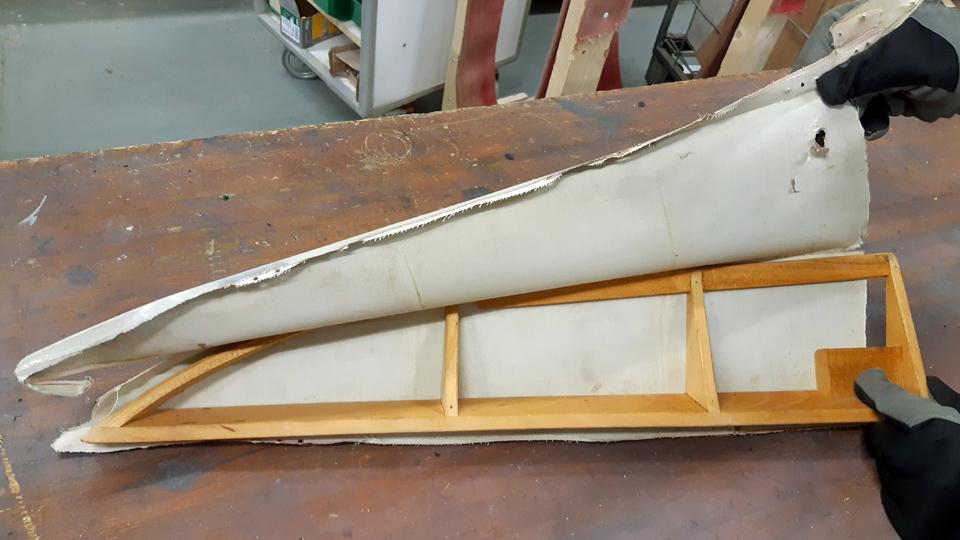
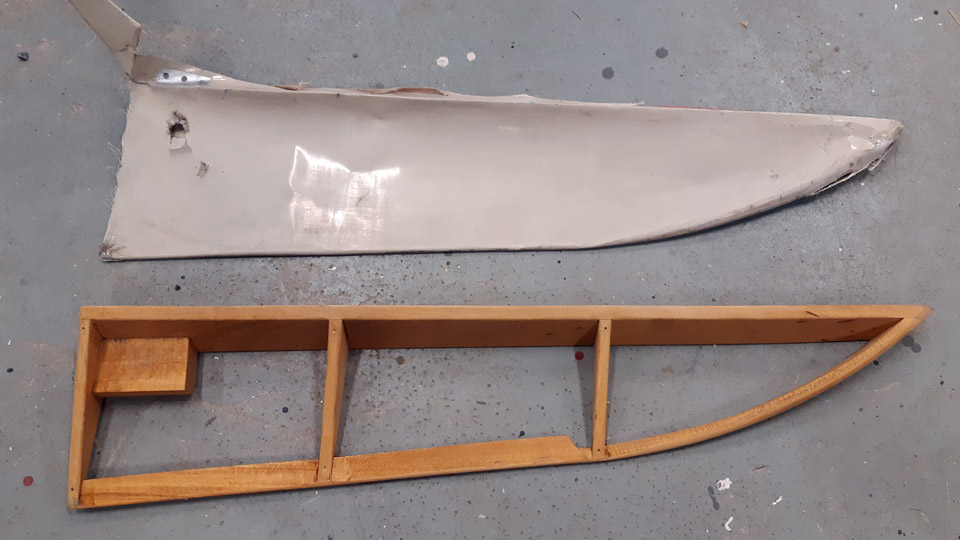
Before we started to dismantle the covering, the right-hand wing’s aileron was taken off. Even though the covering was intact, it was dismantled. The reason for this being that we’ll have to build the lacking aileron for the left-hand wing, and for that we needed the structure of the right-hand aileron as a model. The structure of the aileron for building the lacking one can’t be seen without taking off the covering from the aileron.
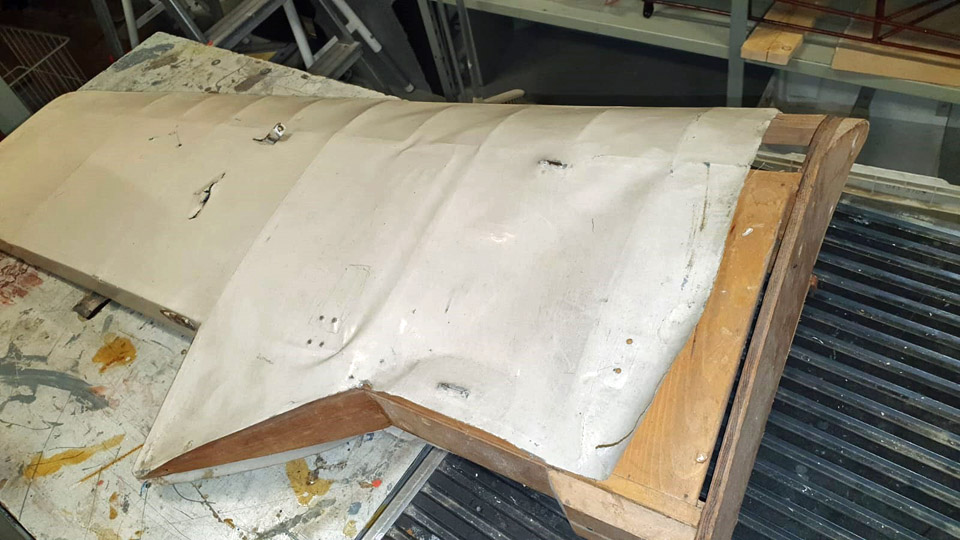
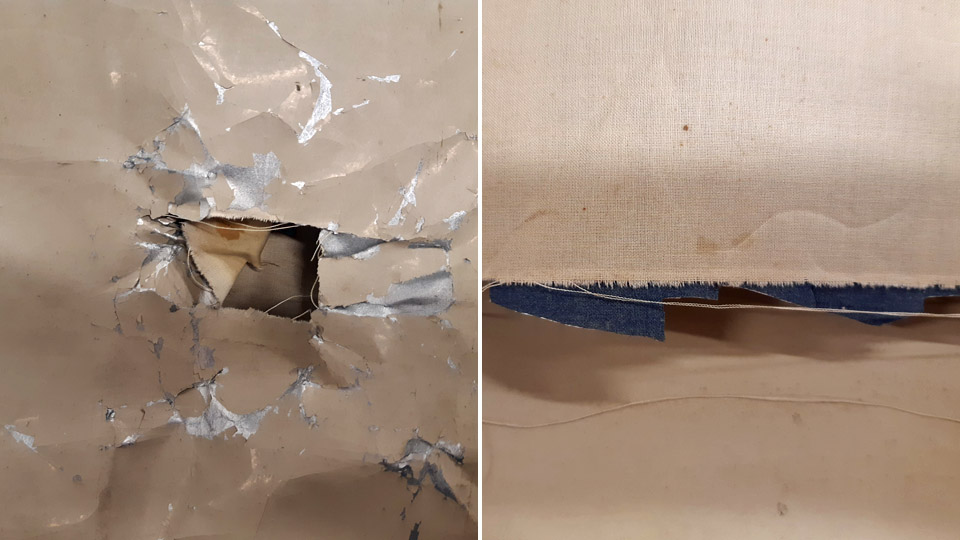
When dismantling the covering fabric from Link Trainer’s wings, our attention was drawn to the thickness of the covering fabric. At the same time it was noticed that where there was damage in the fabric, silver and dark blue paint appeared from under the beige paint. The Link Trainer’s wings have originally, or before the last coat of paint, been blue on the upper surfaces and silver on the undersurfaces.
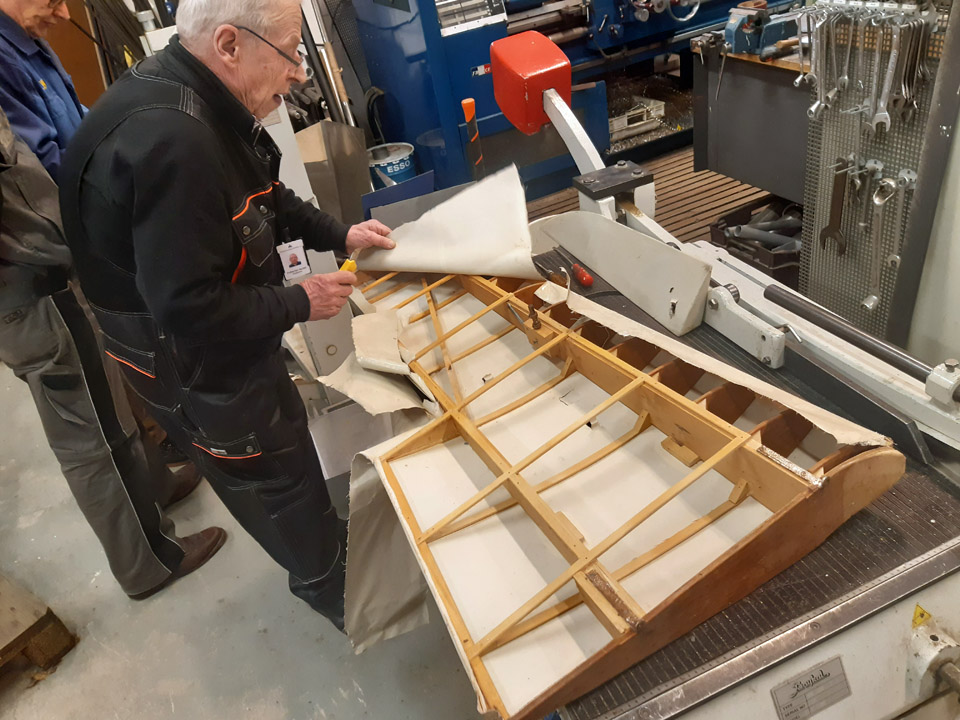
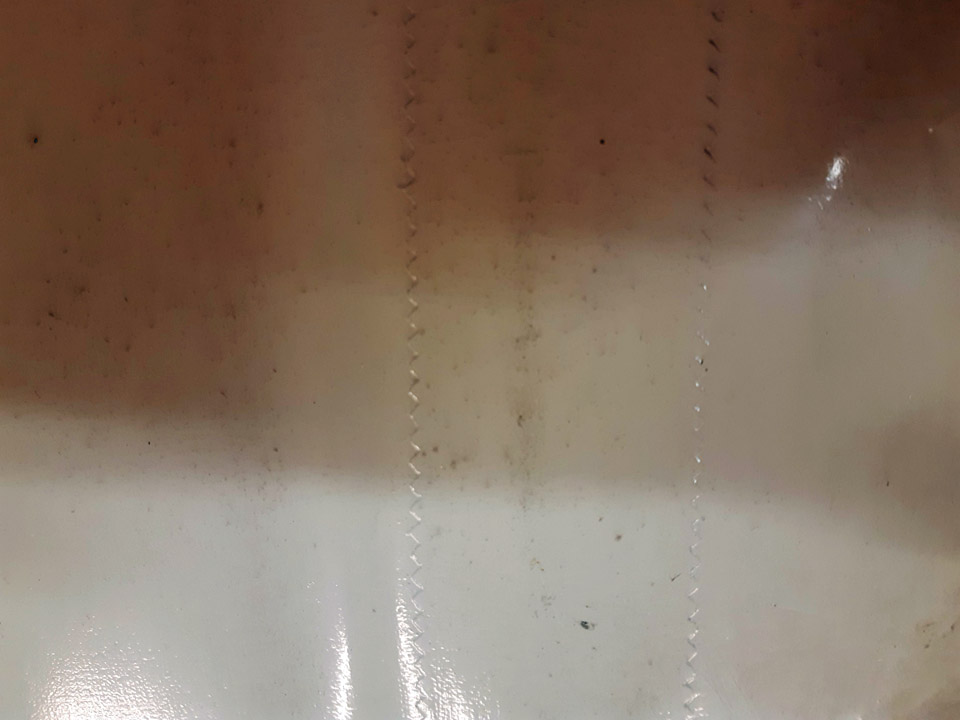
The covering fabric also told us that the wing had been covered with fabric consisting of several pieces sewn to each other. While covering the wing the stitches have been hidden with strips of fabric with zig-zag edges put into place with tightening lacquer to protect the seams.
When scrutinizing the wings stripped of the fabric, we noticed that the stem of the left-hand wing differed in form from that of the right- hand wing. Could it be that the entrance to the Link Trainer is on the left-hand side, therefore “a sidestep” has been made to the wing stem to facilitate entering the Trainer cockpit. We also noticed that the gluing seam in the wing structure had opened in places. These seams must be glued before commencing the covering. The airframe of the wing and aileron are very well and meticulously done, and also very typical wing structure with spars and ribs. Actually one wonders why the wing has been made so complete, because the Link Trainer’s wings weren’t meant to be airworthy. It would have been easier to construct the wings, if the wing had been made of plate, cut into wing form, as is the case in some Link Trainers. Before we get to covering the Link Trainer’s wings, we must find a suitable fabric. In this case an ordinary white cotton fabric will do, as long as it has good tightening qualities. So we bought two different kinds of cotton fabric from Eurokangas for testing the tightening qualities (Bed sheet fabric 150 and Satin), whose tightening qualities we now will test with nitro cellulose lacquer. Hopefully one of them will meet our requirements in covering the Link Trainer’s wings. Photos by Lassi Karivalo except if otherwise mentioned. Translation by Matti Liuskallio. |
|
Avainsanat: aviation history, restoration, Tuesday Club, Link Trainer |
Ilmailumuseot.fi - Aviationmuseums.fi