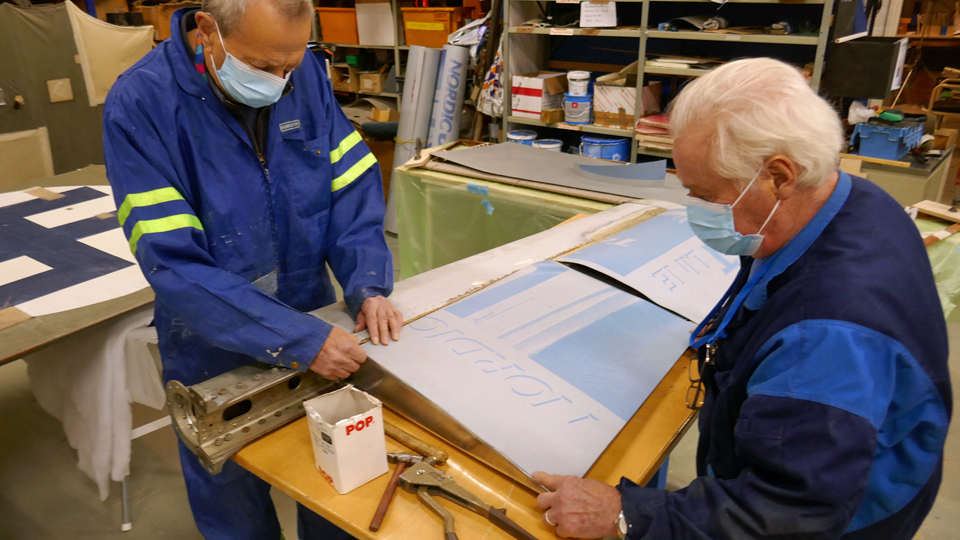
Lower side of Mi-8?s port side tail boom stabilizer has been coveredSunnuntai 17.10.2021 - Tuesday Club member The covering of the Mi-8P helicopter’s tail boom stabilizers is on the way at the Tuesday Club. The helicopter with the identification HS-6 was used by the Finnish Air Force and Army during 1978-2007. The HS-6 would have ended up being scrapped if a place hadn’t been found for it at the Tuulonen shopping centre. The tail boom stabilizers were originally covered with aluminium sheet on the leading-edge side of the spar. On the trailing-edge side the stabilizers are fabric-covered. The HS-6 has been stored outdoors for almost fifteen years and the fabric covering on the tail boom stabilizers has decayed and needs to be replaced. The rotten fabrics have been removed at the Tuesday Club and the work on the new covering has been started. The new covering will be made of aluminium sheet, not fabric, as the leading edge already has. The reason for this is that the HS-6 will be on display outdoors also in the future, so using a more weather-resistant material for covering the stabilizers is preferred. This is a good reason, especially as the aircraft is not a museum item. When repairing and restoring a museum item, the aim is to use original materials and work methods. The covering material is 0.30 mm thick, used offset plates, made of aluminium. They are excellent for this purpose, with good workability. They are printing plates, so they already have an adhesive surface for the future painting work.
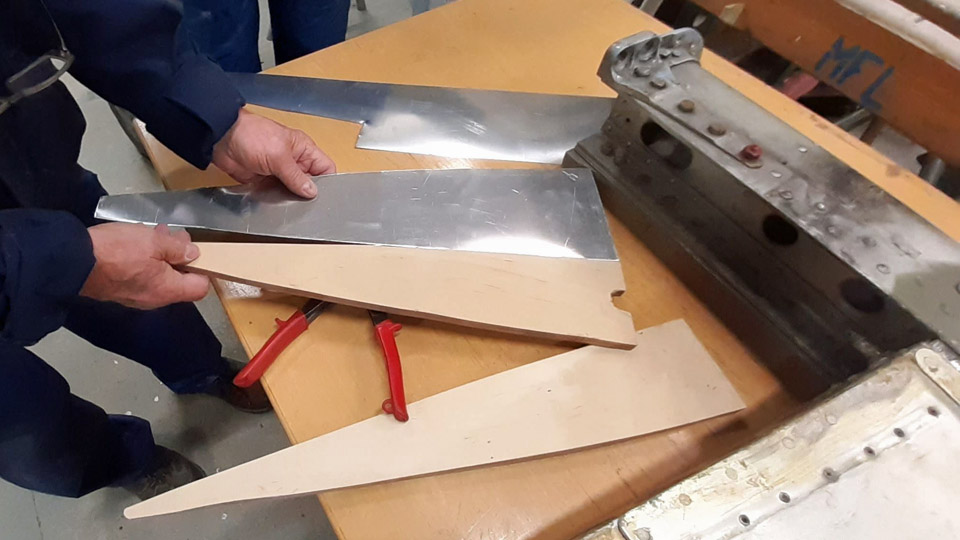
The first surface to be covered with the sheet metal was the tail boom’s port side stabilizer’s lower surface. First the root end of the stabilizer was covered. Its fabric covering had been removed and a piece matching the shape of the fabric was cut from the aluminium sheet. The cutting was done so that the piece of aluminium was about 10 mm larger at its edges than the piece of fabric. This was necessary because the edges of the sheet will be bent over the butt rib’s lower and upper edges. Eventually the bent edges will be covered by the metal sheets, which cover the upper and lower surfaces of the stabilizer and are riveted on the butt rib.
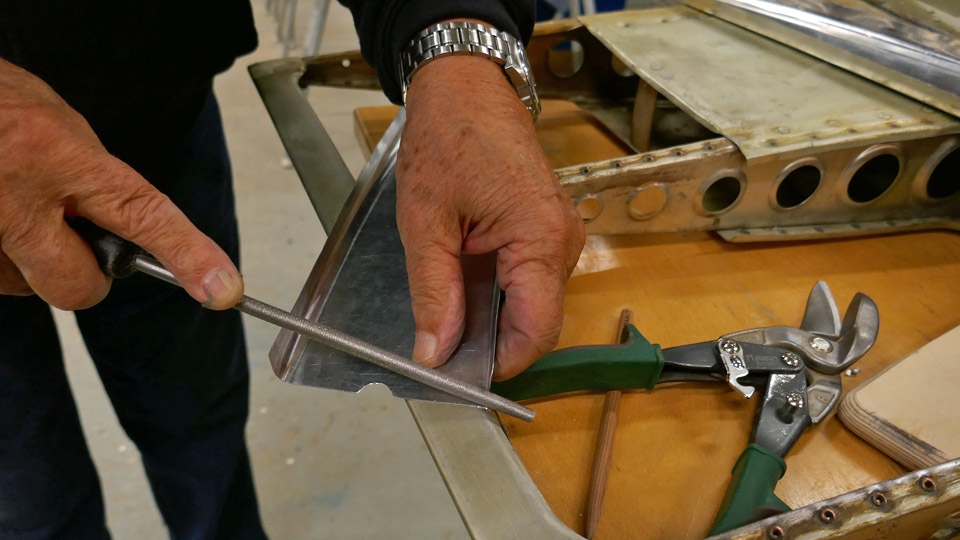
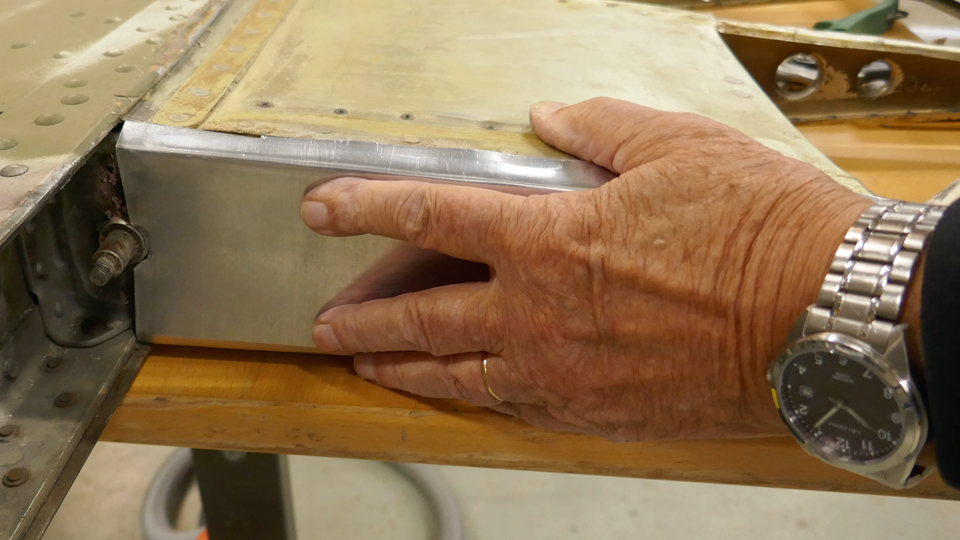
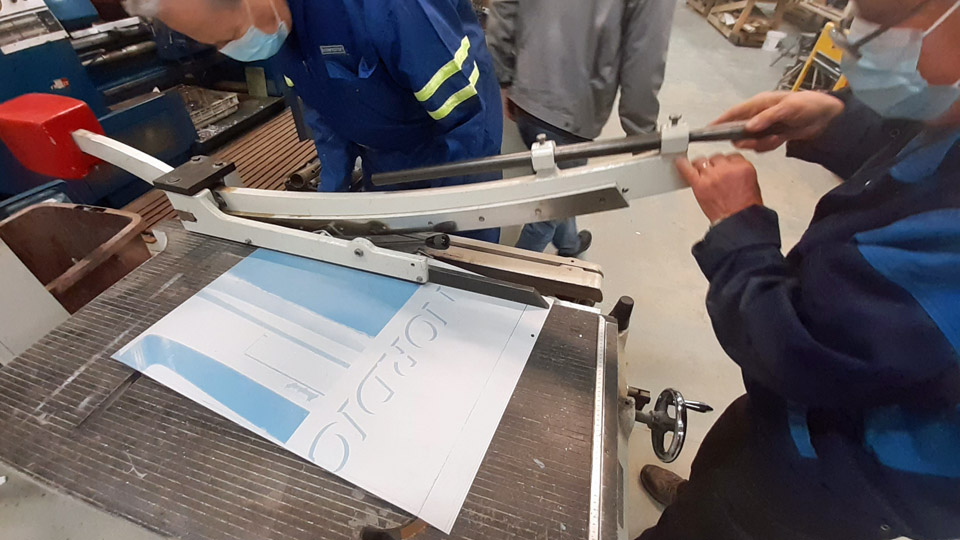
A mould was made from plywood for bending the root sheet edges. The mould is triangular and matches the size of the removed piece of fabric. After the edges of the sheet had been bent, the finalizing work was done with a file. When the root sheet was ready, it was riveted on the butt rib with a couple of flathead rivets.
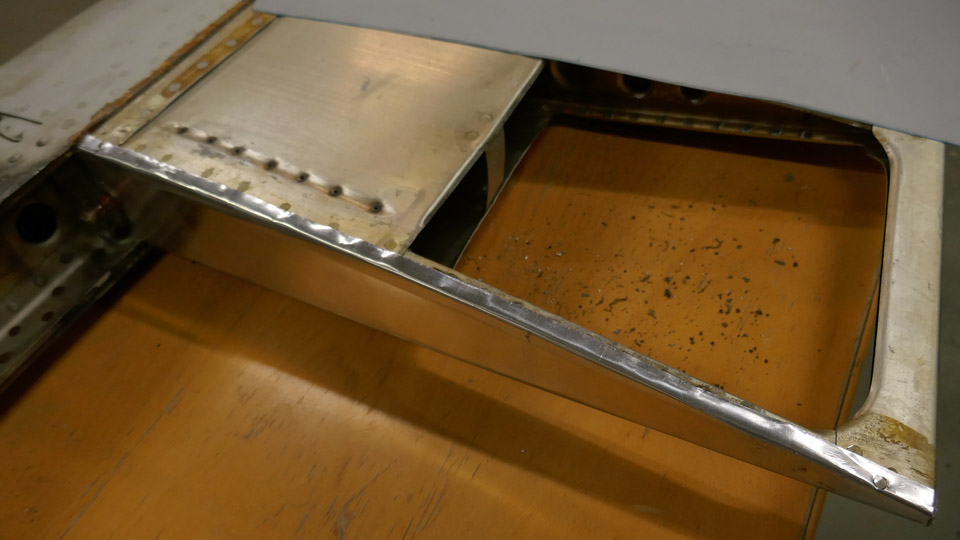
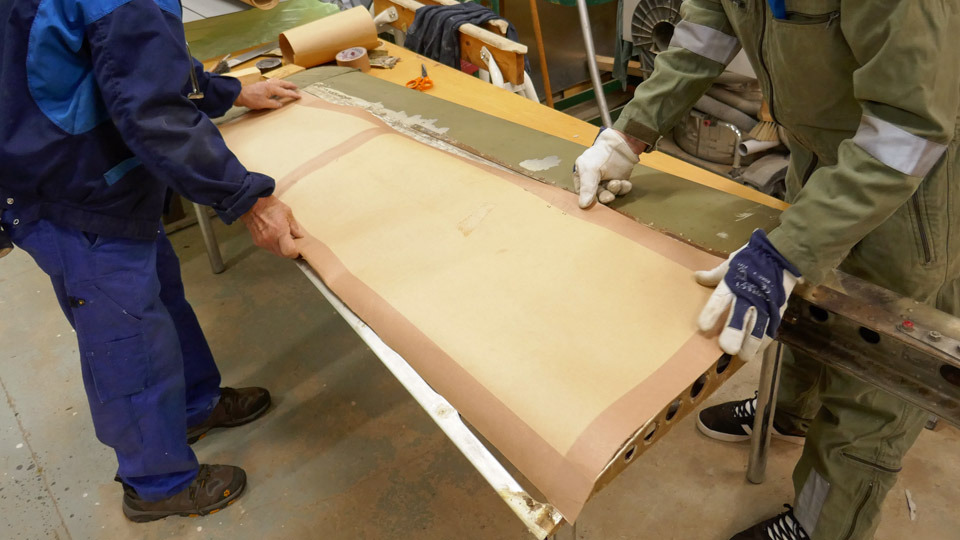
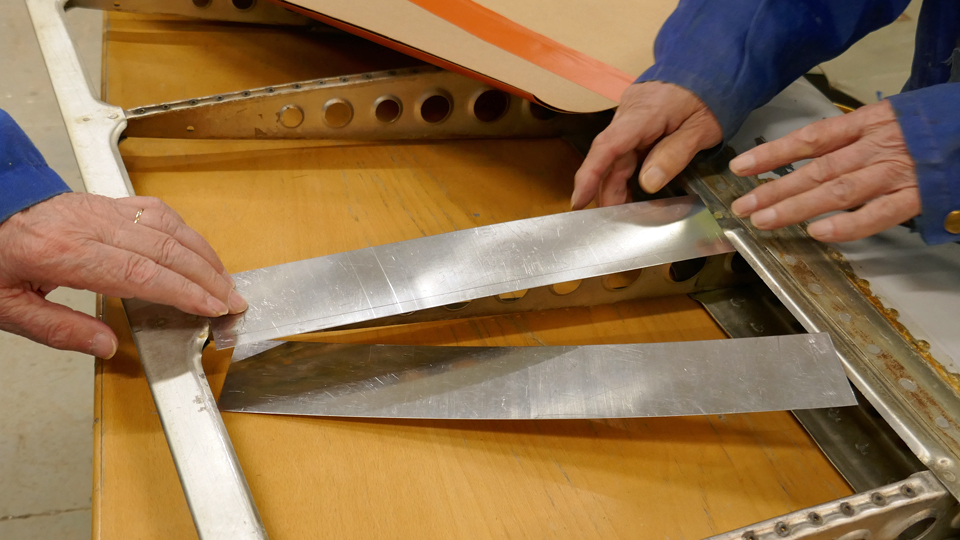
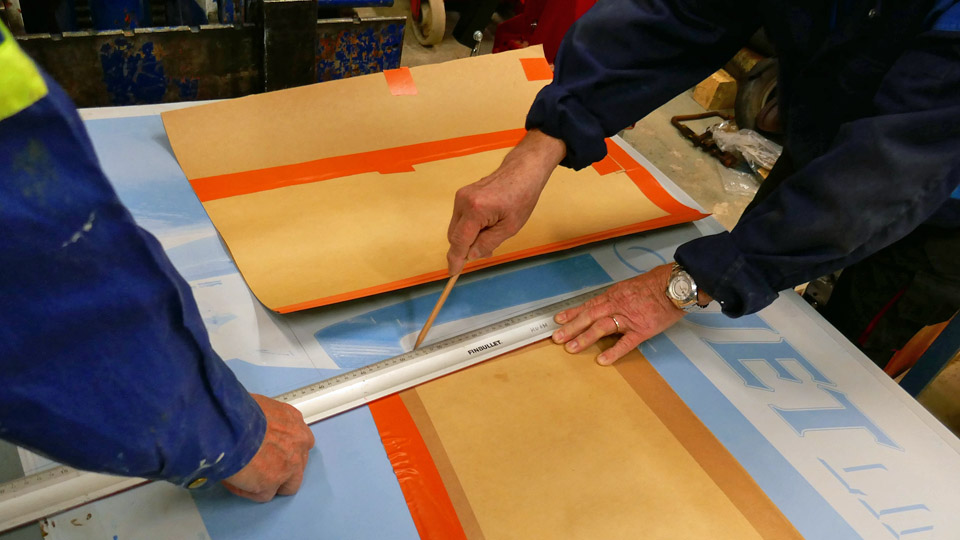
The next step was to make a cardboard model of the stabilizer’s surface which was to be covered. The Tuesday Club team realized that the aluminium offset plates were not large enough for cutting one single sheet which would cover the whole surface which needed to be covered. The upper and lower side of the stabilizer will both have to be covered with two aluminium sheets, which are joined together with a butt joint. The joint will be on top of the rib located in the middle of the stabilizer. An aluminium plate 5 cm wide was riveted on top of this rib to form a base for the butt joint.
The cardboard model was used when the new covering sheet for the stabilizer’s root section was drawn on the aluminium sheet. The covering sheet for the stabilizer’s tip section was drawn on another aluminium sheet. Then the sheets were cut and fitted on the stabilizer. It was noticed that both covering sheets were slightly too wide and a strip a couple of millimetres wide had to be cut from their trailing edge. Now the sheet edges were exactly on the level of the trailing edge.
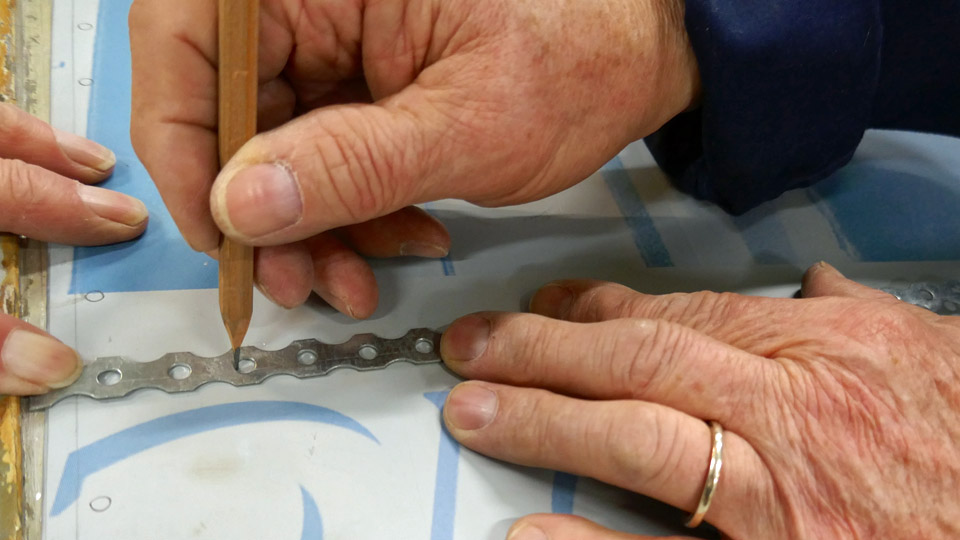
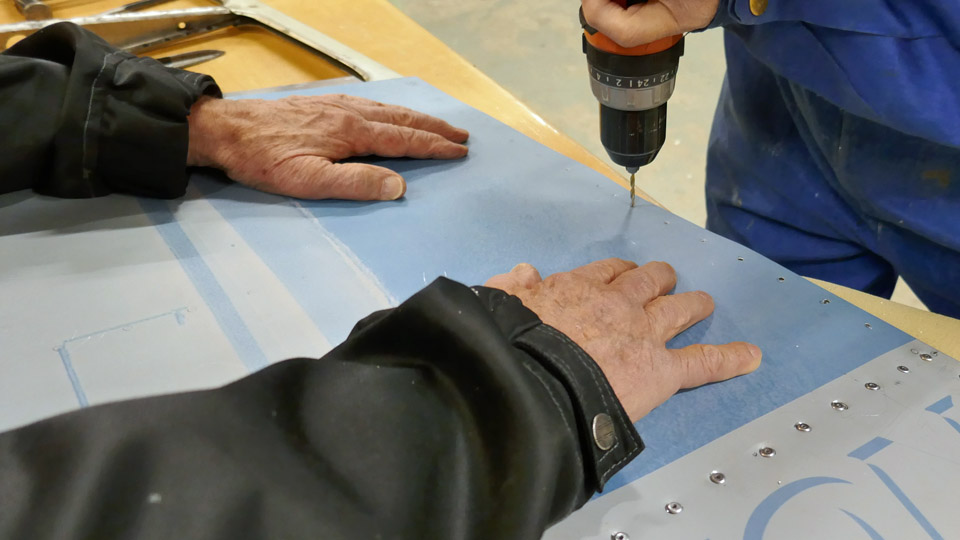
The covering sheets were riveted on the stabilizer and this work was started on the root section. The covering sheet was placed on the stabilizer ribs and locating holes were drilled into its corners. Locating pins were placed in the holes to keep the sheet in place during the riveting work. The following phase of work was to mark the places for the rivets on each rib and on the trailing edge batten. For the marking a perforated galvanised steel fixing strap was used (i.e. a strap for supporting ventilation ducts). This is a good method for marking the rivet holes nicely at even distances. Then a metal point and a hammer were used for making a starting point for drilling at each rivet location. Then the rivet holes were drilled.
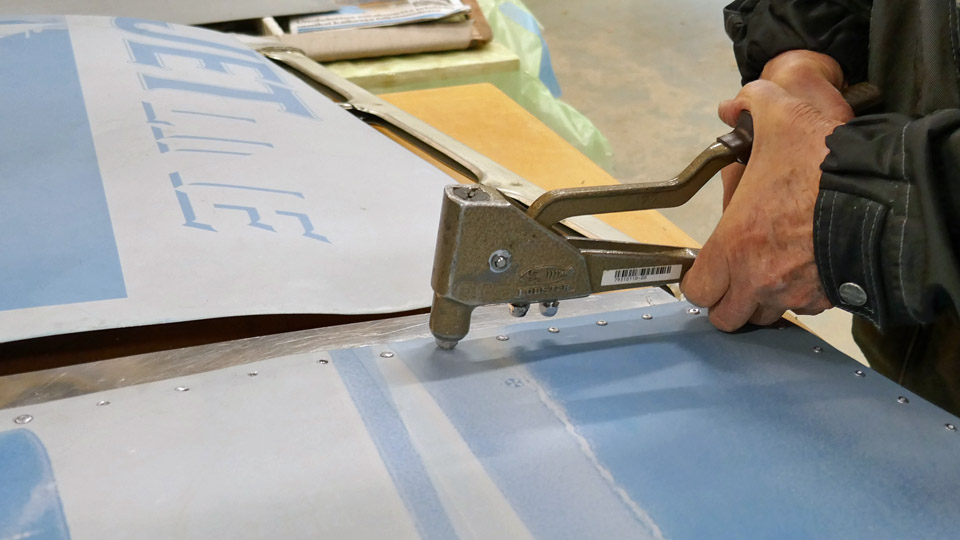
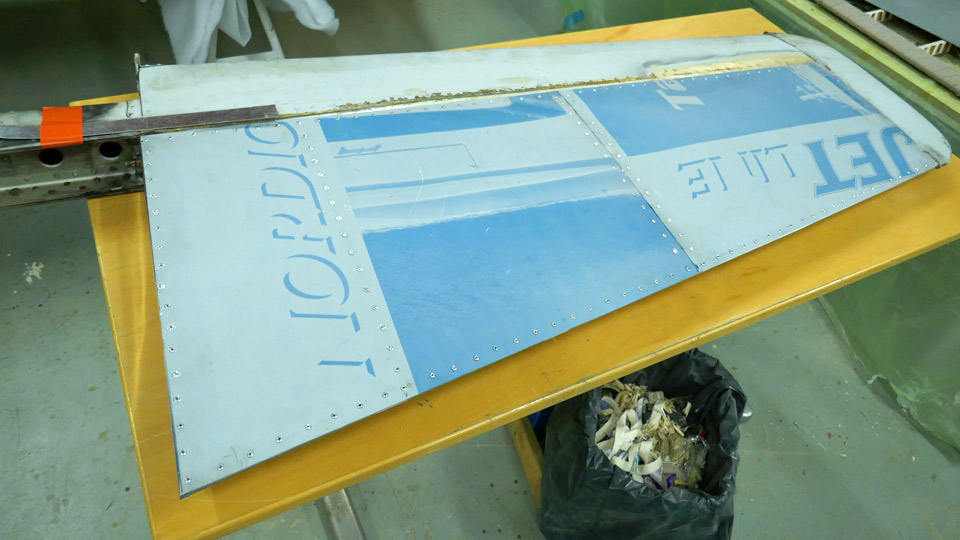
Pop rivets were used when riveting the aluminium sheets into place. The pop rivet was pushed into the drilled hole and squeezed tight using a pop rivet hand tool. When the aluminium sheet on the tail boom port side stabilizer’s lower side root section had been riveted, the same procedure was used when riveting the sheet on the tip section. The lower side of the tail boom port stabilizer has now been covered and the next phase will be the covering of the stabilizer’s upper side. Photos: Lassi Karivalo Translation: Erja Reinikainen |
|
Avainsanat: aviation history, restoration, Mil Mi-8P, HS-6 |
Ilmailumuseot.fi - Aviationmuseums.fi