The plywood covering of OH-XEA Ressu is under repairPerjantai 1.12.2023 - Tuesday Club member Ressu’s restoration has progressed well in the Finnish Aviation Museum’s restoration workshop. The left wing, ailerons, vertical stabilizer, rudder, horizontal stabilizer, wing struts and tail wheel assembly are all now under work. Maybe we should actually be talking about repairs, because Ressu is mainly in good condition – except the fuselage and vertical stabilizer. Therefore we mainly concentrate on repairing the damages in the plywood covering.
The aim in repairing the damages in Ressu’s plywood covering is to save as much of the original plywood as possible. Where a blow has damaged the covering and the plywood is still a strip which is in one piece, we aim to repair the damage by gluing the strip back into place, using a supporting piece of new plywood. However, if the damage is an open hole, the plywood is shattered, or there is a piece of plywood missing, we will patch the damaged area with new plywood. The latter repairing method is introduced in this blog, using the repair of the damaged plywood covering on the elevator as an example. In all cases the glued seams of the patches are spackled and sanded, and the patched area is painted to the original hue of the painted surface so that the damaged area can hardly be noticed.
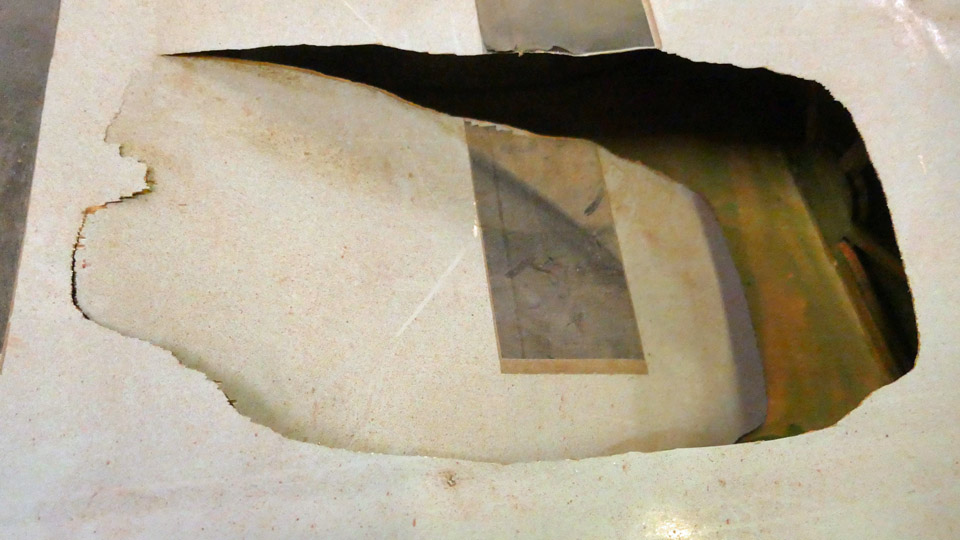
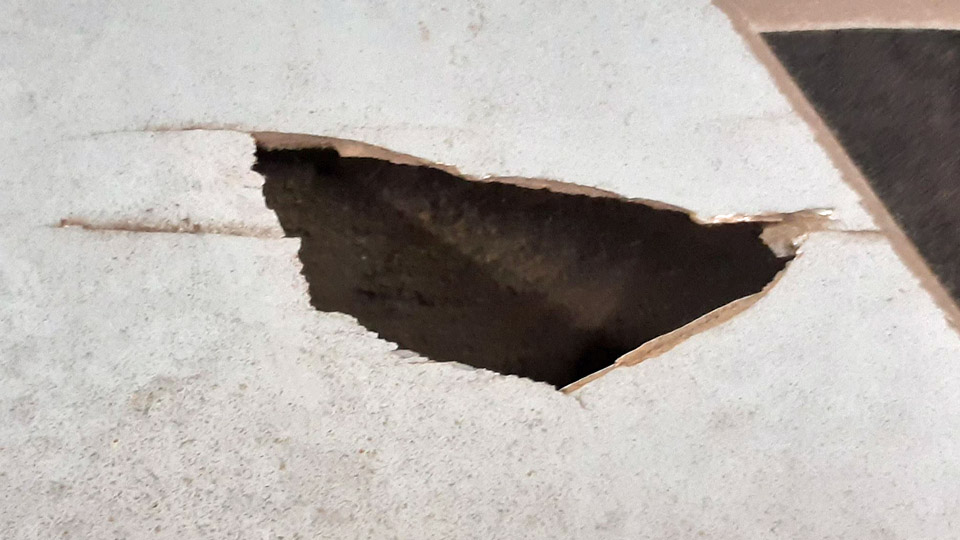
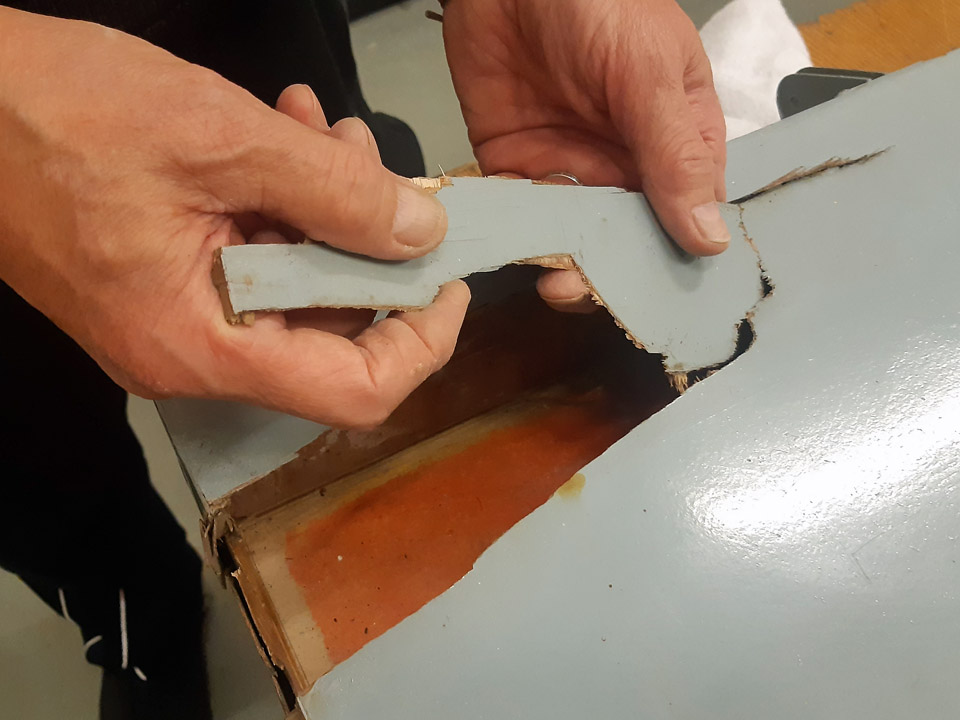
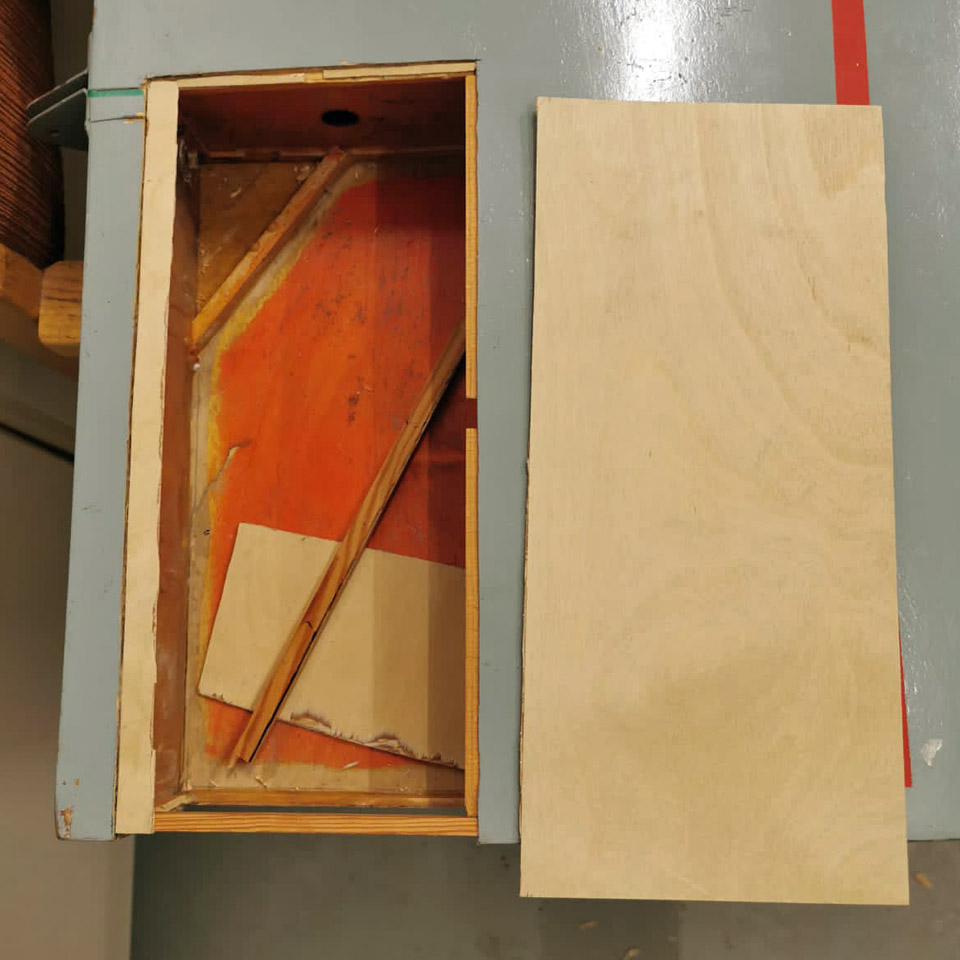
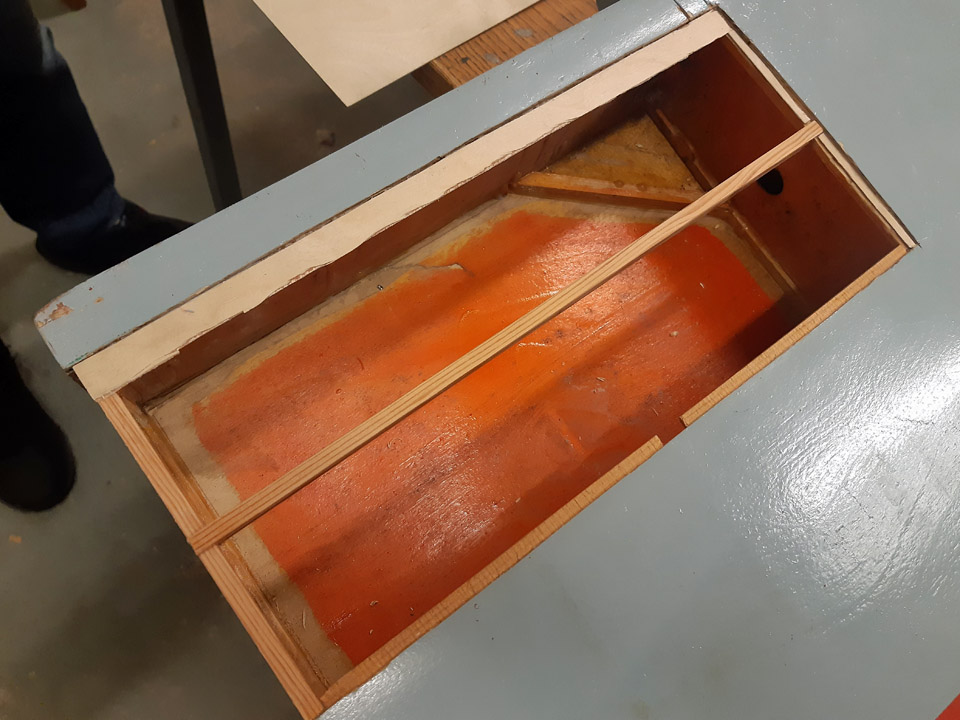
The plywood covering of Ressu’s elevator had one larger damaged area to be repaired. The damaged area is located on the elevator’s left-hand end, in the trailing edge side corner. Here the plywood covering has been broken on the elevator’s upper side and on its end. The plywood has broken in several places and parts of the covering are missing. We decided to patch the whole damaged area with new plywood.
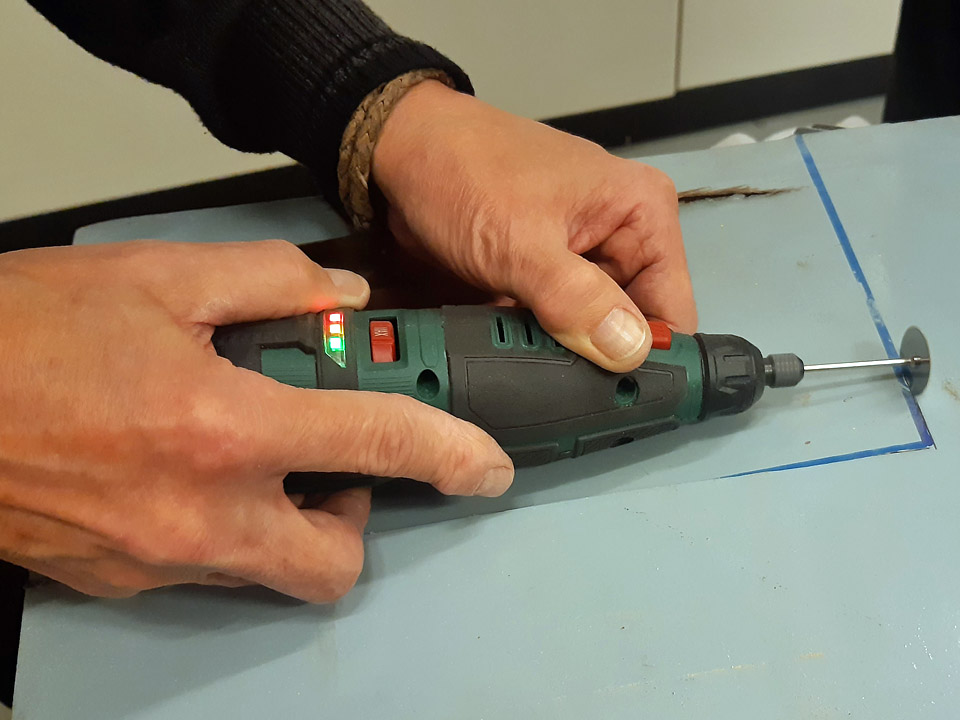
First we removed the broken pieces of the covering plywood at the damaged point on the upper surface. Then we drew a rectangle around the damaged area and cut the plywood off along its edges, using a Dremel circular saw blade. This is how we created an opening for the patch on the upper surface. In a similar manner we cut a rectangular opening around the damaged area on the elevator’s end. Now the whole damaged area had been opened for patching.
The next step was to fasten supporting strips on the edges of the opening. The plywood patch will be supported by these strips when it is glued to cover the opening. Some of the supporting strips were glued with strengthening nails to the structure of the elevator. A strip was fastened also on the area where the patches on the elevators upper surface and on its end meet, i.e. at the upper edge of the elevator’s end.
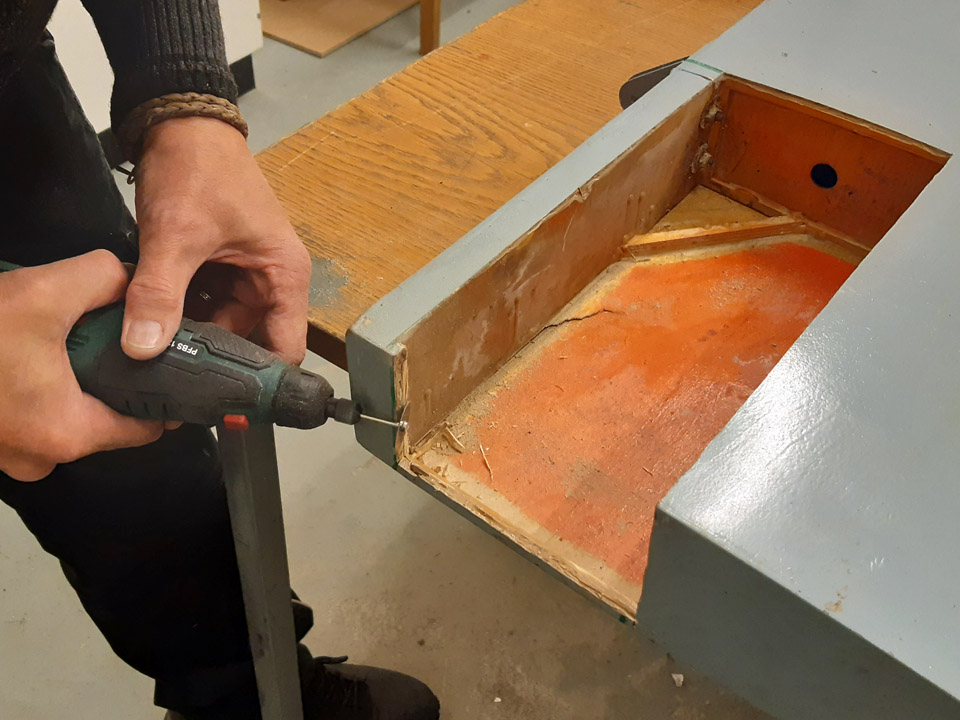
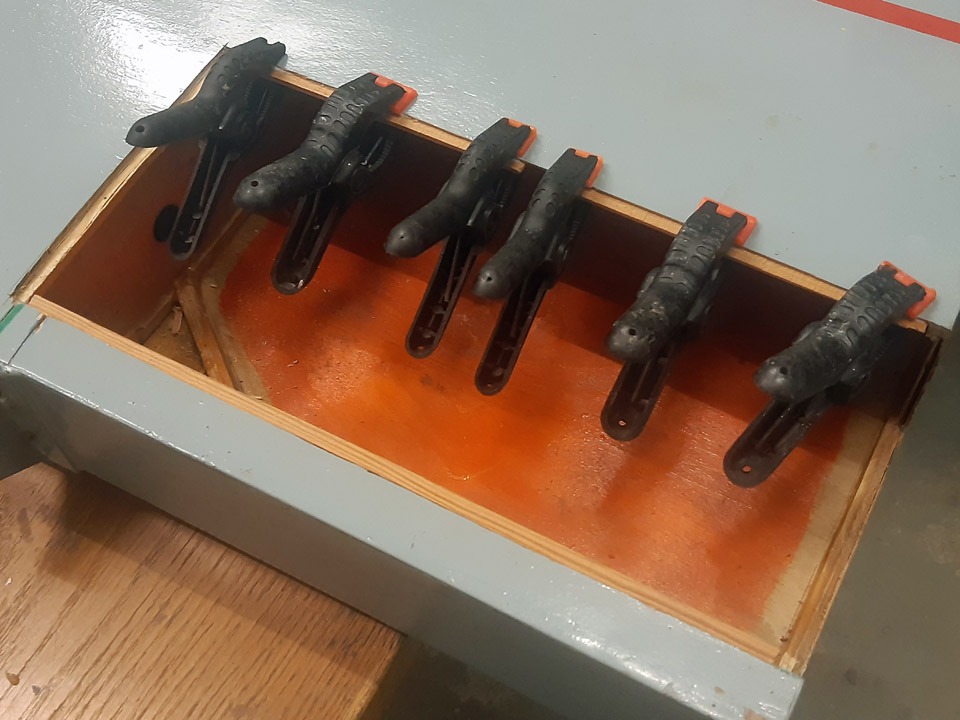
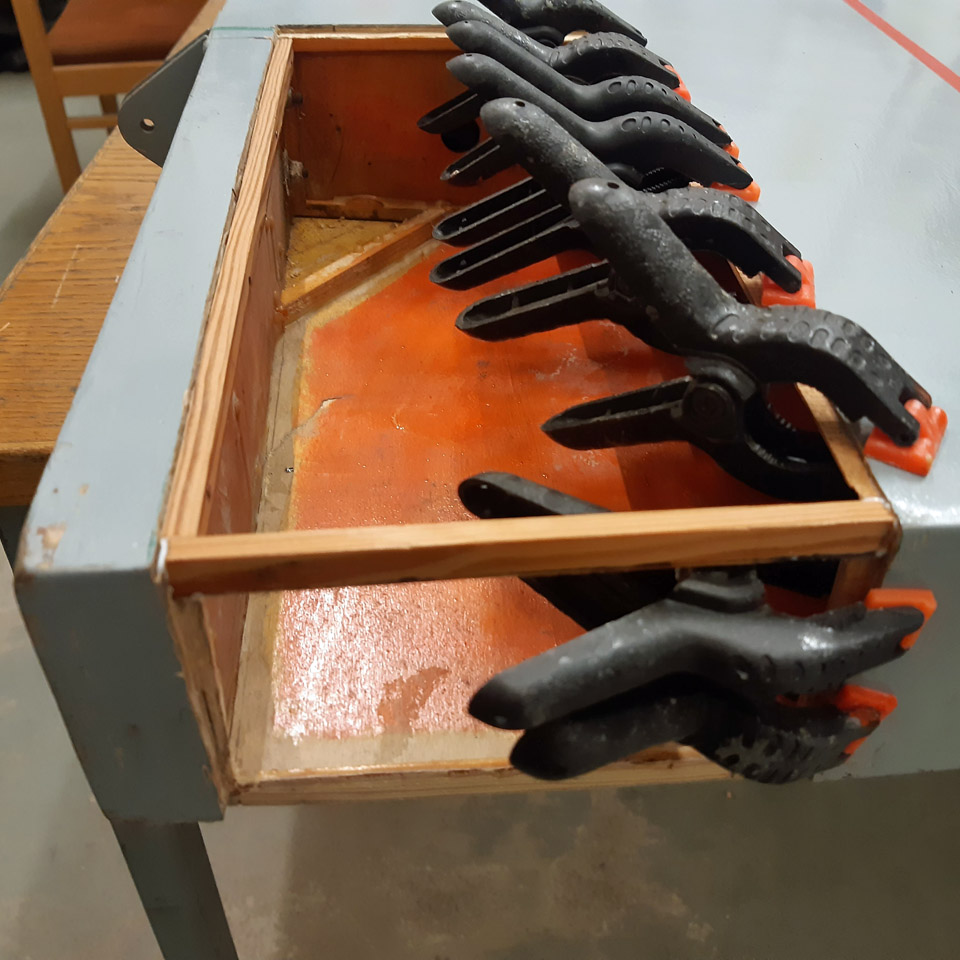
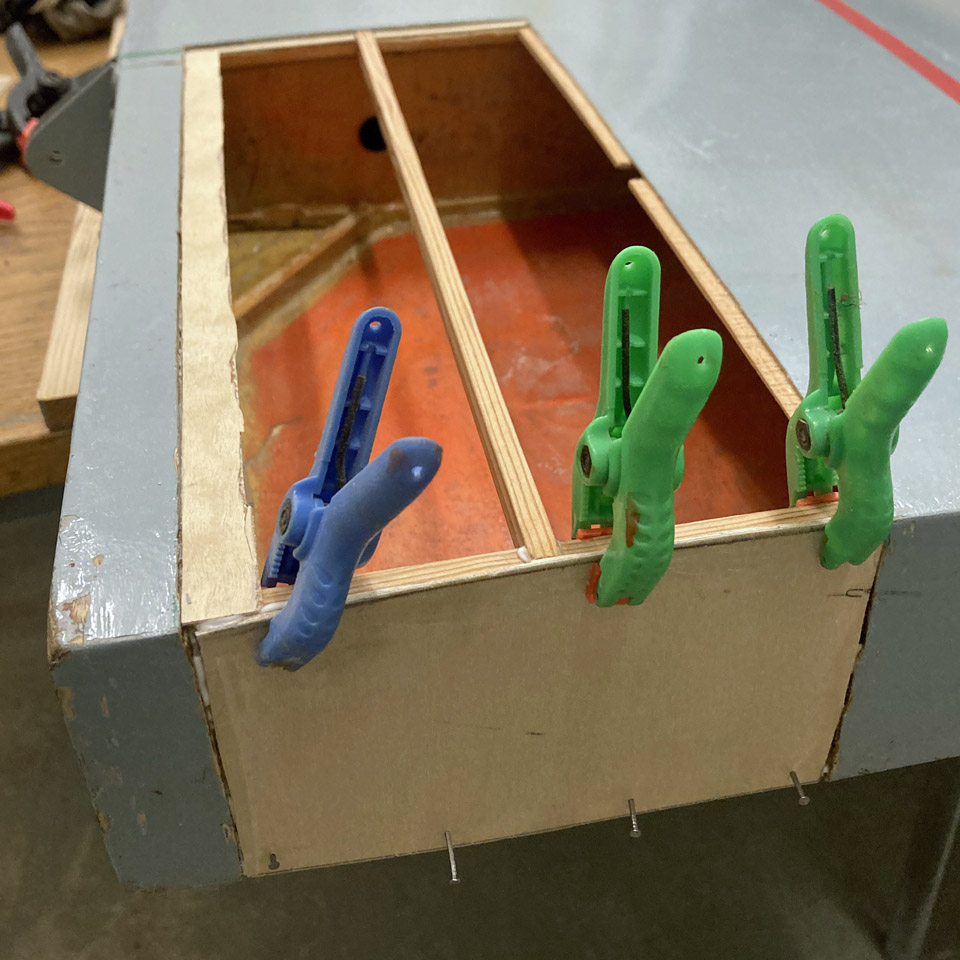
Photo by Antti Hietala. One of the supporting strips was glued on the underside of the plywood edge so that a little less than one centimetre of the strip was left outside the plywood covering’s edge. Before gluing, the old varnish was sanded away from the underside area of the plywood covering which was to be glued. The supporting strip was glued on the edge of the plywood covering and pressed tight on the plywood with small plastic clamps. The glue we used was Casco Outdoor wood glue. Furthermore, a longitudinal supporting strip was fastened across the opening on the upper side. This strip is needed to support the plywood patch on the opening and make it slightly curved so that it follows the gently curving profile of the elevator’s upper surface.
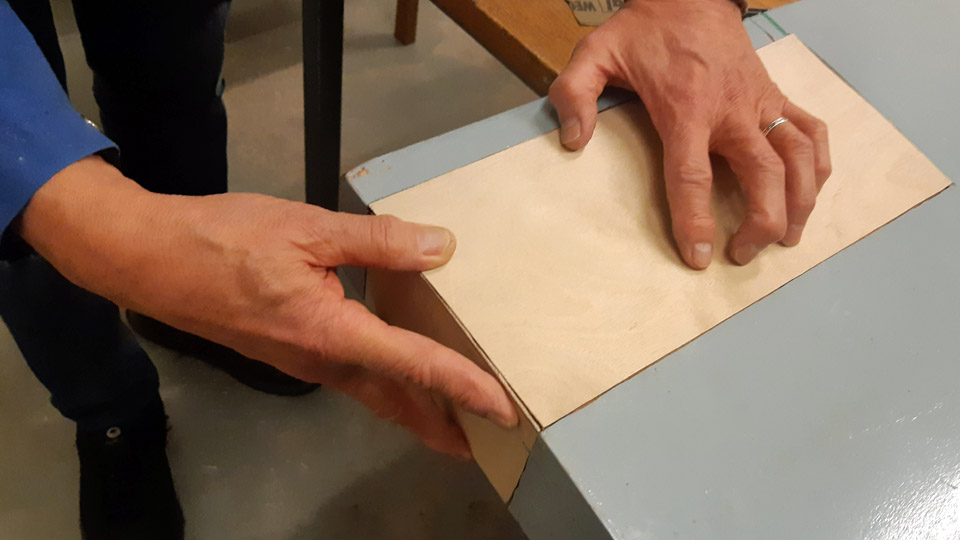
When the supporting strips had been fastened, patch pieces of 1 mm aircraft plywood were cut for the openings on the upper side and the elevator’s end. The patches were fitted into place, shaping their edges until the patch edges pressed tightly against the sides of the opening.
Photo by Matti Kainulainen. First the plywood patch was glued into place on the elevator’s end. The upper edge of the patch was pressed against the supporting strip with small clamps and the glued seam on the lower edge was secured with some small nails.
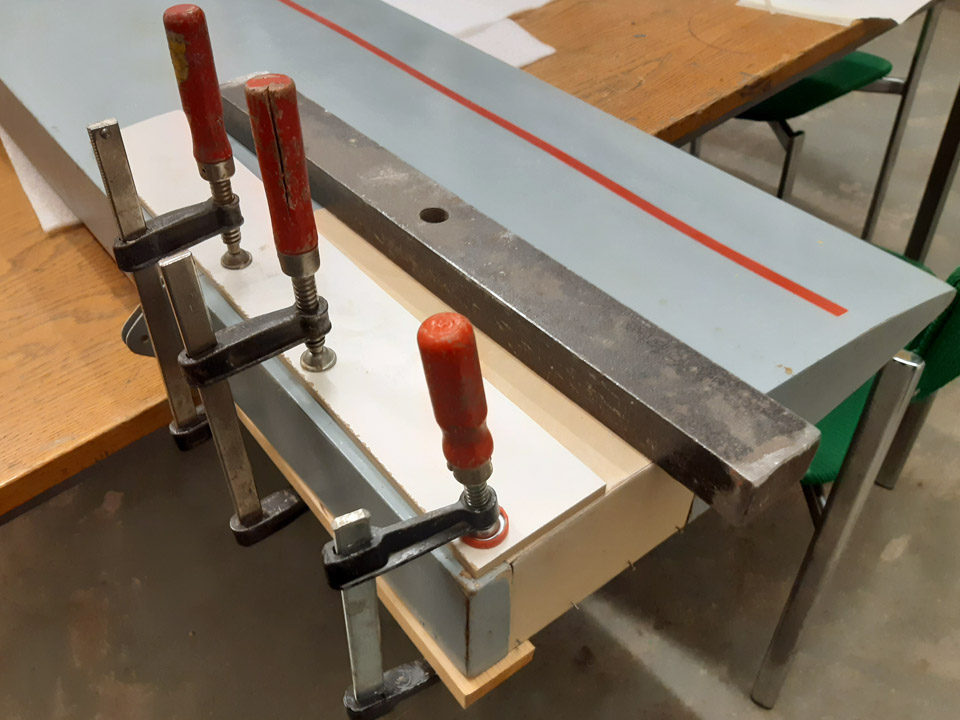
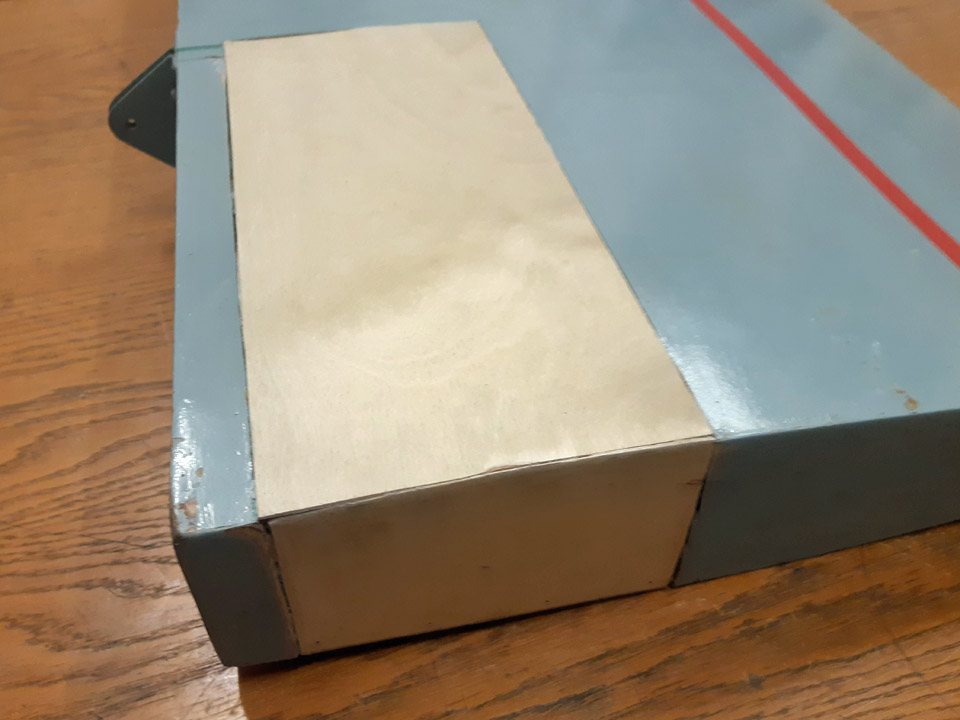
Photo by Matti Kainulainen. Then the larger patch on the upper surface was glued into place. On the elevator’s leading edge side, the glue seam of the plywood patch could be pressed tight with ordinary clamps. A piece of plywood was placed between the clamps and the glue seam to distribute the pressure evenly on the seam. On the other side of the opening a metal weight was placed on the glued seam to press the plywood patch against the supporting strip.
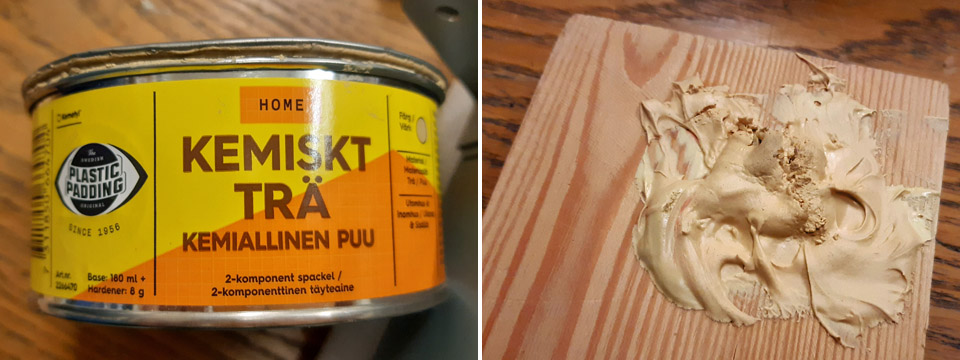
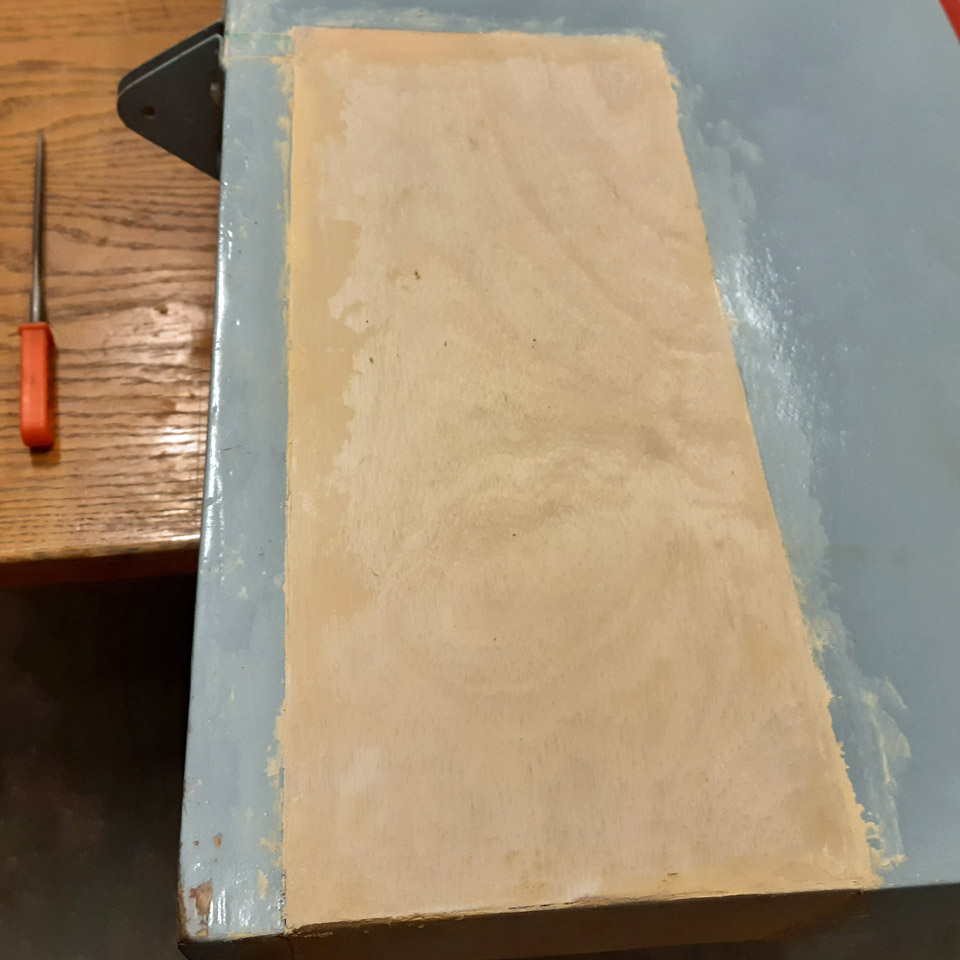
The gluing of both plywood patches went well. The patch seams were spackled using Plastic Padding’s two-component Chemical Wood. The spackled seams and the whole newly patched area will be sanded before painting. The plywood patches will be painted later, together with several other plywood patches on Ressu’s surfaces. Photos by Lassi Karivalo except if otherwise separately mentioned. Translation by Erja Reinikainen. |
|
Avainsanat: aviation history, restoration, Tuesday Club, Hietanen HEA-23b, OH-XEA, "Ressu" |
Ilmailumuseot.fi - Aviationmuseums.fi